Step 4.
Step 5.
Step 6.
Start designing in AR
Once your design is ready, press Guide Mode
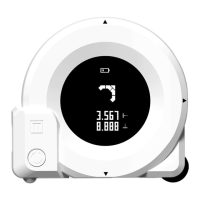
Place Cubit on the wall & follow the arrow
Press Guide Set up direction
of cubit’s lasers
Select Hanging
points
Connect Cubit to
the app
Press
Center button
to start
Once you’ve made your
objects, measure your work
area and place your objects to
start designing.
Place Cubit on the wall in the
same direction as set up on
the app. Follow the arrow on
Cubit’s screen. Cubit will alert
you when you are at your
installation point.
Scan floor
Open library
& select
Measure
wall