Do you have a question about the Pop-A-Shot Home and is the answer not in the manual?
Lists all components shipped in two boxes and required tools for assembly.
Assemble front/rear supports into rectangle and 'U' shape using connector tubes.
Ensure tubes are fully seated in fittings using a mallet or striking method.
Connect larger frame pieces and 'U' shape using long tubes, ensuring full seating.
Insert and secure ball return ramp with steel pipes, screws, and lock-nuts.
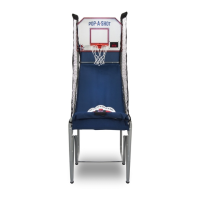
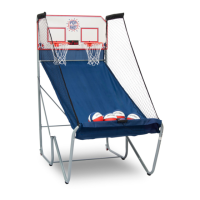
Attach backboard, mount rim, and connect scoring cable and transformer.
Connect Left/Right hand net assemblies to long tubes, ensuring secure fitting.
Hang nets using wooden dowels and secure to the rear backboard surface.
Insert dowels into fabric slits on ramp underside and secure with hook/locknut.
Use string loops and hooks to pull nets, adjusting tension for appearance.
Lift game corners and insert legs into fittings for stability.
Provides Pop-A-Shot contact details, website, and operating hours.
Details accepted payment methods, advance payment, and shipping terms.
Outlines 90-day warranty, service, and return authorization requirements.
Defines warranty coverage, duration, and service requirements.
Instructions to return card for safety notifications, not for warranty coverage.
| Number of Players | 1-2 |
|---|---|
| Basketball Included | Yes |
| Assembly Required | Yes |
| Material | Metal |
| Scoring System | Electronic |
| Balls Included | Yes |
| Power Source | AC adapter |
| Batteries Required | Yes |
| Audio | Yes |
| Recommended Age | 8 years and up |
| Assembled Dimensions | 90" L x 46" W x 88" H |
| Item Weight | 48 lbs |