SP - 10Llame sin costo al: 1-800-737-2112 Copyright © 2016 MAT Engine Technologies, LLC
Montaje (Continuación)
• Conserve todas las instrucciones
Si se necesita ayuda o falta alguna pieza, LLAMAR
GRATUITAMENTE AL: 1-800-737-2112.
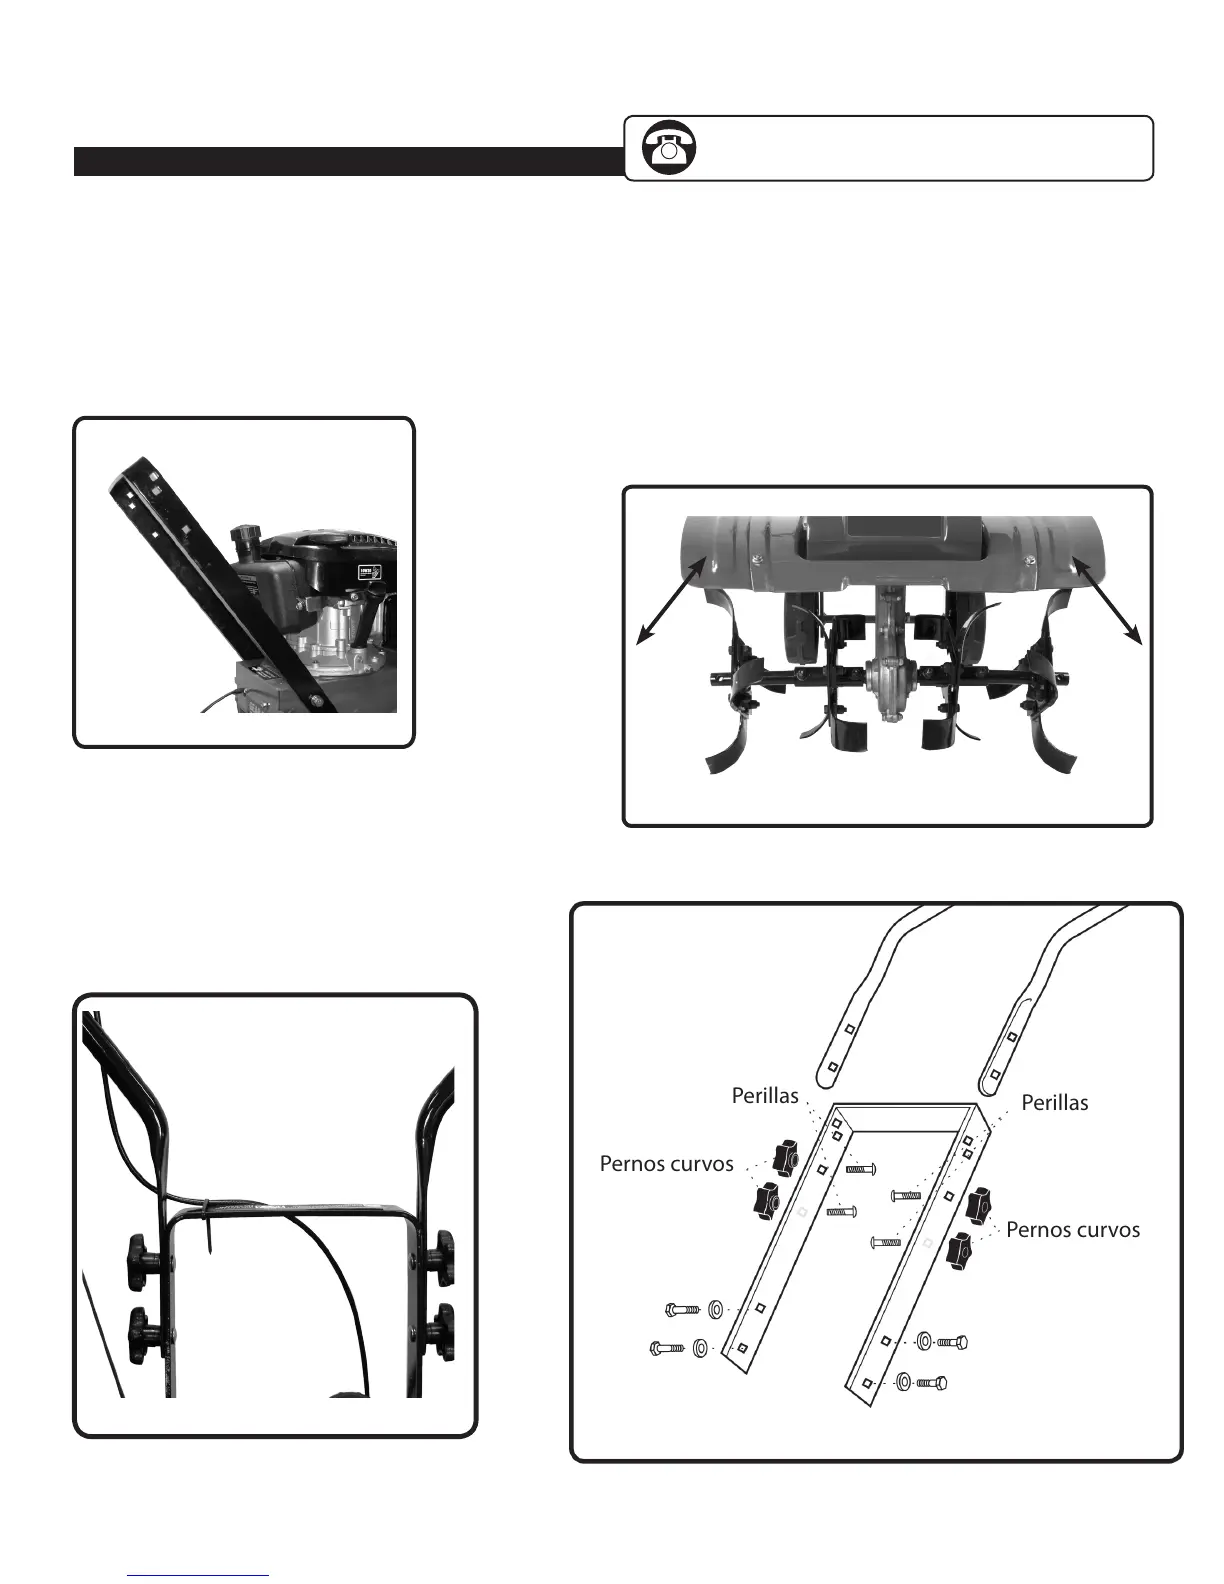
INSTALAR LOS PROTECTORES DE LAS AZADAS
EXTERIORES (véase la Figura 8)
1. Cada uno de los protectores de las azadas exteriores
se pueden instalar a uno u otro lado del protector
principal de las azadas.
2. Colocar el protector de azadas exteriores debajo del
protector principal de azadas y alinear los agujeros
3. Fijar el protector de azadas exteriores sobre el
protector principal de azadas, utilizando pernos
m6 x 16, arandelas y contratuercas.
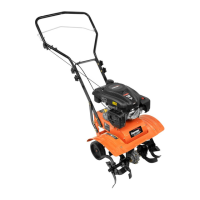
IINSTALAR EL ASIDERO INFERIOR (Vea Figura 5)
1. Alinear los agujeros del asidero inferior con los
agujeros respectivos en la estructura y sin apre
tarlos, instalar dos pernos m10 x 25 mm, aran
delas de freno y arandelas planas en
ambos lados.
2. Utilizando una llave, apretar firmemente los per
nos en ambos lados.
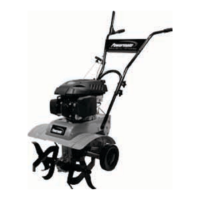
INSTALAR EL ASIDERO SUPERIOR (véase la gura 6,7)
1. Deslizar el asidero superior sobre el asidero infe
rior y alinear los agujeros.
2. Insertar los pernos curvos en los agujeros como se
muestra y asegurarlos con las perillas del asidero.
3. Apretar las perillas ajustadamente.
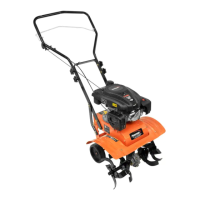
4. Usando un cable tie, asegure el cable de control al
mango como se muestra.
Figure 2
Figura 8
Figura 5
Perillas
Pernos curvos
Perillas
Pernos curvos
Figura 7
Figura 6