GRIP PRO INSTALLATION MANUAL
10
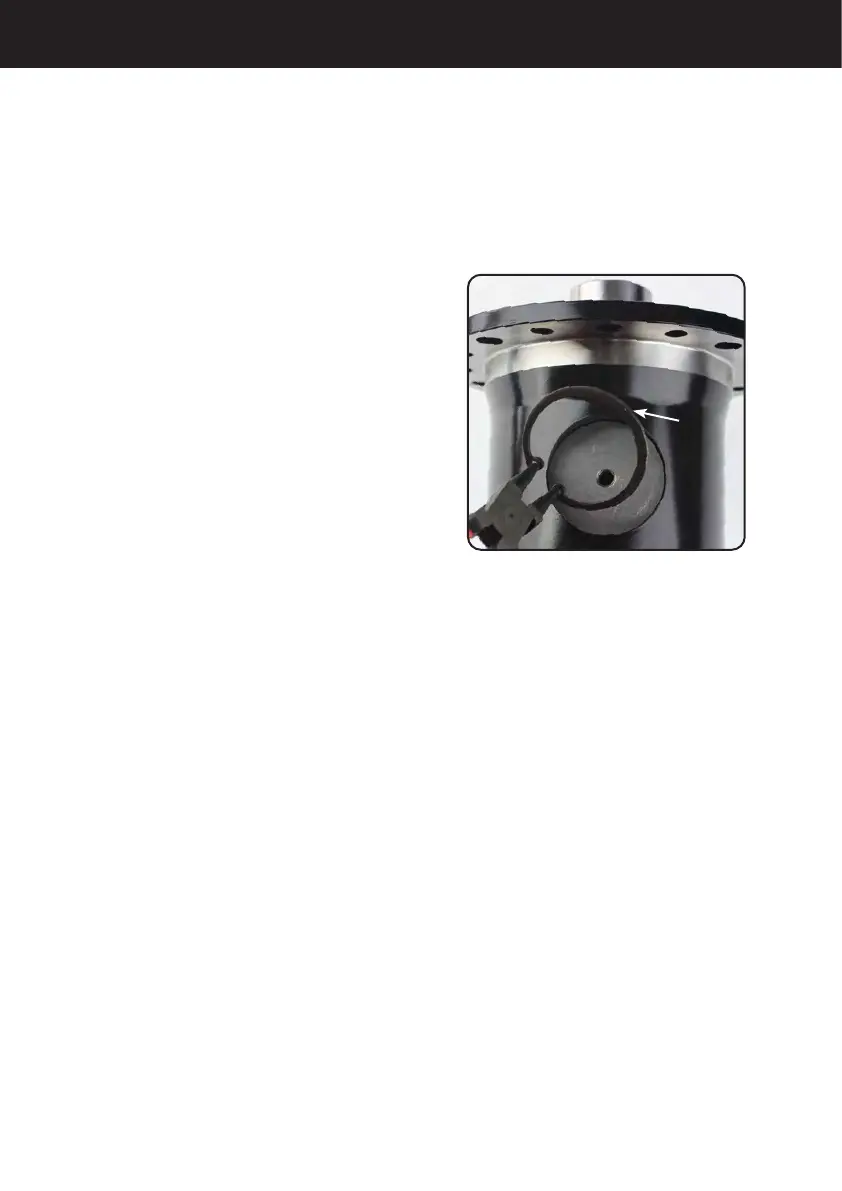
A. Remove the snap ring
with snap ring pliers Figure 7. Then
remove the plug. See Figure 8.
Next, remove the axle spacer (where
applicable) as shown in Figure 9.
B. With the port now clear,
push anged end of axle shaft toward
the center of the housing and install
the “C” clip onto the button end of
the axle shaft. Pull axle shaft outward
so the shaft and washer seat in the
counterbore of the side gear. Repeat
for other axle shaft.
C. Install the axle spacer
(where applicable), the plug and then
the snap ring back into the side of
the carrier. Make sure snap ring is
properly seated before continuing.
If your axles are non-”C” clip style, do
the following:
1. Install axle shaft bearing
retaining plate and nuts. Tighten nuts
to proper torque.
Note: Some axles use shims or
adjuster nuts to set the axle shaft
end play. Refer to the vehicle service
manual for the proper removal and
installation procedures for the axle
shafts.
48. Using a new gasket or silicone
sealant, install axle cover and tighten
bolts.
49. Install brake drums or rotors.
50. Install wheels.
51. With the vehicle level, remove the
ll plug and ll housing to the proper
level with the lubricant described on
Page 2.
52. Lower vehicle and test operation
of axle.
Figure 7
SNAP RING