page 16
COMMERCIAL PRODUCTS DIVISION
procedure lifts the base assembly off the floor which provides better access
to the fasteners.
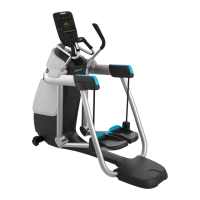
16. Place the base assembly on the supportive wedge. Diagram 9. Have an
assistant grasp and lift the upright support so that you can slide a wedge
(packing material) under the front of the unit.
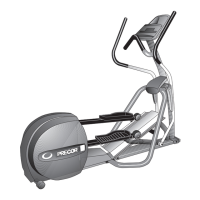
17. Attach the left and right frame stabilizers. Diagram 10. Proceed with one
side at a time. When you have installed the first stabilizer, perform the same
steps on the opposite stabilizer.
a. Remove four bolts (G) and four washers (H) from the Hardware kit. Place
a washer on each bolt and set the fasteners within easy reach of the unit.
b. Grasp one of the frame stabilizers and align it with the upright support bracket.
Diagram 10
Attach the frame
stabilizers to the
upright support
brackets.
Bolts (G) and
washers (H)
Frame stabilizer
Upper section
Lower section
Upright
support
bracket
c. Insert the four bolts (G) with washers (H) through the frame stabilizer and
upright support bracket. See Diagram 10.
d. Thread all four bolts and washers until the frame stabilizer is secure. Do
not fully tighten the bolts until after the lower section is attached.
e. Perform steps a through d on the opposite side.
f. Carefully, align the mounting holes on the right and left frame stabilizer with
Diagram 11
Attach the lower
frame stabilizers
to the base
assembly.
Bolts
 Loading...