11
3 Connecting to a Computer
3.4 Using the Studio-series interfaces with Popular Audio Applications
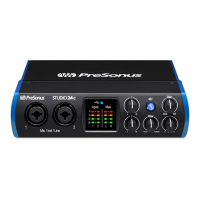
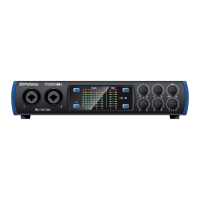
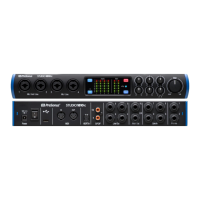
Studio Series 1810c and 1824c
Owner’s Manual
6. Go to Options | Audio... and click on the Drivers tab.
7. Highlight all input and output drivers beginning with “PreSonus Studio 1824c or
Studio 1810c.”
8. Go to Options | Audio... and click on the General tab.
9. Set the Playback Timing Master to “PreSonus Studio (1824c or 1810c)... DAW
Out 1.”
10. Set the Recording Timing Master to “PreSonus Studio (1824c or 1810c)...
Mic/Inst 1.”
Steinberg Cubase
1. Launch Cubase.
2. Go to Devices | Device Setup.
3. Select “VST Audio System” from the Devices column in the Device Setup.
4. Select PreSonus Studio (1824c or 1810c) from the ASIO Driver dropdown list.
5. Click “Switch” to begin using the Studio-series driver.
6. Once you have successfully changed the driver, go to Devices | VST Connections
to enable your input and output buses.
 Loading...