Jazzy Air www.pridemobility.com 15
IV. COMFORT ADJUSTMENTS
Armrest Angle Adjustment
To change the armrest angle:
1. Lift the armrest straight up so that it is perpendicular
to the fl oor. See fi gure 9.
2. Loosen the jam nut, if equipped.
3. Turn the adjusting screw to raise or lower the
front of the armrest.
4. Tighten the jam nut, if equipped, to lock the
adjusting screw into place.
Armrest Height Adjustment
To change the armrest height:
1. Loosen the setscrews on the armrest. See fi gure 9.
2. Raise or lower the armrest to the desired height.
3. Tighten the setscrews to secure the armrest.
Controller Position
You can move the controller in toward or out away from the armrest, or change the position of the controller for
either left-hand or right-hand use.
MANDATORY! Prevent controller harness damage! Avoid routing the controller harness on the
outside of the armrest pad. Route the harness under the armrest or toward the inside of the
armrest pad. Use correct tie-down points for the controller harness to prevent the harness from
getting caught in the drive tires, pinched in the seat frame, or damaged when passing through
doorways.
To extend the controller:
1. Flip up the armrest so it is perpendicular to the fl oor.
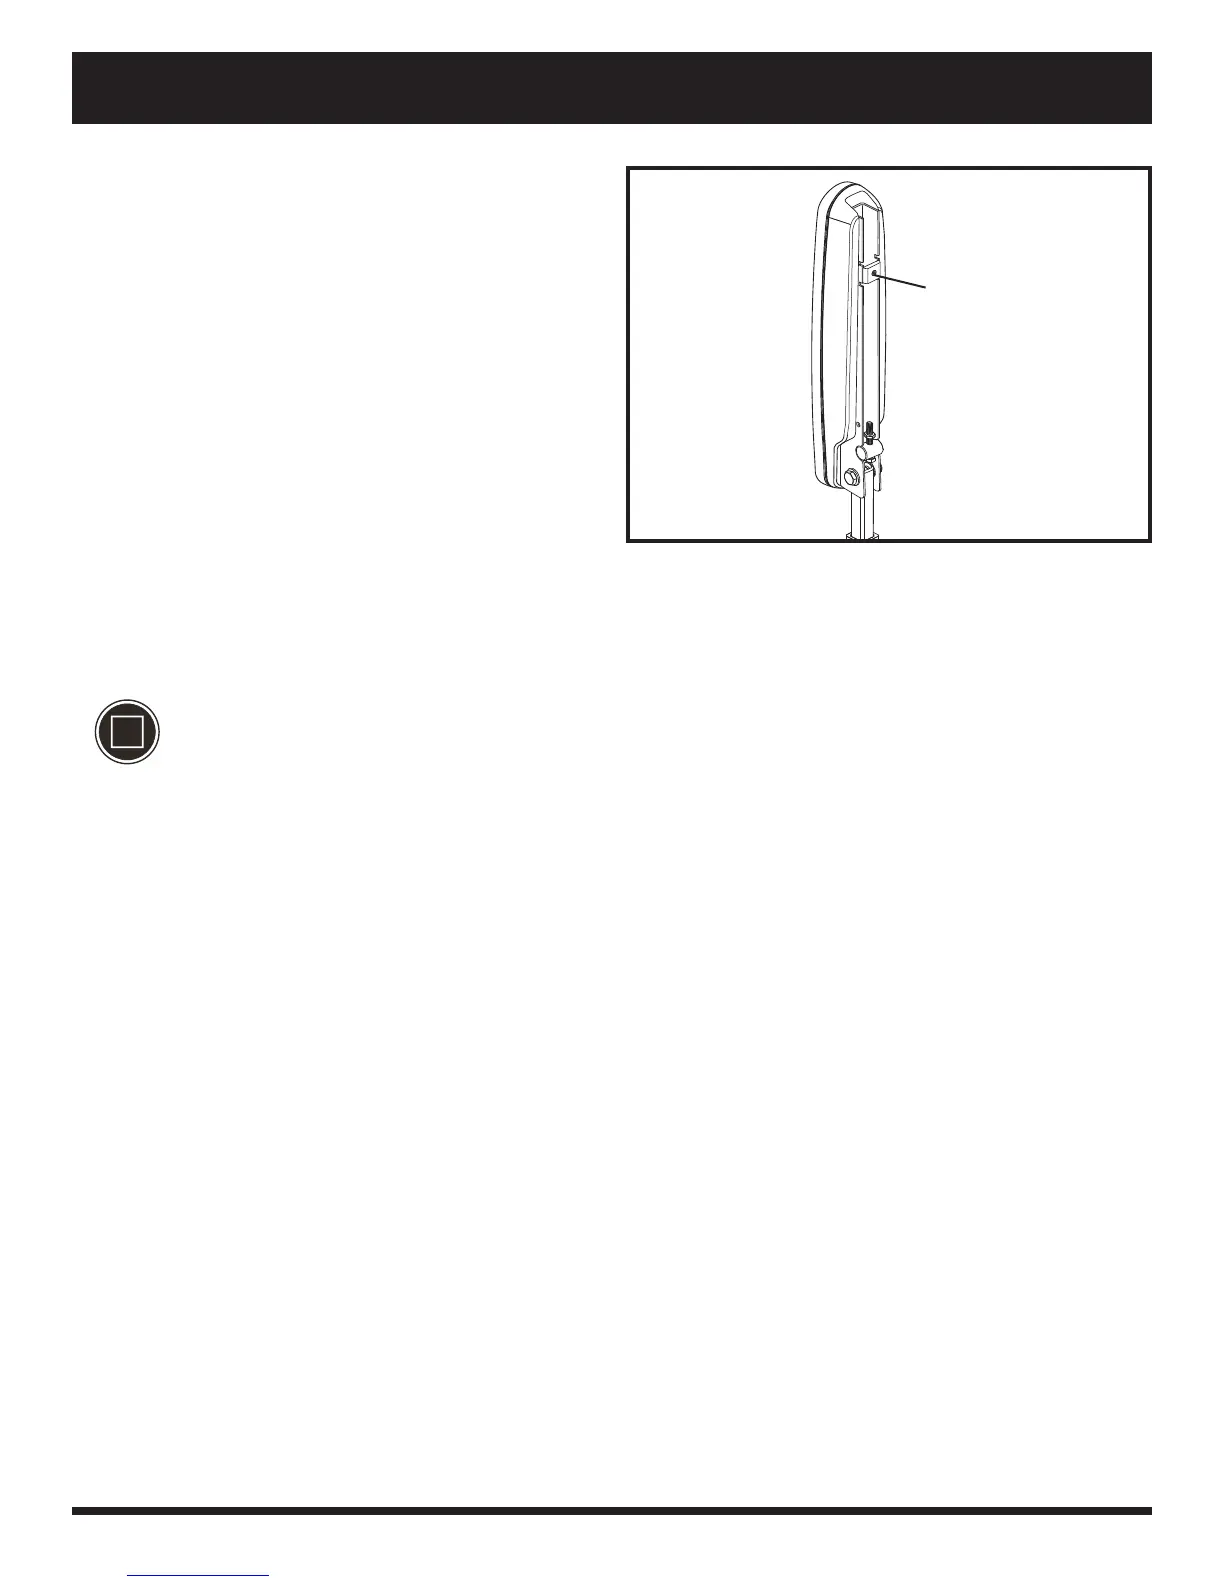
2. Loosen the setscrew on the controller bracket. See fi gure 10.
3. Slide the controller into or out of the armrest to the desired position.
4. Tighten the setscrew to secure the controller.
To change the controller position:
1. Turn off the power to the controller.
2. Unplug the controller harness from the power base.
3. Cut the wire tie(s) that secure the controller harness to the armrest and seat.
4. Flip up the armrests.
5. Loosen the setscrew on the underside of each armrest. See fi gure 10.
6. Slide the controller out of the armrest.
7. Place the controller into the other armrest.
8. Tighten the setscrew to secure the controller.
9. Route the controller harness along the seat frame and secure with wire ties.
10. Plug the controller into the power base. See fi gure 3.
Figure 10. Underside of Armrest
SETSCREW