4. Do not install temperature may exceed 40 ˚C
5. To avoid motor bearing damage and noisy and /or unbalanced impellers, keep drywacdfll spray, construction dust, etc. off power unit.
6. Make sure that the electric service supply voltage is 120Volt, 60Hz, 1Ph.
7. Follow all local electrical and safety codes, as well as the National Electrical Code (NEC) and Occupation Safety and Health Act (OSHA).
8. Always disconnect the power source before working on or near the fan, motor and junction box.
9. Protect the power cord from sharp edge, oil, grease, hot surfaces, chemicals or other objects.
10. Do not kink the power cord.
11. Provided suction parts with proper ventilation.
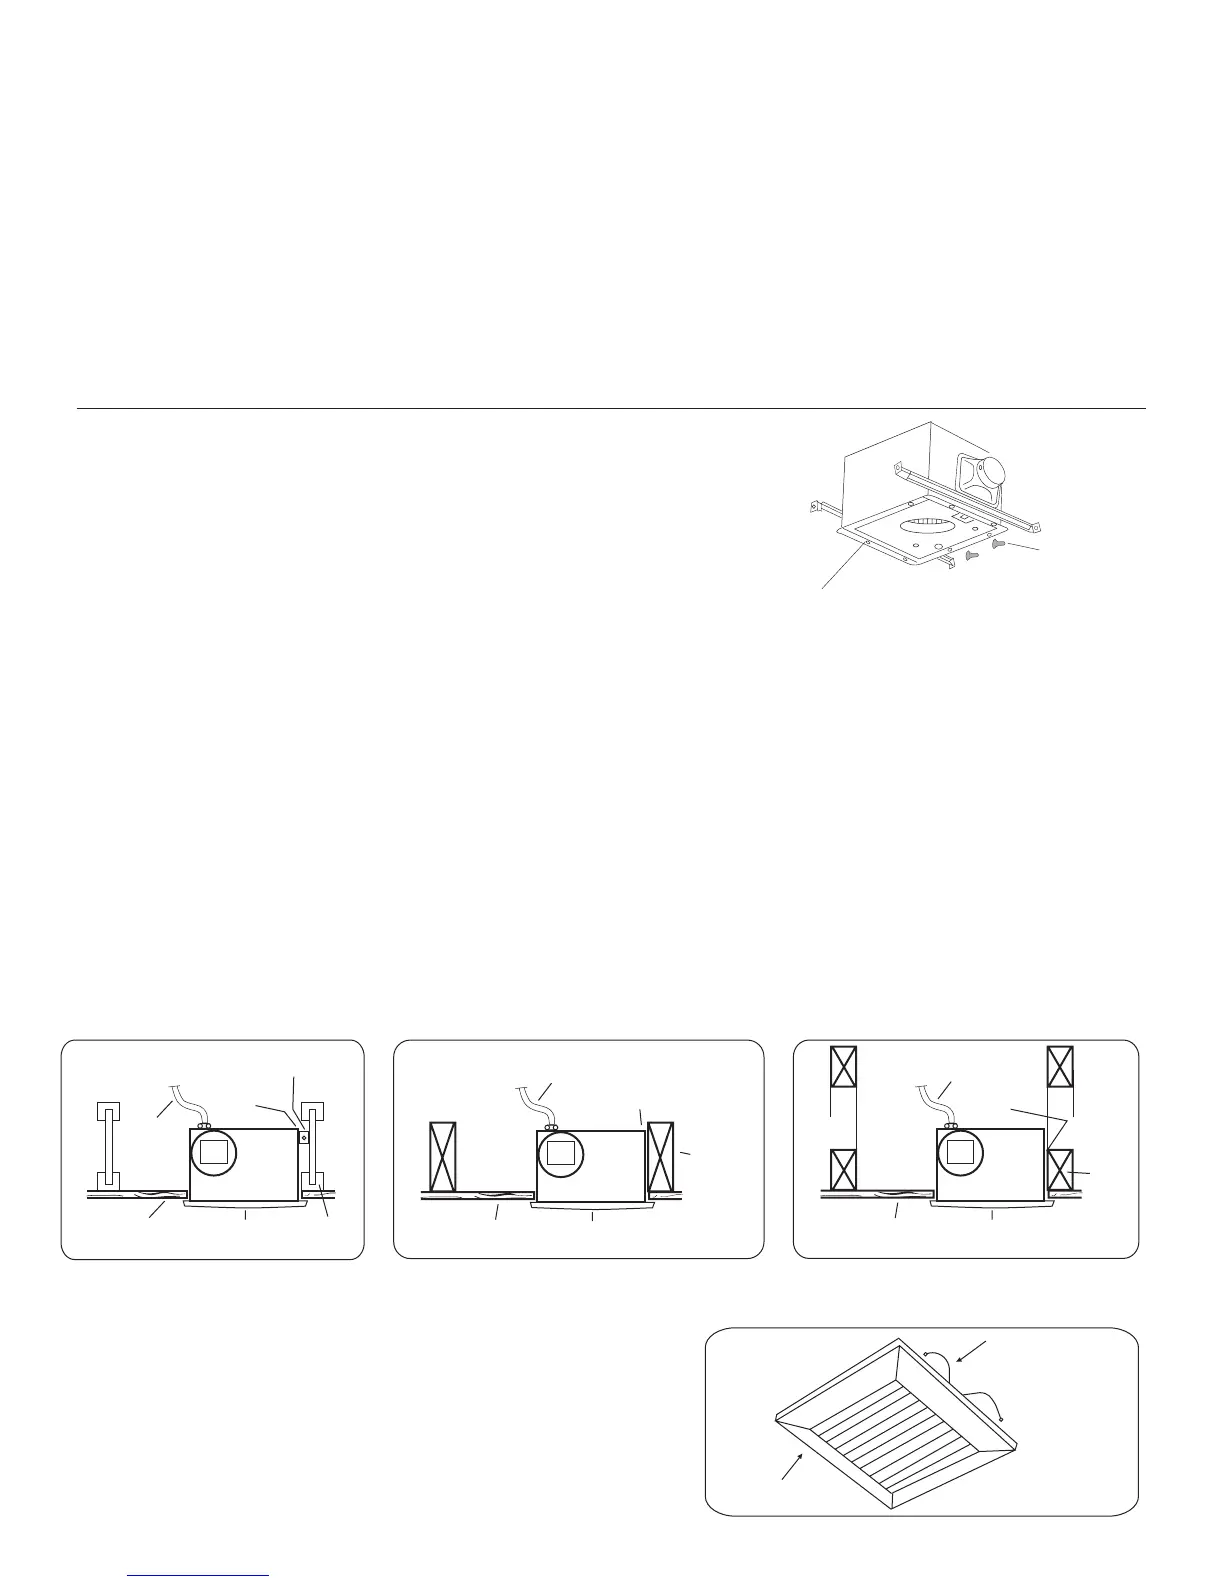
INSTALLATION OF HOUSING (Refer to Figure 2, 3, 4)
Model: PQ 50
Rough Opening: 17.8cm (7”) l * 17.8cm (7”) w
Housing Size: 17cm (6 11/16”) l * 17cm (6 11/16”) w * 18.5cm(7 9/32”) h
PME 50, PME 50L, PME 70, PME 70L, PME 90,
PME 90L, PME 110, PME 110L, PME 130, PME 130L
Rough Opening: 26.5cm (10 1/2”) l * 26.5cm (10 1/2”) w
Housing Size: 25.3cm (10”) l * 25.3cm (10”) w * 19cm (7 1/2”) h
1. Remove the grille from the unit before the mounting install sliding hanger bars onto the fan housing by inserting the bars into the
hanger bar support guide rail.
2. Loosely attach one end of a hanger bar to joist by inserting a screw through the eyelet at the end of the bar into the wooden joist.
3. Attach the second hanger bar to the same joist.
4. Level the fan housing and attach the third and fourth hanger bar ends to the next joist. Adjust and tighten the screws.
5. For the grille to fit properly, the flange of the housing must be leveled to the suffix level of the ceiling.
6. Install sliding hanger bars onto the fan housing by inserting the bars into the hanger bar support guide rail.
7. Loosely attach one end of a hanger bar to joist by inserting a screw through the eyelet at the end of the bar into the wooden joist.
8. Attach the second hanger bar to the same joist.
9. Level the fan housing and attach the third and fourth hanger bar ends to the next joist. Adjust and tighten the screws.
INSTALLATION OF GRILLE (Refer to Figure 5)
The grille can be installed when the finished ceiling has been completed,
Place the louver’s torsion spring mounting clips into the slot holes
on the both sides of the fan unit and press it closed.
Fan Housing with sliding hanger bars installed
Tapping Screw
CEILING
MATERIAL
GRILLE
HOUSING
MOUNTING
TABS
POWER
CABLE
“I” JOIST
“I” JOIST SPACER BLOCK
Housing Mounted to “I” JOIST
CEILING
MATERIAL
CEILING
JOIST
Housing Mounted to JOIST
GRILLE
POWER CABLE
HOUSING
MOUNTING TABS
CEILING
MATERIAL
TRUSS
Housing Mounted to Truss
GRILLE
POWER CABLE
HOUSING
MOUNTING
TABS
Figure 2
Figure 3
Figure 4
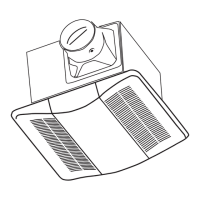
Figure 1
LOUVER
LOUVER
MOUNTING CLIP
Figure 5
 Loading...