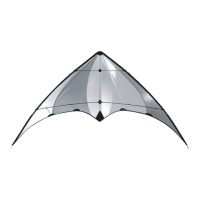
Unroll your sail and lay it out
as shown. In addition to the
sail, you should have:
Connect the leading edge rods
for each wing at the ferrules.
Using your upper spreader as a
tool, tension the elastic at each
wingtip. Check that the sail is
smooth and wrinkle-free along the
leading edge.
The tighter your leading edge, the
better the kite will fly.
Tension the sail by inserting
the standoffs into the
spreader fittings. Hang the
kite from the bridles to check
that they aren't tangled.
Insert the ends of the lower
spreaders into the center "T"
fitting.
ASSEMBLY
1
2
3
7
Clip the standoff rods into the
holes in the back edge of the
sail (see next step)
5
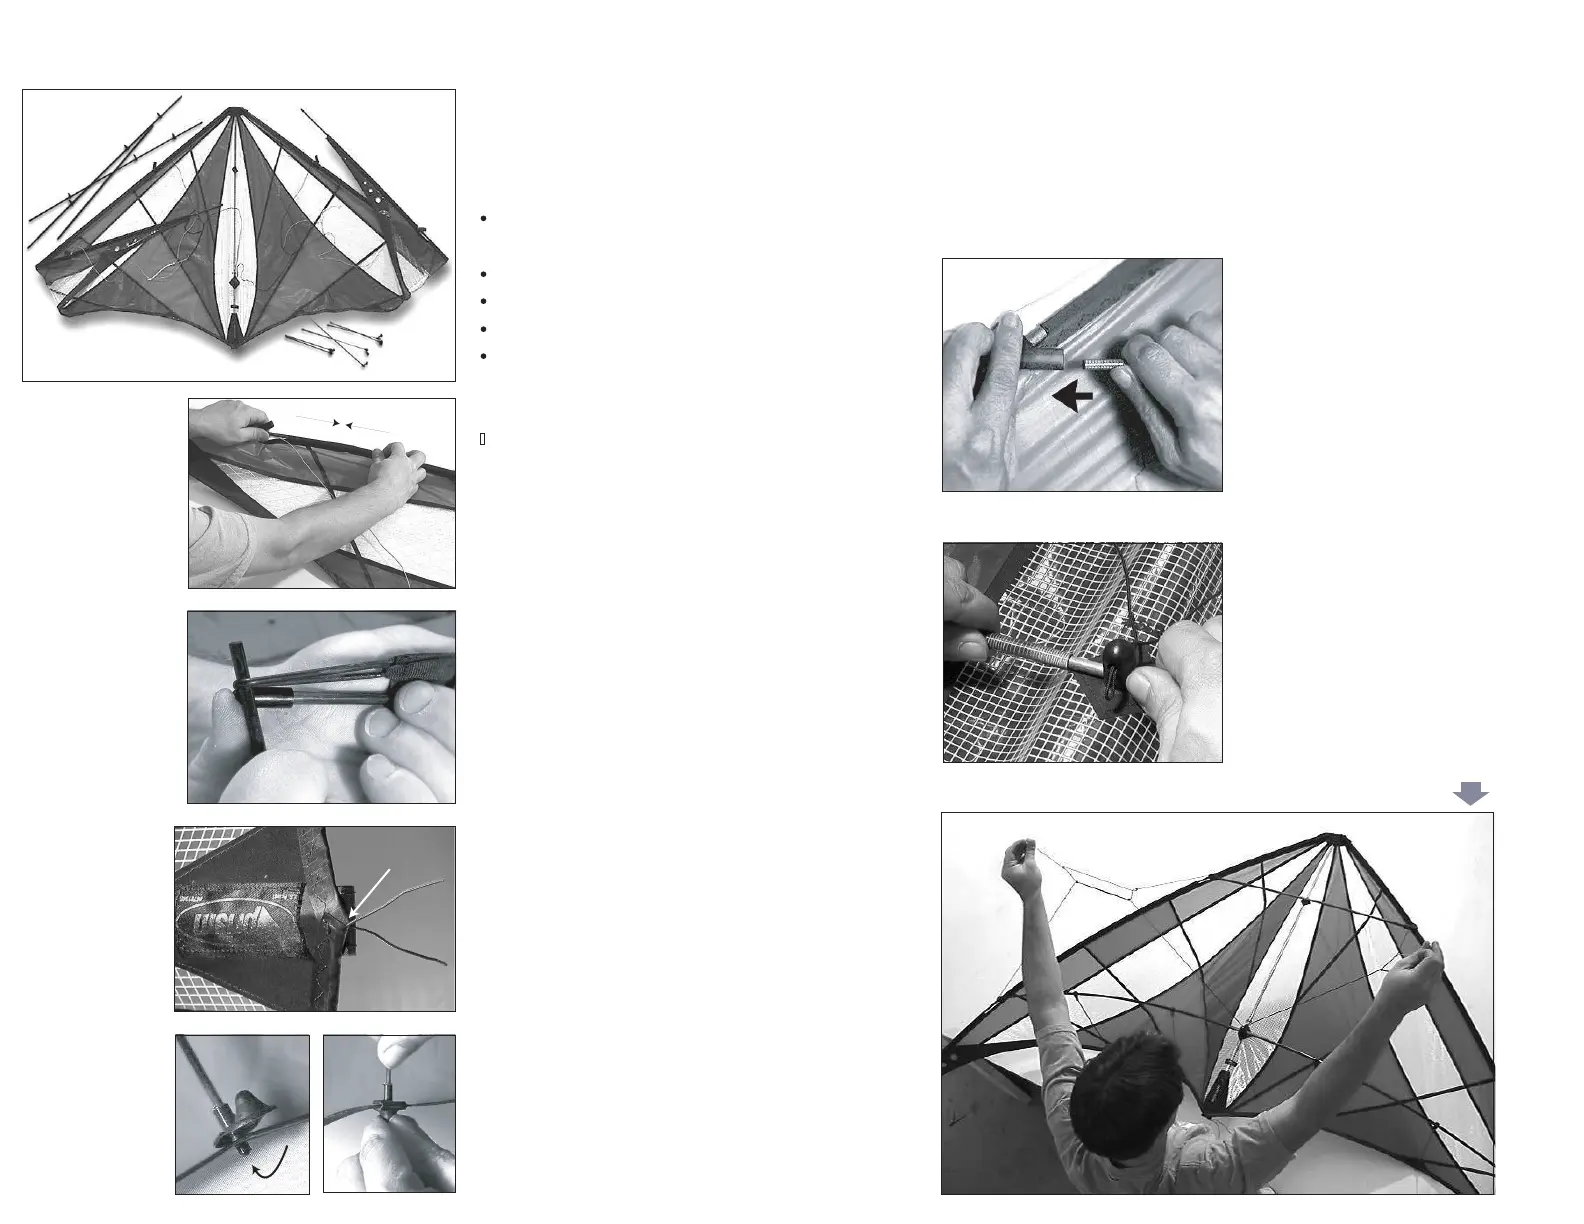
Insert the upper and lower
spreaders all the way into
the leading edge fittings.
Check that the bridles are
clear of the fittings, and hold
the spreader rods close to
the end as shown so you
don't slip and puncture
the sail.
6
Pull about 1/2" of tension
into the red leechlines at the
end of the spine and secure
them with a square knot.
Re-tension as necessary if
your kite buzzes at all during
flight.
4
Two long lower spreaders,
one male and one female
One short upper spreader
Two short standoffs
Two medium standoffs
Two long standoffs
Tie square
knot here
Standoff positions:
SHORTEST STANDOFFS: Outermost holes
LONGEST STANDOFFS: Middle holes
MEDIUM STANDOFFS: Innermost hole
 Loading...