39 © 2017 Proceq SA
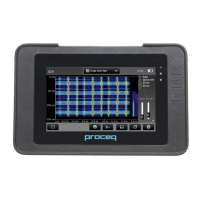
13 Actual measured potential value(s)
14 Skip distance
15 Skip button
16
Speed bar: green until maximum suggested speed of 1m/s
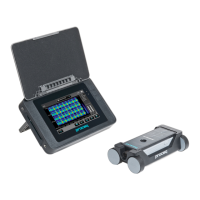
In order to allow for an easier handling of the unit during the measurement,
the Start / Stop (6) and Move to next line (10) buttons can be replicated on
the hard Keys.
Start / Stop
Toggle Hard Keys Mode On/Off (tap on screen to confirm)
Move to next line
Measurement procedure
The cursor begins by default in the top left hand corner of the screen.
• Press 6 and start the measurement along the first line: the potential
will be continuously measured and the lowest value in the cell will be
stored. Note that when using the four wheel electrode the long cursor
will display an highlighted segment corresponding always to the first
wheel.
• Changing the cursor position can be done by tapping and dragging the
cursor (tap on the cursor and wait until it becomes white and orange)
or using the Skip function (see “3.2.2 Single-Line Mode”).
• At the end of the line press 10 and the cursor will move to the next
line, at zero or current position depending on what defined in Settings
under Direction of Next Line.
• At the beginning of each line (for the first 100 cm / 40 inch) the default
direction defined in the Direction of Next Line setting is displayed on
the screen by four flashing arrows. You can manually change the direc-
tion (button 9) and the orientation of the four wheel electrode (button
8).
• After the first 100 cm / 40 inch the line will automatically be oriented
in the set direction, regardless of the actual rotating direction of the
wheel.
• At any time you can edit or delete any measured cell value by pressing
11; alternatively the values can be overwritten by simply repeating the
scan and storing the new measured values.
• You can add text notes to a defined area by tapping 11: just tap on the
desired cells, confirm with
and enter your text; the selected area
will be highlighted with a white transparent overlay. The note can be
deleted anytime later by tapping on the area and pressing .
After storage (tap 7), the data can be seen in the Corrosion-Scan View,
Distribution View, Cumulative Distribution View, Chipping Graph View,
Chipping Graph ASTM (see “4.2.4 Corrosion Display Views”).