Copyright © 2010 IPE Music
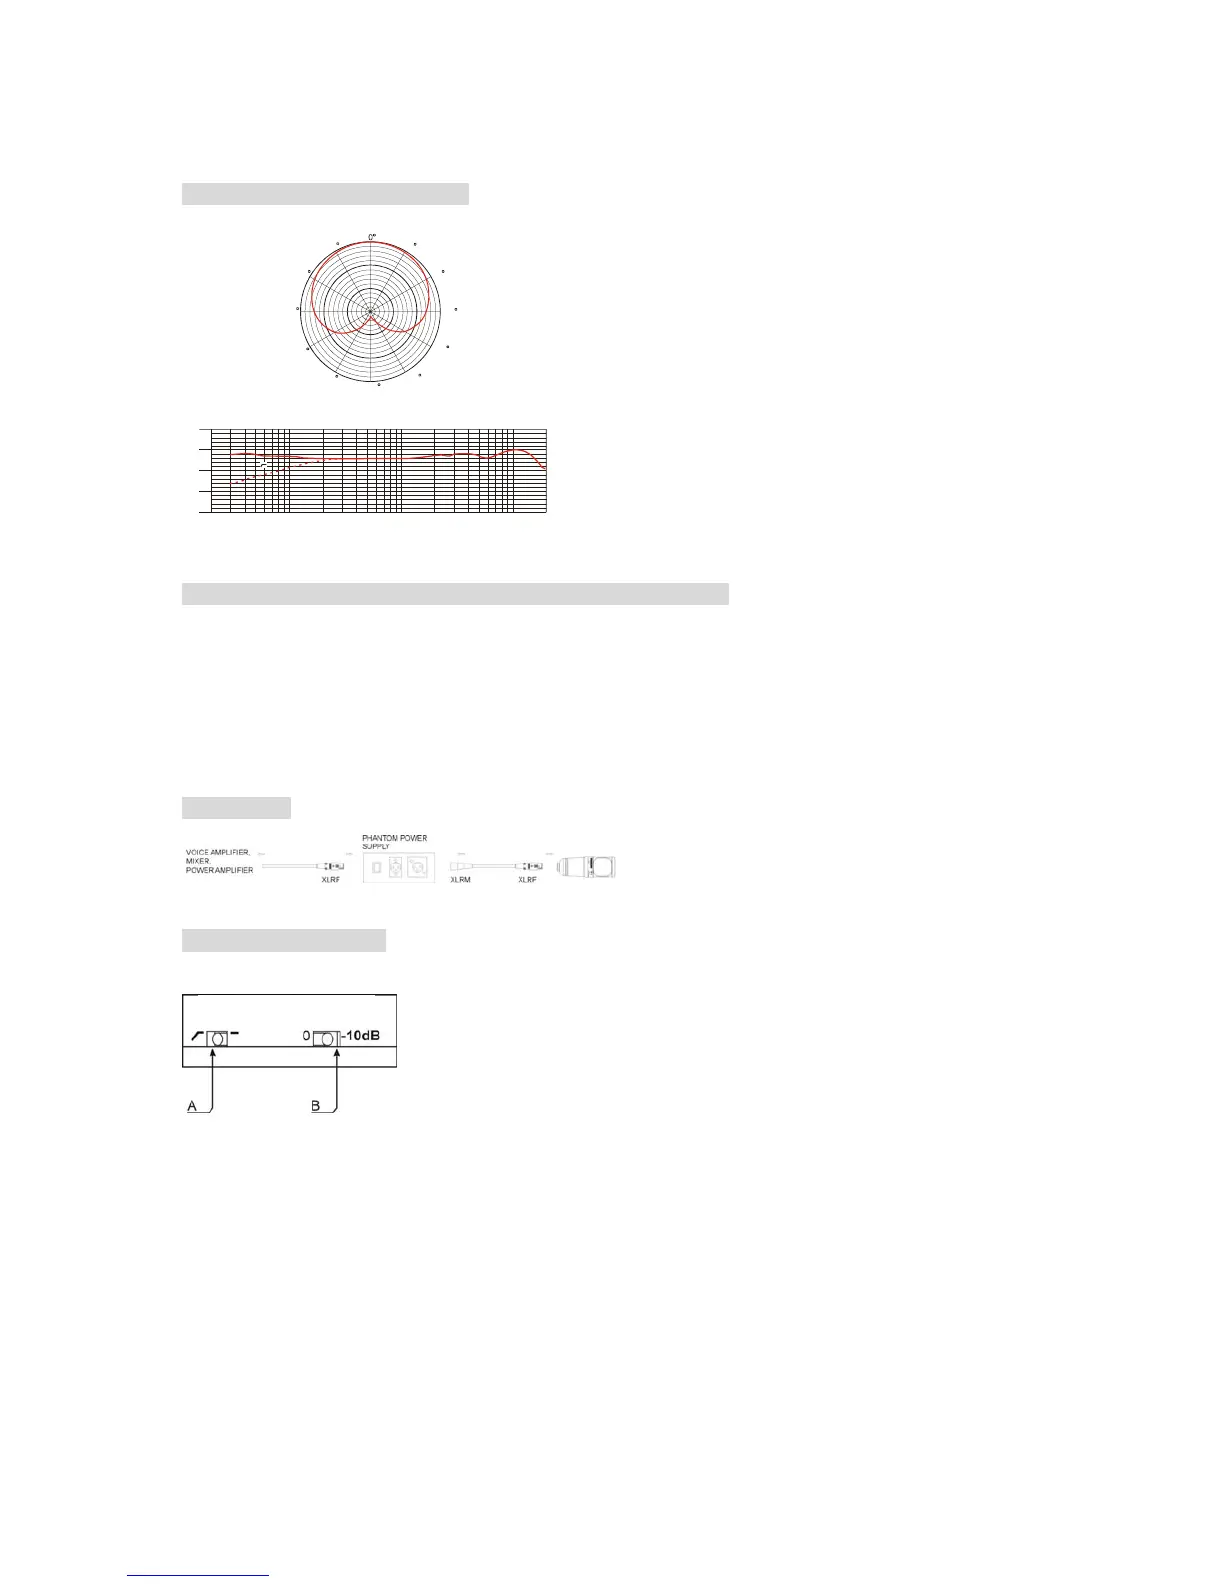
Frequency Response Graph:
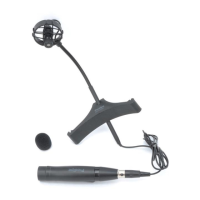
Connecting and Disconnecting the Microphone Cable:
1. Insert the XLR connector into the microphone. If necessary, rotate the connector to align
the key on the connector and the groove in the microphone. Push the connector into the
microphone until clicks.
2. To disconnect the cable and microphone, grasp the connector while depressing the tab.
Pull the connector away from the microphone.
Operation:
How To Use Switch:
A. Low frequency attenuation:
“- “ no attenuation;
“┌“ – it can balance the low frequency rising effect of short distance pickup and reduce
the feedback as well as protect from howling.
B. Sensitivity attenuation:
“0 “ – no attenuation;
“-10dB” – it fixes the sensitivity on –10dB level, shortens the pickup distance, eliminates
the noise: this function is usually used for high SPL and large dynamic pickup occasions
(i.e. the pickup of low frequencies of small instruments of symphony orchestra);
Uni-directional
(at 1kHz)
30
60
90
120
150
330
300
270
240
210
180
-20
-30
-40
-50
-60
(dBV/Pa)
20 2K
20K
50 100 200 500 1K 5K
(Hz)
Frequency Response Graph
Prodipe ST1
Prodipe and its distributors decline all responsibility for any damage caused by using this appliance in a way
that does not conform to the conditions of use as set out above.