3
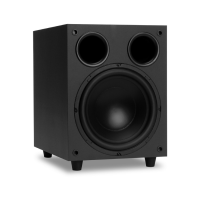
Voltage Selector (See Figure 1)
ForuseintheU.S.,theS12/S10/S8comespresetfromthefactoryat115V.Foruseinother
countries,thevoltagemaybesetat230V.(Pleasenotethatanoutletadapteroralternatepower
cord may be required.)
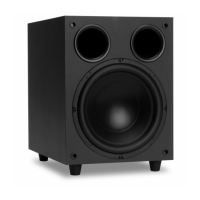
Connecting the Line Level Audio Inputs (See Figure 2)
Ifyoursurroundsoundreceiveroramplierhasonlyonesubwooferoutput,simplyplugitintothe
LeftLineInput.Ifyourreceiveroramplierhasabuilt-inpreamplier,theleftandrightpre-outputs
canbeconnectedtotheLeftandRightLineInputs.CAUTION:Onlymakeconnectionswhenthe
S12 / S10 / S8 is turned off.
Connecting the Speaker Wires (See Figure 2)
FollowtheseinstructionswhenusingtheSpeakerLevelOutputsofyourreceiveroramplierto
connect to the S12 / S10 / S8.
Forbestresults,usespeakerwirethatisatleast18gauge.Forrunslongerthan75feet,14gauge
wire is recommended.
Wirelargerthan14gaugeisnotrecommendedbecauseitmaynottintotheconnector.Forbest
results, strip all wire insulation no more than
3
⁄8" from the end before inserting into the connector.
1. Strip the speaker wires’ insulation
3
⁄8" from the end.
2. Connect the wires from the speakers to the appropriate location above “To Speakers”. Please
observe proper polarity of the connections (+ to + and – to –).
3. Connect the amplifier’s or receiver's speaker outputs to the appropriate location above “From
Receiver”.Pleaseobserveproperpolarityoftheconnections(+to+and–to–).
CAUTION: Ifthe“ToSpeakers”and“FromReceiver”connectionsarereversed,ashortcouldresult
across the amplifier or receiver output terminals, which may seriously damage your amplifier or
receiver. Please double-check all connections before turning on your amplifier or receiver.
INSTALLATION
OncetheS12/S10/S8isconnected,usethecontrolsdescribedbelowtomakeadjustmentsso
that it will blend seamlessly with the other speakers in your system.
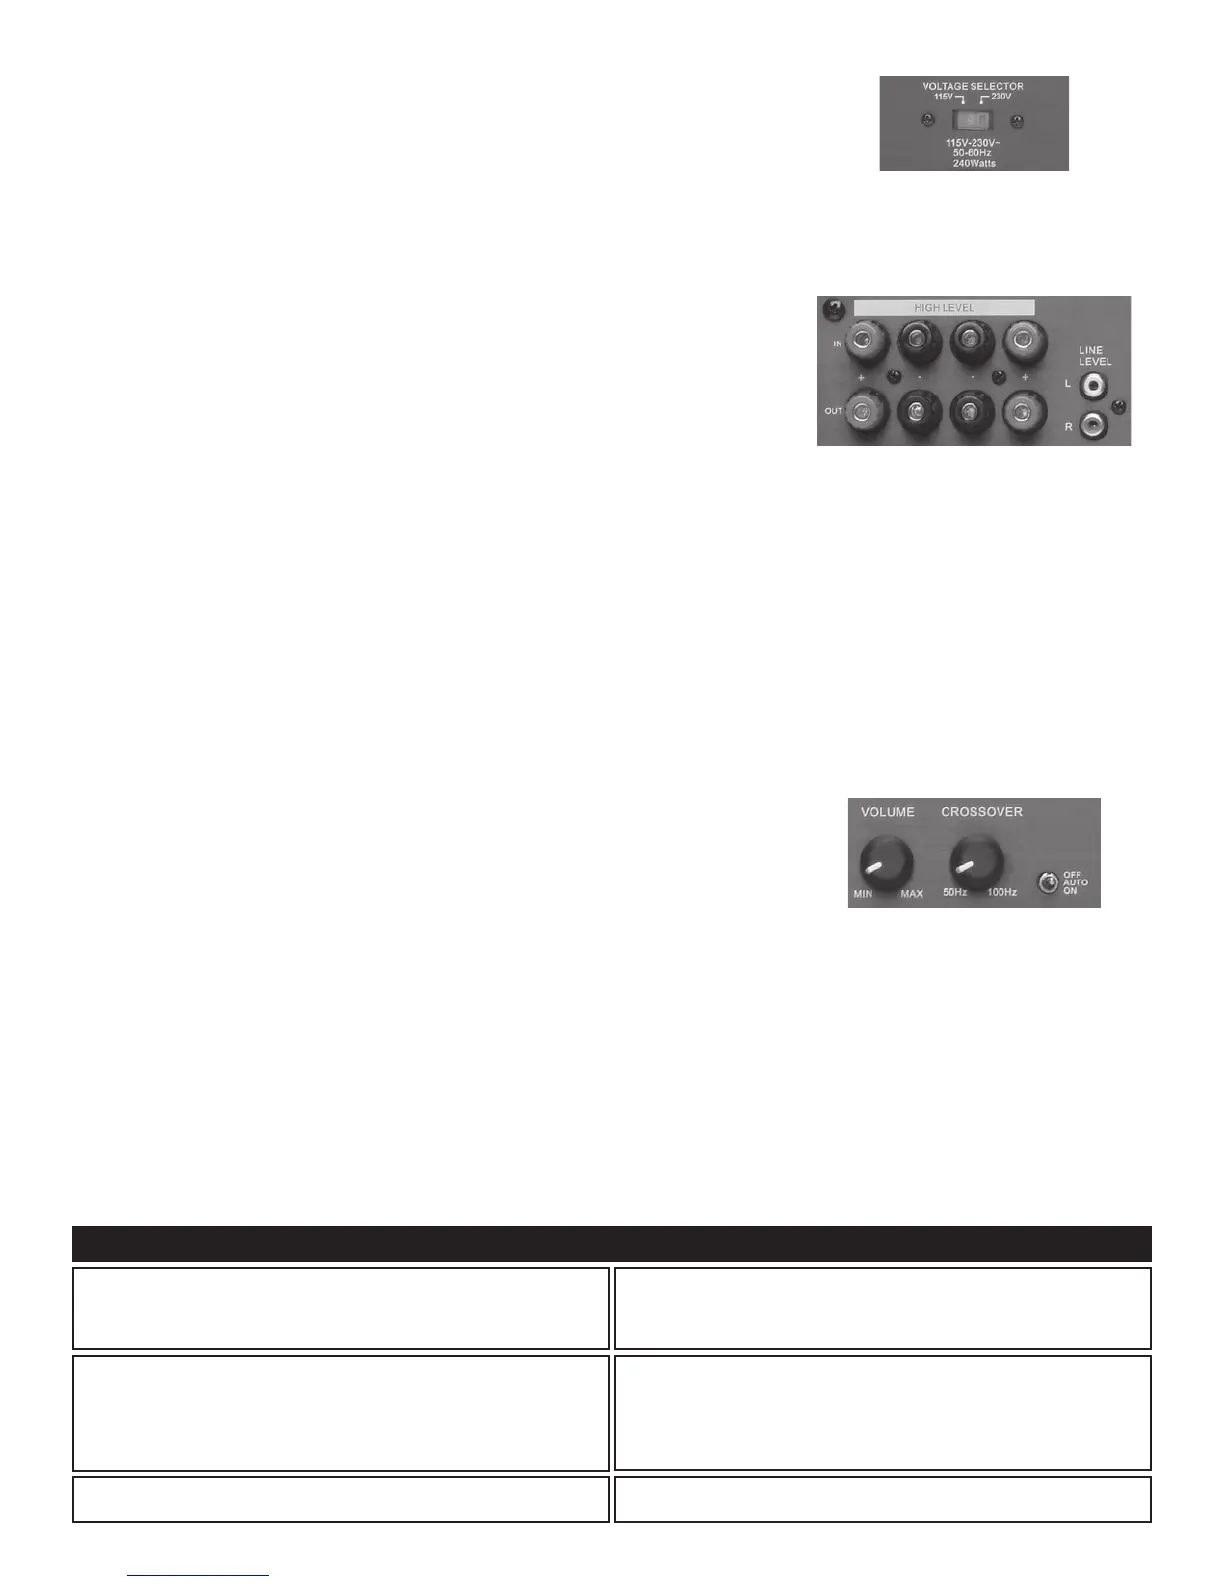
Power Switch (See Figure 3)
ThisswitchsetsthepowermodeoftheS12/S10/S8.Select“On”or“Off”toturnthesystemon
or off. Selecting “Auto” will automatically turn the S10 / S8 on when it receives an audio signal from
your system. The subwoofer will automatically turn off when it stops receiving the audio signal.
Crossover Knob (See Figure 3)
UsethiscontroltoadjusttheupperfrequencylimitoftheS12/S10/S8.Thepurposeistocontrol
the overlap the upper frequencies of the S10 / S8 and the main speaker’s lower frequencies. We
recommend 12 o’clock as the optional setting.
Volume (S12), (S10) / Level (S8) Knob (See Figure 3)
UsethiscontroltomatchtheoutputoftheS12/S10/S8tothatofthemainspeakersinthe
system. We recommend that you play a variety of material before selecting a setting. Start with the
control in the “Min” position (completely counterclockwise) and slowly turn it up. We recommend
12 o’clock as the optional setting.
OPERATION
TheS12/S10/S8PoweredSubwooferisdesignedtofunctiontrouble-free.Mostproblemsoccurduetooperatingerrors.Ifyouhaveaproblem,please
checkthetroubleshootinglistrst.Iftheproblempersists,contactyourauthorizedProcientdealerorProcientCustomerServiceat800.448.0976
TROUBLESHOOTING
Ahumorbuzzingsoundisheard.
The sound may be caused by a ground loop in the system. Try to eliminate
this by reversing the AC plugs of other components in the system.
Try plugging the receiver into another outlet.
Othercausesmayincludefaultycables.
The S12 / S10 / S8 will not turn on.
The subwoofer must be plugged into a live AC outlet. The power switch on
the back panel must be on. A signal must be playing into the input jacks.
Nosoundisheard.
Audio cable to the receiver is not connected properly or the cable is bad.
Useanothercablethatyouknowisgood.
Check all wire connections and plugs.
Problem Possible Causes & Solutions
Figure 2:
Speaker Level Inputs/Outputs
Line Level Inputs
Figure 1:
Voltage Selector
Figure 3:
Volume / Level Knob
Crossover Knob
Power Switch
 Loading...