10 491-001PR_v01
2
Place the mixing attachment onto the drive in an open
position following the instructions on the drive and lid’s case.
Then twist the drive shaft clockwise (the direction is shown
by the arrow) until you hear that it has clicked (the indicator
on the coupling should be in a closed position.
3
Plug the power cord to the power supply socket.
4
Plunge the coupling in the products to be mixed.
5
Then start – up the appliance pressing the (2) switch and
set the required gear as necessary.
The appliance operates only with the “power”
or “turbo” button pressed.
●
When nished, turn the appliance off and unplug it by
disconnecting the cable cord from the power outlet.
Operational guidelines
●
To detach the plastic shaft, just follow the attaching
procedure in reverse order.
●
Wash the plastic shaft by swishing it in clean, warm water.
●
If any uid gets inside the blender attachment, turn it and
put with the blade up until it is dry.
Included in the set you will nd a special
beaker with a handle for mixing, which is easy
and helpful to operate with. Other jars may be
used as well.
OPERATING THE MINI FOOD PROCESSOR
Prolo hand blender is equipped with a mini food processor
used to chop meat, cheese, nuts, onions, garlic, carrots, and
prunes.
Before assembling on and removing the
blender drive out of the mini food processor,
make sure that the plug of the supplying cord
is disconnected from the mains supply outlet.
Operate the blender so, that the closed/open marking
located on the appliance are well visible.
●
Before each usage of the mini food processor knife,
remove the cover out of the blades.
1
Place the blade into the work bowl so that its hole
matches the tang inside.
2
Put the food to be processed into the container. Fill in the
container. Do not exceed the marked MAX level.
3
Put the cover-transmission on the container. Make sure
the protrusions t the openings in the container and turn the
lid clockwise until stop.
4
Place the blender motor in open position on such
assembled mini food processor, in accordance with the
indicator on the motor casing and the lid of the mini food
processor including gearbox.
5
Turn the motor clockwise relative to the transmission
(according to the direction of the arrow) until you hear a click
(the indicator on the transmission should be in the closed
position ).
C
6
Plug in the appliance.
7
Switch on the appliance pressing the switch (2).
8
Set the required gear as necessary.
●
When nished, turn the appliance off and unplug it by
disconnecting the cable cord from the power outlet.
●
The dismantling process should be done in reverse order
to assembly.
The mini food processor blades are very
sharp. Be very careful during assembling,
disassembling or during cleaning. Store the
knife inside the cover for safety reasons.
It is not allowed to grind too hard products,
such as: coffee beans, nutmeg, ice cubes.
Before shredding big pieces of the products
cut them into smaller ones – approximately
1 cm cubes.
Never disassemble the lid from the container
before the disc stops rotating.
Do not start – up the motor without accessories.
Operational guidelines
●
If the products stick to the blade or the walls of the
container:
– Switch off the appliance.
– Remove the drive with the lid and container of ice or
other products crusher.
– Remove the products out of the mini food processor
walls.
– Re-assemble the appliance – as dened above,
Continue the operation.
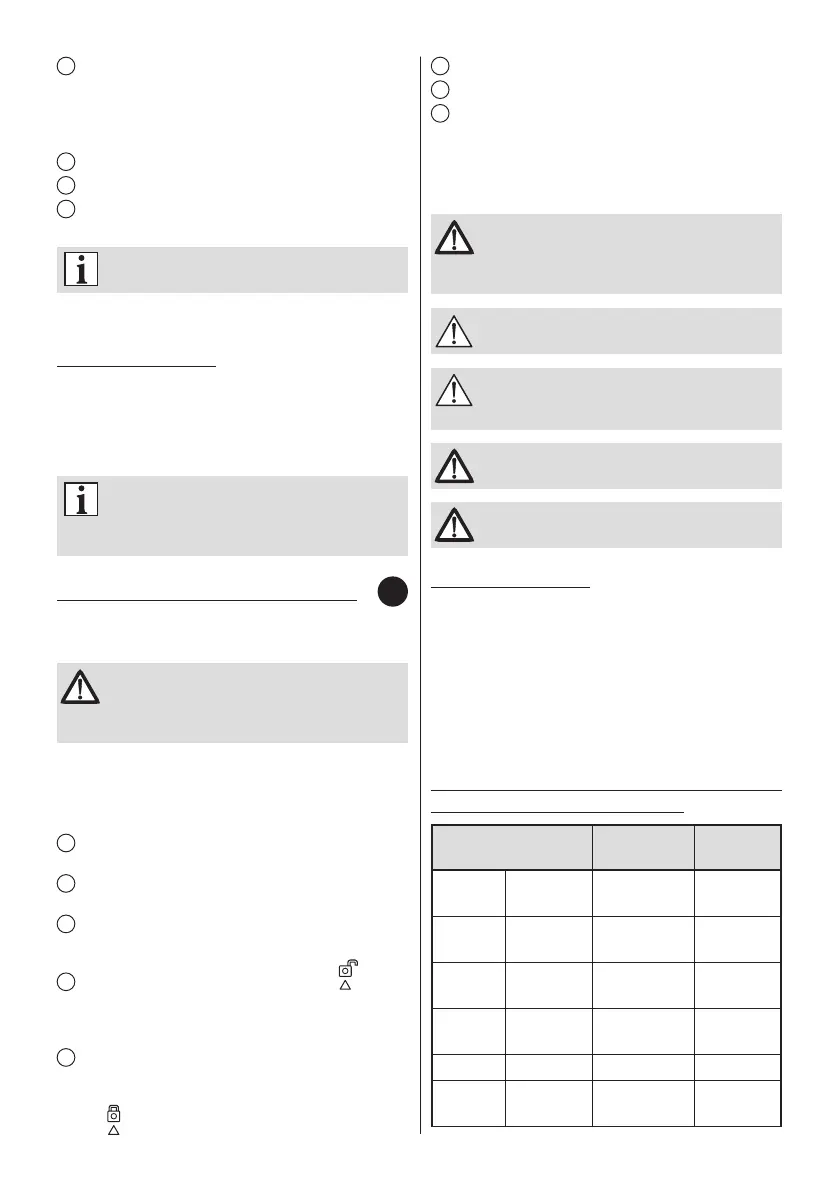
Approximate time for processing of selected
products for the recommended gear
Product
Recommended
speed
Processing
time
cheese
200 g
(500 ml)
TURBO 20-30 secs
meat
250-300 g
(400-500 ml)
TURBO 25-30 secs
onions
250 g
(500 ml)
8-10 15 secs
almonds
300 g
(500 ml)
15
/ TURBO
40 secs
+ 5 secs
garlic 300 g 15 10 secs
walnuts
200 g
(500 ml)
15
/ TURBO
15 secs
+ 5 secs
 Loading...