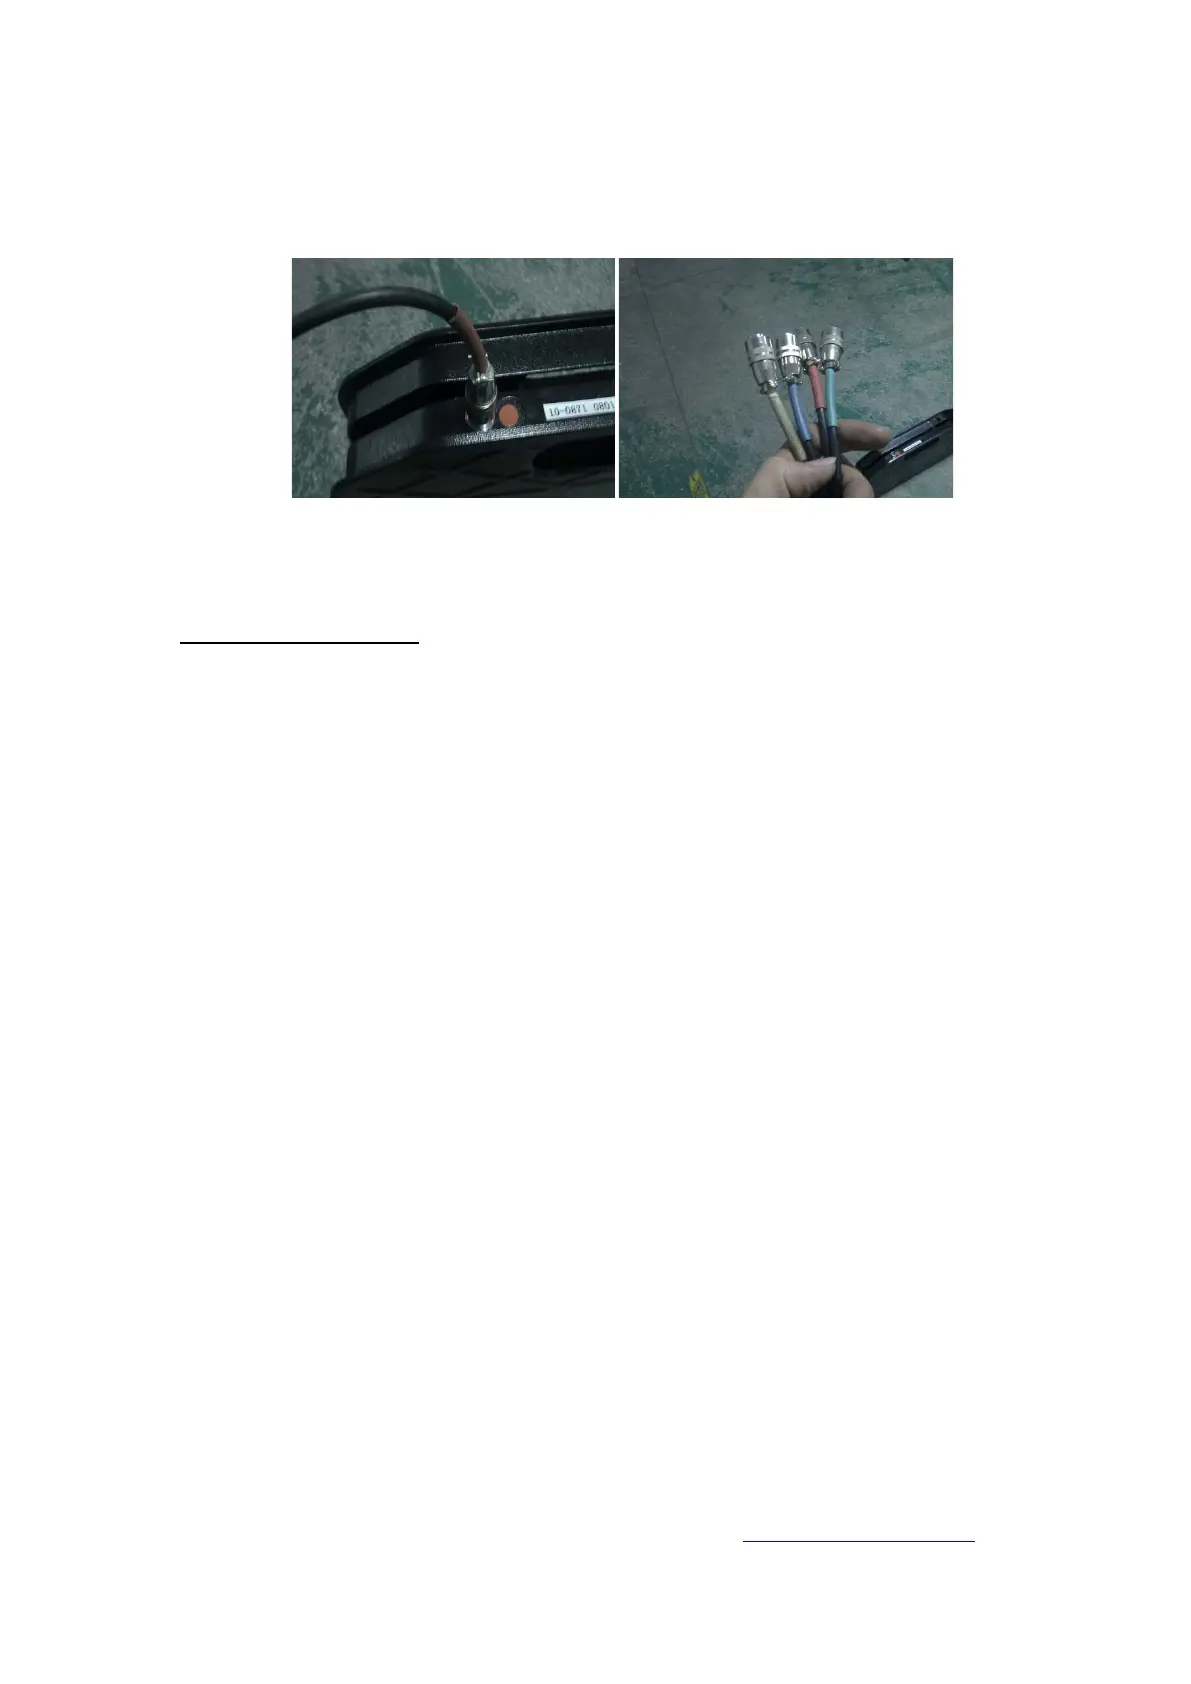
For accuracy, each connecting wire should connect to its corresponding pad that has
the same color tag.
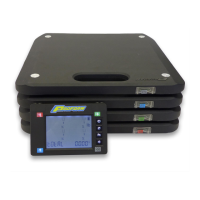
Operating instructions.
1. Put each weighing pad next to each wheel.
2. Connect the four connecting wires to their respective pads according to their color
coded markings.
-FR: Front Right, FL: Front Left, RR: Rear Right, RL: Rear Left.
-Reference Set up Configuration image on previous page.
3. Install 4 x AA batteries into the base of the LCD Display if you have not already done
this.
4. Turn the LCD Display power on by pressing the On/Off button. Wait until the readings
for each pad show zero, or press the TARE button to zero. Press Kg/lb button to choose
the unit of measurement.
5. Lift the vehicle up and put the center of the pad the center of the tire. NOTE: Do not
press the TARE button if the vehicle is on the pads otherwise the vehicle has to be
removed and the scale reset to zero again.
6. While the car is on the pads. Shake each of the corners of the car up and down to
relieve out any residue stress or friction within the chassis.
7. The Total vehicle weight, individual weight of each wheel, and the individual
percentage of each wheel will be shown. (reference Screen #1 image)
8. To view Front to Rear, Side to Side, and Cross Weights: Press and hold the Kg/lb
button. While holding the Kg/lb button, press and release the TARE key to scroll
through the additional weighing screens. The LCD Display will change screens in the
following order: Front to Rear (Screen #2), Side to Side (Screen #3), Cross Weight
FL/RR (Screen #4), and Cross Weight FR/RL (Screen #5).
9. Press On/Off to turn the power off.
10. To Download the PC compatible program, please visit www.ProformParts.com
 Loading...