18
OPERATION HELPFUL HINT
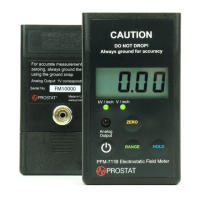
Zero the PFM-711B/CPM-720B combination while grounded and the upper and lower CPM plates
shorted with a small screw driver. Perform the zeroing process away from the ionizer. Hold the
assembly by the PFM-711B case with your fingers touching the metal ground snap. Approach the
ionized air flow from above the ionizer with the sensing CPM plate pointing down into the air
stream.
6. Allow the PFM-711B/CPM-720B combination to stabilize in the ion air flow for approximately
30-45 seconds and note the ion off set voltage, i.e., the difference in voltage from the Zero set
point on the PFM-711B.
7. Adjust the ion balance in accordance with the manufacturer’s instructions such that the
displayed off set voltage on the PFM-711B/CPM-720B combination is 0.00, ±5 volts.
8. Remove the PFM-711B/CPM-720B combination from the ion air flow and re-zero the system.
Repeat the balance measurement to insure accuracy.
Ionizer Blower Decay Performance Check
Ionizer Blower Decay Performance Check using the PFM-711B Field Meter/CPM-720A Charge Plate
Assembly combination, and the PCS-730B Electrostatic Charger.
1. Allow the ionizer to operate at normal speed for a minimum of 30 minutes prior to measuring
balance. Follow the manufacturer’s instructions for normal operations.
2. Mount the CPM-720B Charge Plate Assembly on the PFM-711B Field Meter Case as described
above.
3. Ground the case of the PFM-711B, as described below:
a. If the operator is wearing a properly grounded wrist strap and making direct contact
with the metal ground snap mounted on the back of the PFM-711B’s case, the unit will
be sufficiently grounded.