20
b. To charge the Wand to >-1.0kV, press and hold the Negative (-) button switch
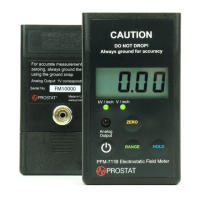
8. Touch the wand to the CPM-720B’s sensing (upper) plate and note the voltage indicated on
the PFM-711B.
9. Once the desired voltage level is achieved, release the button switch and remove the PCS-
730B Charger from the air path.
10. Observe the voltage drop indicated on the PFM-711B meter. Voltage should decay over time
to the initial off set point indicated during the balance test procedure outlined above.
Body Voltage Generation
Using the PFM-711B/CPM-720B combination to Measure Body Voltage Generation related to
Footwear and Flooring combinations.
1. Mount the CPM-720B Charge Plate Assembly on the PFM-711B Field Meter Case as described
above.
2. Ground the case of the PFM-711B, as described below:
a. Using a PWS-610M fabric wrist strap cuff, mount the cuff on one of the five (5) pound
NFPA electrodes such as the PRS-801W.
NOTE
The use of the Prostat PWS-610M is recommended for this application due to its built-in 10mm
male snap so that connects to the grounding female snap on the back of the PFM-711B meter.
b. Remove the insulated cap covering the 10 mm male snap located in the cuff fabric
approximately 1.5 inches from the cuff buckle.
c. Snap mount the PFM-711B’s 10 mm female snap (located on the back of the PFM-
711B’s case) onto the wrist strap 10 mm male snap.
d. Adjust the wrist strap cuff so that the instrument is held firmly to the electrode; lock
the adjustment buckle.