3 4
AIR SOURCE
Clean air of correct air pressure is recommended for the power supply
for this tool. A maximum of 90 PSI at the tool is recommended for most
air tools of this class. Check specifications section for recommended
pressure. (Depending on length of air hose and other circumstances, air
pressure at compressor may need to be increased to 100 PSI to ensure
90 PSI at the tool.)
Water in the air hose and compressor tank contributes to reduced
performance and damage of the air tool. Drain the air tank and filters
before each use and as necessary to keep the air supply dry.
Hose length over 25’ causes loss in line pressure. Increase hose I.D. or
increase compressor pressure to compensate for the pressure loss. Use
an in-line pressure regulator with gauge if air inlet pressure is critical.
OPERATION
1. Regulate pad speed with air regulator knob.
2. Start the sander off the sanding surface. Set the sander on the
surface gently and evenly and start the work. Let the sander do the
work. The weight of the sander will provide efficient sanding.
Applying pressure to the sander will only slow the speed of the pad
and reduce sanding efficiency. This will also overload the motor and
cause premature wear of the tool and void the warranty.
3. Work the sander back and forth in a wide, overlapping motion. Lift
the sander off the surface before releasing the trigger.
4.
Start with a paper grit coarse enough to remove high spots and rough
areas. Continue using progressively finer grit to attain desired finish.
Sanding pad
Air regulator
Trigger
Air Inlet
Motor
Oil
Trans.
Fluid
Brake
Fluid
Water
Whip
hose
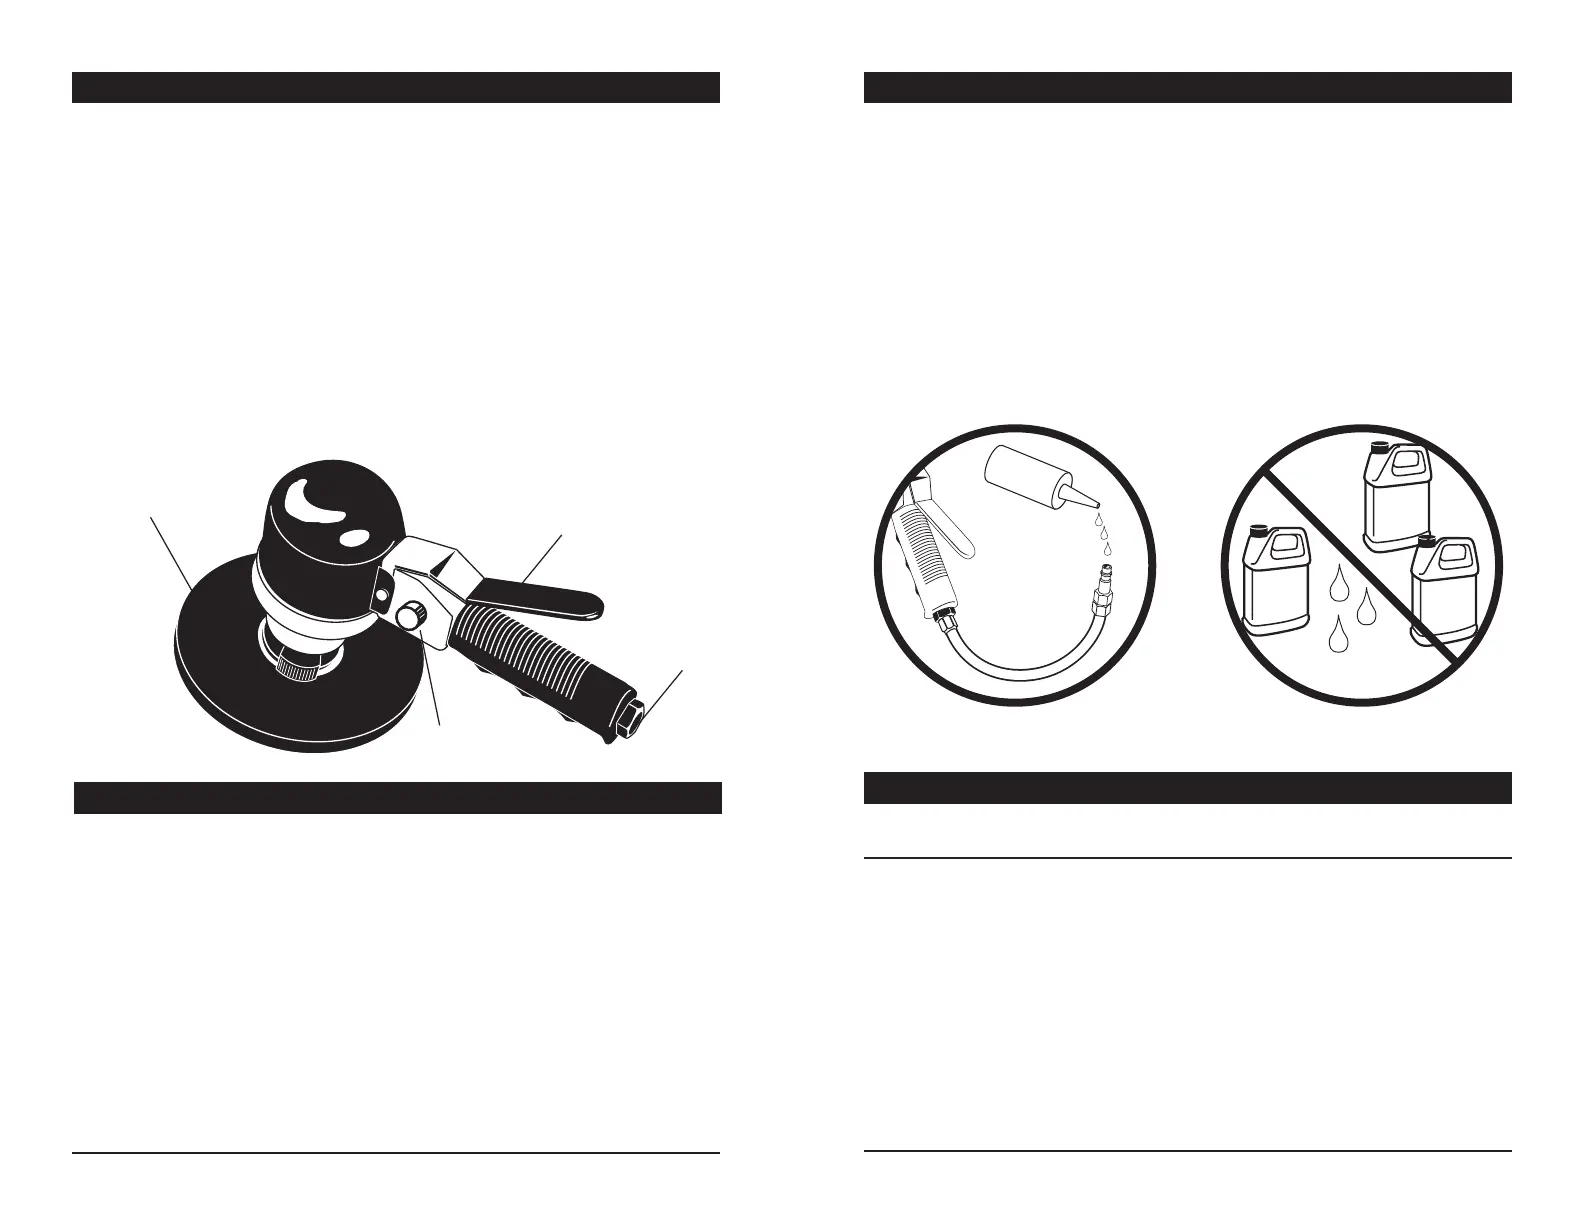
Air Tool
Oil
Oil tool before each use. 4 to 5 drops of a good grade Air Tool
Oil placed in the air inlet is sufficient. Use proper air pressure and
CFM rating listed for this tool.
Drain water from hoses and compressor tank. Water in the
air supply line will cause gumming and loss of power. Clean the
air lter on the supply line and ush the tool with gum solvent or
a 50/50 mix of air tool oil and kerosene. It may be necessary to
disassemble the tool to properly clean and re-lubricate.
LUBRICATION & MAINTENANCE
TROUBLESHOOTING
INSUFFICIENT POWER:
Probable Cause Solution
Dirty or clogged air passages......... Flush and lubricate tool, drain air tank and supply line
Insufficient air supply ...................... Increase line pressure, Make sure compressor
matches tool’s air pressure and consumption needs
Air leakage ...................................... Use teflon tape at all fittings and joints. Check tool for
worn or damaged O-rings & seals.
Worn/damaged wear & tear parts .. Replace as necessary.
Tool matching ................................. Be sure you are using a tool suited for the torque
requirements of the job at hand.
 Loading...