www.PyleUSA.com
3
Hardware
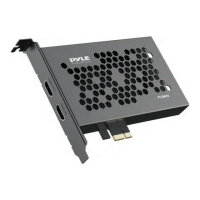
Before installing PLINK5 Video Capture Card, make sure your computer has a
free PCI-E X1 slot.
Before you get started, make sure your PC is shut down. Then disconnect all the
cables from the back of the computer. Only begin this process when everything
is disconnected.
Remove the cover on the PC. After you identify a PCIe slot, unscrew the small
metal bracket attached to the computer case directly behind the PCIe slot.
Gently yet rmly, slide the video capture card into the PCIe slot, making sure it's
fully locked down. Screw the card into the back of the case so that the inputs
and outputs are exposed on the back of the computer case.
Place the panel on the case, put the screws back in, and stand the case upright.
Plug all the cables back into the case. Power on the PC.
System will automatically recognize the game capture card, and you will see the
device name “Pyle LiveGamer PLINK5” in the Device Manager, which means
that the device is ready to work.
Note:
We don't recommend using the device on Windows 7 system, but if you need,
please download the driver and install it.
http://www.cddownload.top/ezcap323win7driver.zip
Software
For professional live streaming or recording, we suggest use OBS, download
link: https://obsproject.com/
Note:
PLINK5 Video Capture Card also can work with Mac Pro, and please download
OBS Mac version. The operation is similar as working under Windows as below.