4. INSTALLATION
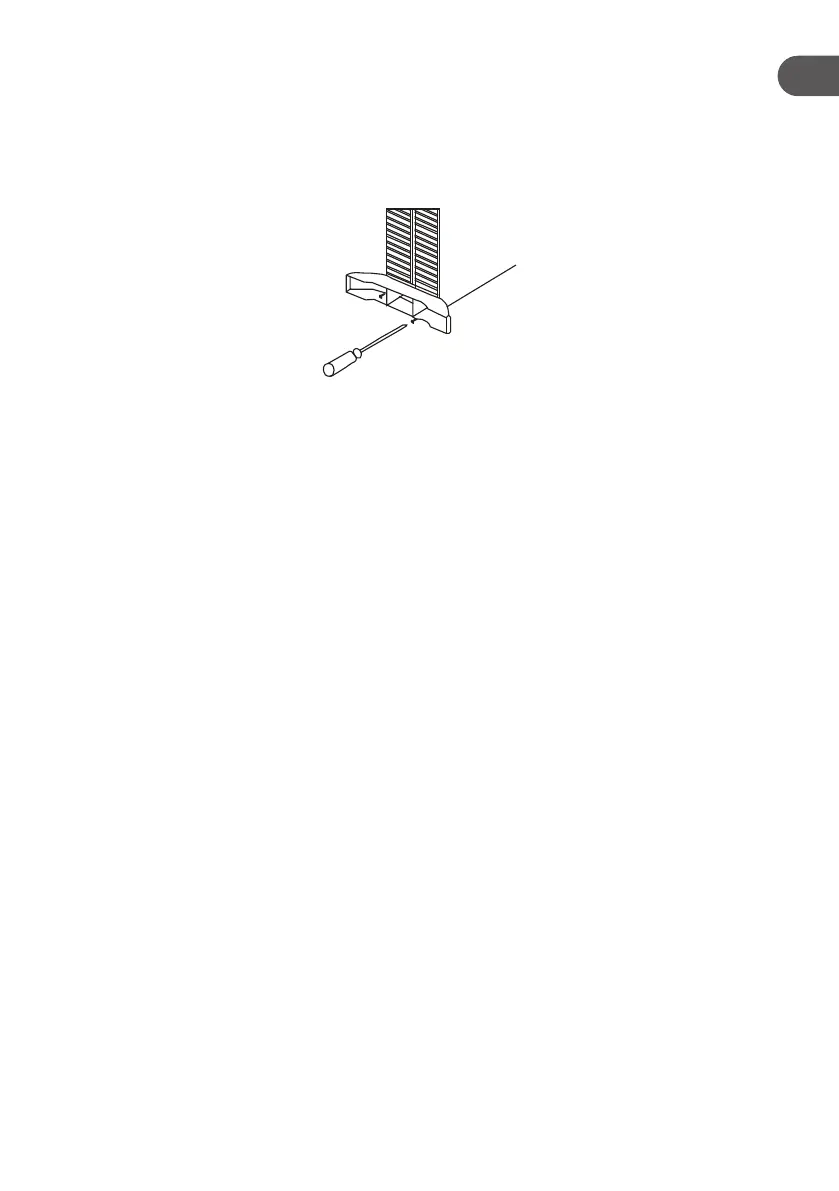
Mounting the feet
Before using the heater, the feet must rst be mounted. Secure the feet to the base of the heater
- via the 4 screws supplied, whilst making sure to correctly position the moulded pieces at both
ends.
5. USE
Select a suitable location in which to install the heater, whilst taking into account this user
manual’s safety instructions. Check that the feet are secure. Before plugging in the appliance,
check that the voltage of your mains socket corresponds to the voltage indicated on the appliance.
1. Check that the thermostat and switches are turned to the “min” and “OFF” positions,
respectively.
2. Plug the heater into a mains socket.
3. Adjust the heat output:
- The rst switch (1) provides a heat output of 1250 W.
- The second (2) provides a heat output of 750 W.
- The two switches can be used together for a total heat output of 2000 W.
NOTE: The switches light up when in the “ON” position.
4. As a result of the thermostat (3), the appliance will operate intermittently and not continuously.
This allows the amount of heat emitted to be controlled: it stabilises the room’s temperature
according to your needs.
- Turn the thermostat anticlockwise for a lower heat setting - recommended for small rooms - in
order to only increase the room temperature by a few degrees or to keep the room temperature
comfortable.
- Turn it clockwise, on the other hand, for an increasingly intense heat setting (recommended for
heating large or cold rooms).
The indicator light on each switch indicates whether the heat setting is enabled or not.
5. When you have nished using the heater, position the thermostat knob and selector switches to
the starting position: “Min” and “0” respectively, then unplug the heater from the mains.
NOTE: When using your appliance for the rst time, it may emit a slight odour. This is completely
normal. Therefore, ensure that the room is suciently ventilated. This odour is only temporary and
will quickly disappear.
7
EN

 Loading...