42 March 2023 QST www.arrl.org
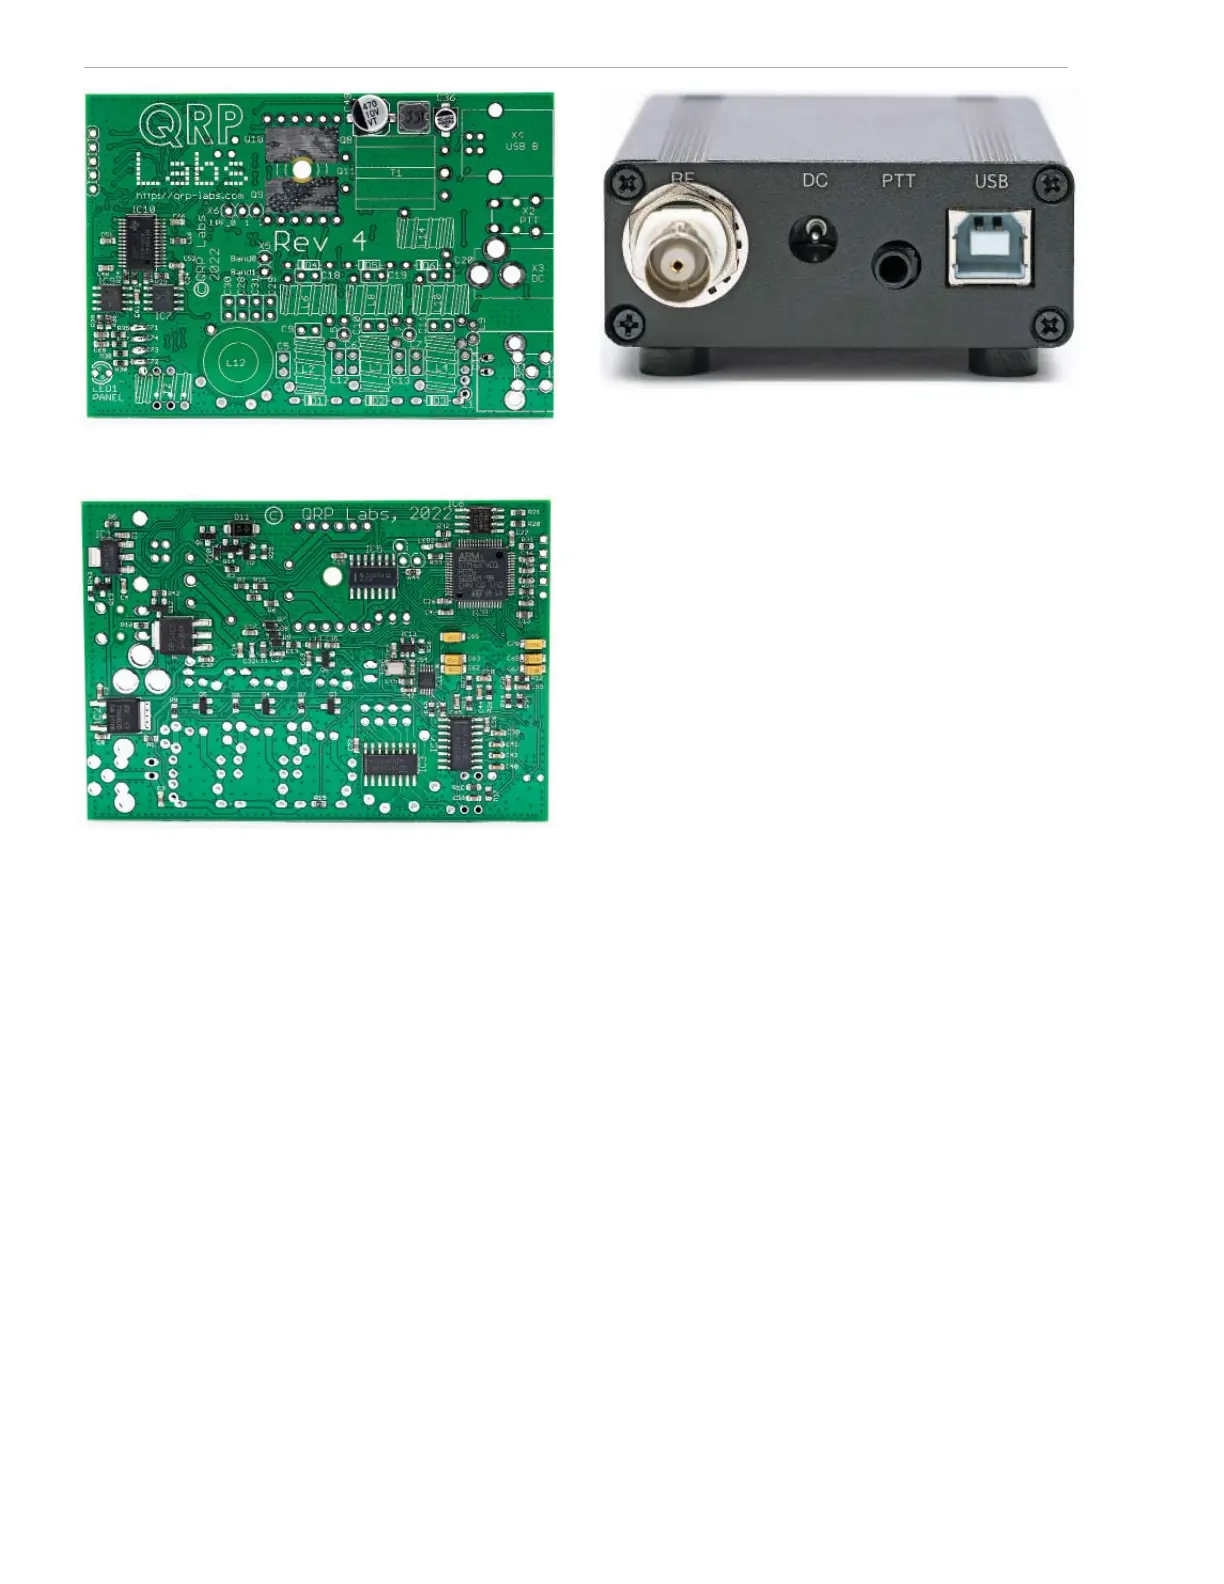
Figure 3 — The rear view of the QDX’s PCB.
Figure 2 — The front view of the QDX’s PCB.
I have considerable experience with QRP Labs prod-
ucts. I assembled at least eight original QCX models,
repaired several more, and built a QCX+. The QRP
Labs instruction manuals are clear, they contain con-
cise technical descriptions, and they are generally easy
to follow. The QDX documentation is no exception. It is,
perhaps, among the easiest of the QRP Labs kits to
assemble. My assembly time was no more than a few
hours.
Assembly is straightforward, and the parts count is low.
Most of the board is pre-populated with the SMD com-
ponents, so the user doesn’t need special tools to com-
plete the kit. There are 16 through-hole capacitors, six
diodes, four transistors for the nal ampli er, an LED, a
transformer, and a series of toroids to wind and install.
Finally, a few connectors complete the build. Depending
on your level of experience, the kit can be assembled in
a few hours. There is only one construction option, and
that is whether to build the device to operate on 9 or
12 V dc. To quote the operating manual, “No test equip-
Figure 4 — The rear panel of the QDX.
ment is required to build, align, and operate this digi
modes transceiver. There are no alignment tasks.”
For more details, you can download the manual from
the manufacturer’s website (www.qrp-labs.com/
qdx.html).
Linux (Xubuntu 22.04) is my operating system of choice.
But as stated on the manufacturer’s website, the drivers
for these types of audio devices should be already pres-
ent on your computer if you are using macOS, Linux, or
Microsoft Windows 10 or 11. If you are using older ver-
sions of Windows, then you need to install a driver for
the virtual COM port (audio and USB ash drivers are
already present, even on older versions of Windows).
The details can be found in the QDX manual. I made
the connection between the QDX and my laptop via a
USB A/USB C cable. Linux immediately recognized the
built-in sound card, and it was easy to select the correct
sound settings in WSJT-X. The serial device followed
the typical naming scheme for Unix-like systems. The
serial port test con rmed operation immediately, and
after a brief check I was on the air. I selected the
KENWOOD TS-440S con guration for CAT settings in
WSJT-X. The sound card appears as
ALSA_INPUT.
USB-QRP-LABS_QDX_TRANSCEIVER-02.ANALOG-
STEREO
and ALSA_OUTPUT.USB-QRP-LABS_QDX_
TRANSCEIVER-02.ANALOG-STEREO
, respectively, for
audio input and output. With the QDX designation in the
sound card description, there is little possibility of
making a mistake in selecting the device. The serial
port appears as
/DEV/TTYACM1 on my laptop. I have not
connected the radio to a Windows or Mac computer to
date. Most importantly, the radio was not designed
around a single operating system.
On the Air
With many hours of operation behind me, I can say with
certainty that this transceiver is unparalleled in ease of
operation within the scope of my experience. The
radio’s front panel has no controls and only a single
 Loading...


