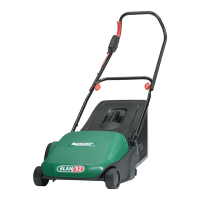
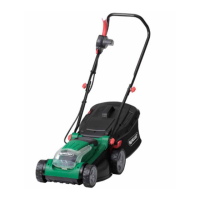
How
to use
your
mower
Please
check the cutting action of
your
mower before
you
first use it.
All new mowers are checked before despatch from
our
factory but
occasionally they
go
out
of
adjustment during transit. To reset the
cutters see
'Cutter
Adjustment' below. Poorly set
cutters
will
give
a
rough,
ragged looking
finish.
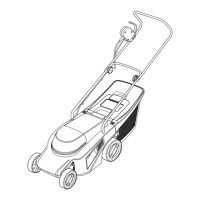
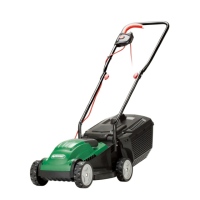
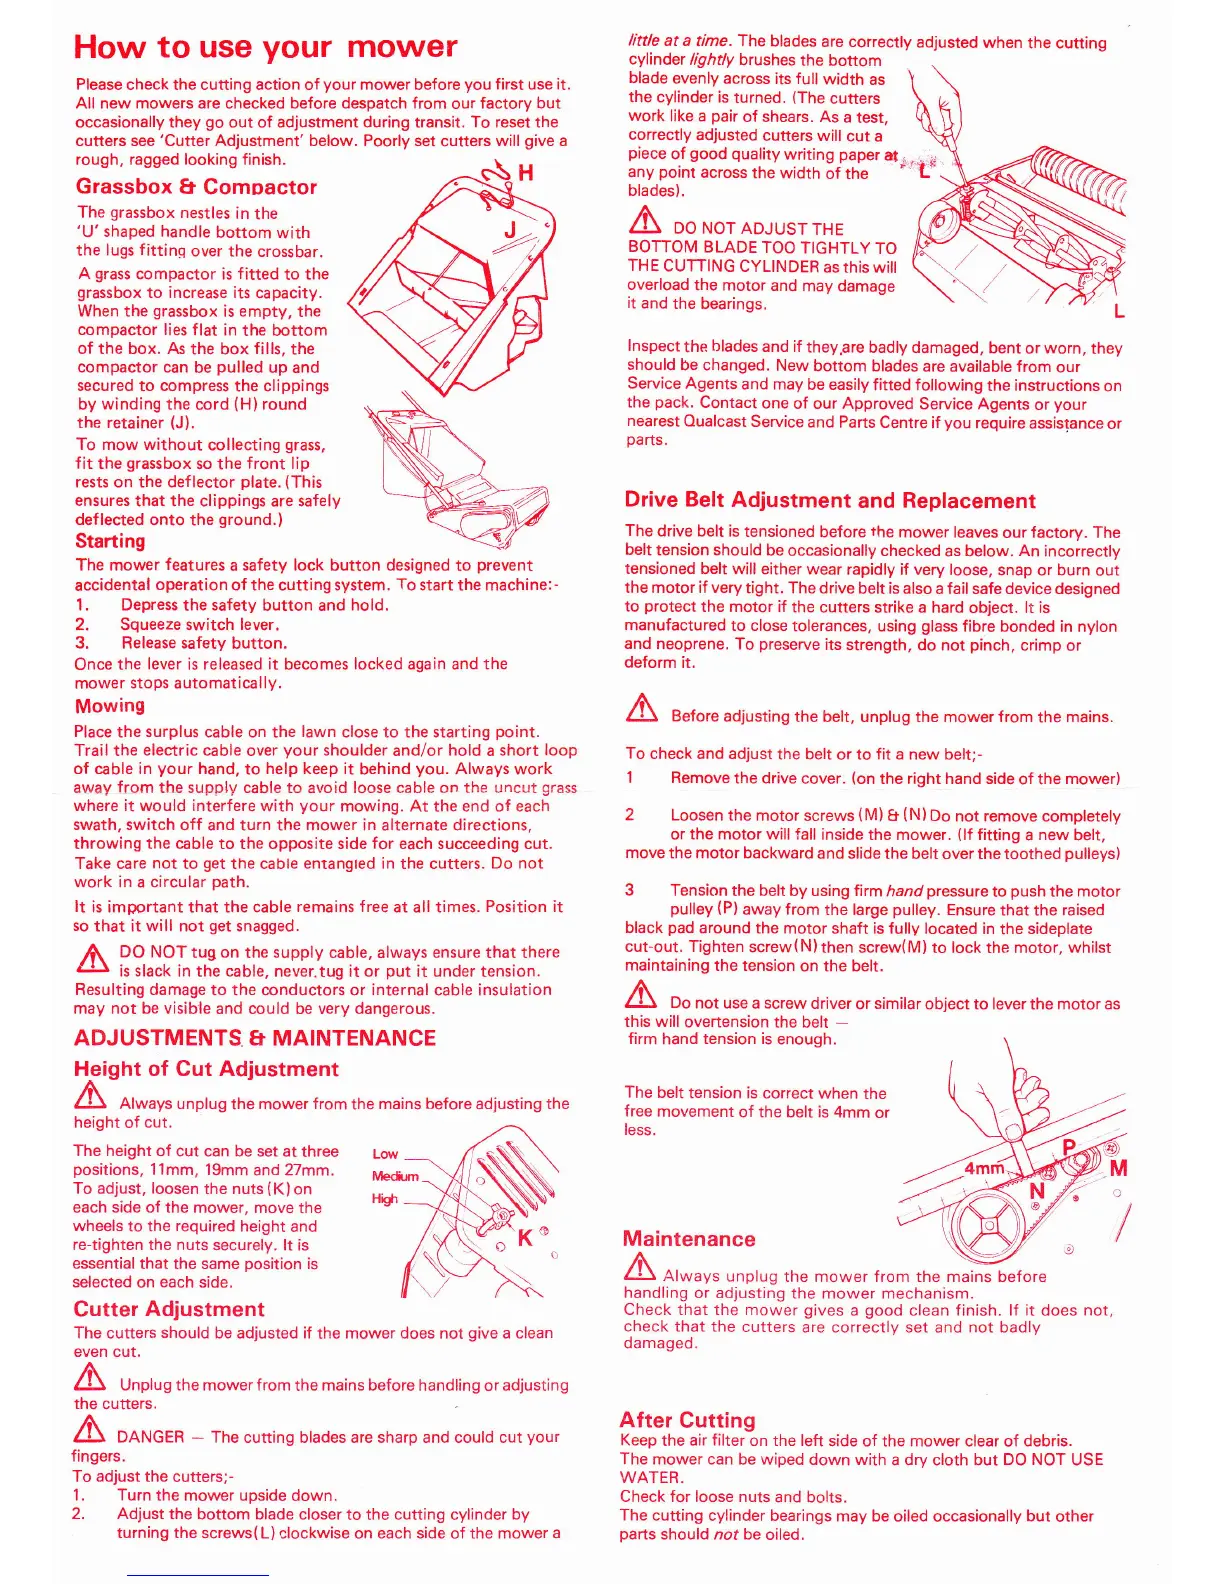
Grassbox
&
Gompactor
The
grassbox
nestles
in
the
'U'shaped
handle
bottom
with
the
lugs
fittinq
over the
crossbar.
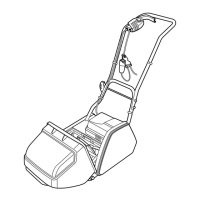
A
grass
compactor is
f
itted to the
grassbox
to increase
its capacity.
When the
grassbox
is
empty,
the
compactor lies
flat in
the bottom
of the box. As
the box
fills,
the
compactor can
be
pulled
up and
secured
to
compress
the clippings
by winding the
cord
{H)
round
the retainer
(J).
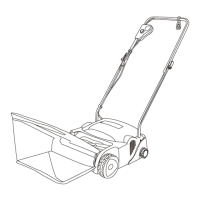
To
mow
without
collecting
grass,
fit the
grassbox
so the
front lip
rests on the deflector
plate.
(This
ensures
that the clippings are safely
deflected
onto the
ground.)
Starting
The mower
features
a
safety lock
button
designed
to
prevent
accidental
operation
of the cutting system.
To
start the machine:
-
1. Depress
the
safety
button and hold.
2. Squeeze switch lever.
3.
Release
safety
button.
Once
the
lever
is released it becomes
locked
again and
the
mower
stops
automatically.
Mowing
Place
the surplus cable on the
lawn
close to the starting
point.
Trailthe
electric
cable over
your
shoulder
and/or hold a
short loop
of
cable
in
your
hand,
to
help keep
it behind
you.
Always work
away
from
the
supply
cable to
avoid
loose cable
on
the uncut
grass
where it would
interfere with
your
mowing. At
the
end of each
swath, switch
off and turn the mower in alternate directions,
throwing the
cable
to the opposite side
for
each succeeding cut.
Take care
not
to
get
the cable enrangted in the cutters.
Do not
work in a circular
path.
It
is important that the cable
remains free
at all times.
Position it
so
that it will not
get
snagged.
,l|\
DO
NOT
tug
on
the
supply
cable, always ensure that there
d-$
is slack in the cable. never.tug it or
put
it under
tension.
Resulting damage
to the conductors or internal cable insulation
may not
be
visible
and could be very dangerous.
ADJUSTMENTS
& MAINTENANCE
Height of Cut Adjustment
/t\
ZJJ Always
unplug
the mower
from
the
mains before
adjusting
the
height
of
cut.
The height
of cut can be set
at three
Low
positions,
11mm,
19mm
and27mm.
To
adjust,
loosen
the
nuts
{K}on
each side of the
mower, move the
wheels
to the
required
height
and
re-tighten the nuts
securely. lt is
essential
that the same
position
is
selected on each side.
Cutter
Adjustment
The cutters should be adjusted if
the
mower
does
not
give
a clean
even cut.
/l\
Z-iJ Unplug the mower f rom
the
mains before
handling or adjusting
the
cutters.
A
OO*6ER
-
The
cutting blades are sharp and could cut
your
fingers.
To adjust
the cutters;-
1. Turn the mower upside
down.
2. Adjust
the bottom blade
closer to the cutting cylinder
by
turning
the
screws(L) clockwise
on
each side
of
the mower a
little
at a
time. The
blades
are correctly
adjusted when
the cutting
cylinder
lightly
brushes
the
bottom
blade
evenly
across its full
width
as
the cylinder
is
turned.
(The
cutters
work
like a
pair
of shears.
As
a test,
correctly
adjusted
cutters
will
cut
a
Hish
piece
of
good quality
writing
paper
al
.
-
^
;
any
point
across
the width
of the
"
a,^
-
A
o,*"u, unprug
the mower from the.Y*ror"
blades).
A
ooNoTADJUSTTHE
BOTTOM
BLADE
TOO
TIGHTLY
TO
THE
CUTTING
CYLINDER
as this
wiil
overload
the motor
and
may damage
it
and
the bearings.
lnspect
the
blades
and if
theypre
badly damaged,
bent
or
worn,
they
should
be changed.
New
bottom blades
are available
from
our
Service
Agents
and may
be easily
fitted following
the
instructions
on
the
pack.
Contact
one
of our Approved
Service
Agents
or
your
nearest
Oualcast
Service
and Parts
Centre if
you
require
assistance
or
parts.
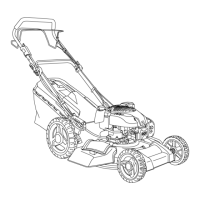
Drive Belt
Adjustment
and Replacement
The
drive belt is
tensioned
before
the
mower leaves
our
factory.
The
belt
tension should
be occasionally
checked
as below. An incorrectly
tensioned
belt will either wear
rapidly
if very loose,
snap or burn
out
the motor if very
tight. The
drive belt is also
a fail safe device
designed
to
protect
the motor
if the
cutters strike a hard
object. lt is
manufactured
to close
tolerances.
using
glass
fibre bonded in
nylon
and
neoprene. To
preserve
its
strength, do
not
pinch,
crimp
or
deform it.
A
,"ror"
adjusting
the belt, unplug
the mower
from
the mains.
To
check and adjust
the belt
or
to fit a new belt;-
1 Remove
the drive
cover.
(on
the right hand side
of the
mower)
2
Loosen the motor
screws
(M)
e
(N)Do
not remove completely
or the motor
will
fall inside
the mower.
(lf
fitting
a
new
belt,
move the motor backward
and slide
the belt over the
toothed
pulleys)
3 Tension
the belt by using firm
hand
pressure
to
push
the
motor
pulley
(P)
away from
the
large
pulley.
Ensure
that the raised
black
pad
around
the motor shaft is fully
located in
the
sideplate
cut-out. Tighten
screw(N)then
screw(M)
to
lock
the motor,
whilst
maintaining the
tension
on
the belt.
/!\
po
not use
a
screw
driver
or
similar
object
to
lever
the
motor as
this will
overtension
the belt
-
firm
hand
tension is
enough.
The
belt
tension is
correct when
the
free
movement
of the belt is 4mm
or
less.
Maintenance
handling
or adjusting
the mower mechanism
Check that the
mower
gives
a
good
clean finish. lf it does
not,
check that
the cutters
are correctly set and not badly
damaged.
After
Cutting
Keep
the air
filter
on
the left
side of the mower clear
of
debris.
The mower can
be
wiped
down with
a dry cloth but
DO NOT
USE
WATER.
Check for loose nuts
and bolts.
The
cutting cylinder bearings
may be
oiled occasionally
but
other
parts
should nof
be oiled.
 Loading...