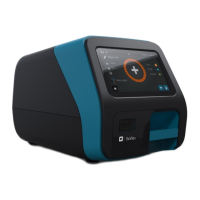
If the Sofia 2 is already connected to the internet the User will receive confirmation of successful
registration and press to complete.
Users who choose not to Connect to Quidel will select “Install updates manually with a USB drive” and
press to complete.
Users who want their Sofia 2 to be Connected to Quidel, but whose instruments are not yet connected
to the internet please follow the steps below.
After selecting the preferred “Download from Quidel” option, press . The Sofia 2 will prompt the User
to set up their network.
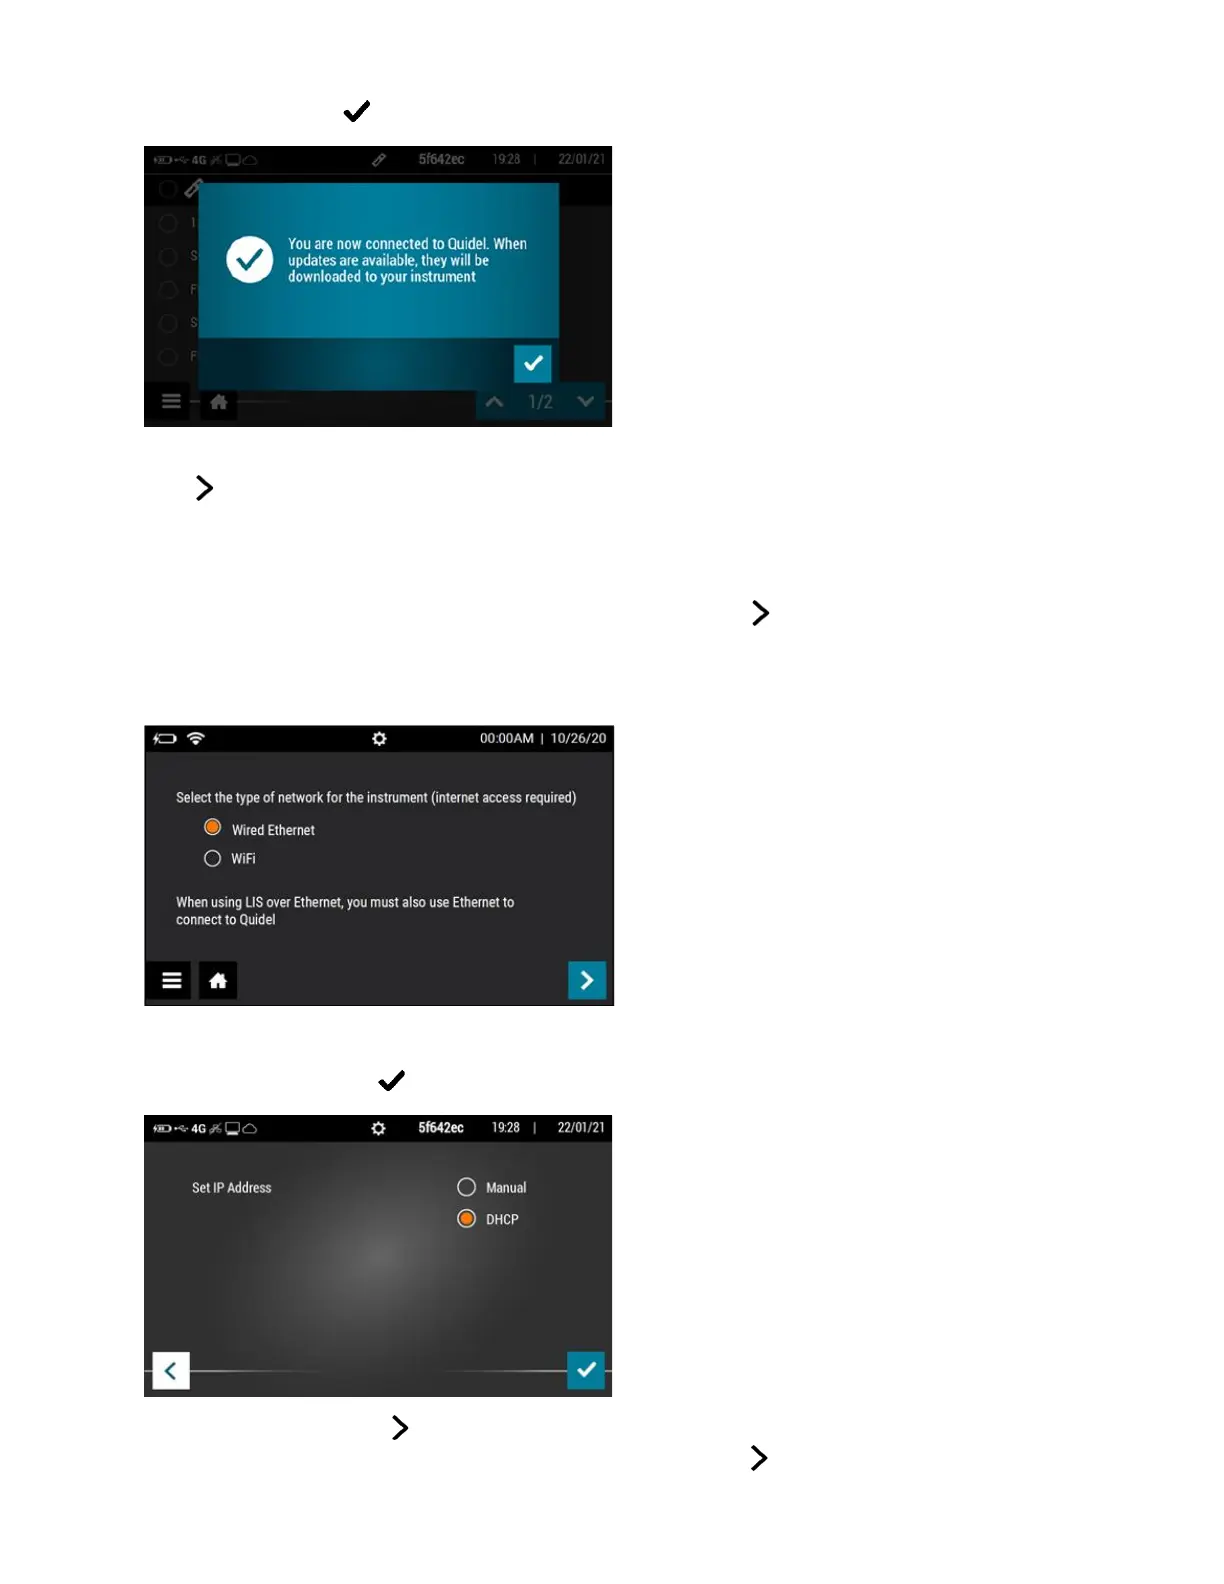
Select Wired Ethernet or Wi-Fi.
Wired Ethernet: For Set IP Address, select Manual or DHCP.
If DHCP is selected, select to test the connection and complete the network setup.
If Manual is selected, press to continue to the next screen. Using the on-screen keypad, enter
information for IP Address, Subnet Mask, and Gateway, then press . On the next screen, enter