PAGE 2
Unit should be turned off and let stand to allow heating element to cool to room temperature before
cleaning. Clean exterior surfaces with a damp cloth or with an all-purpose cleaner. Only area around
heating "element well" should be cleaned. Do not get cleaning solutions on actual heating element
surface. Heating element area should be kept free from all debris at all times to eliminate the risk of fire.
Tech Support
If you have any questions or need technical assistance, please contact Quincy Lab customer support at
Voice: 800-482-HEAT Quincy Lab, Inc.
Fax: 773-622-2282 1925 North Leamington Avenue
Email: information@quincylab.com Chicago, Illinois 60639
Limited Warranty
Quincy Lab, Inc. warrants to the original purchaser that this product will be free from defects in material
and workmanship under normal use throughout the warranty period. The standard warranty period for
this instrument is 18 months, (3-year coverage on the heater element), from date of
shipment. Please refer to your invoice or shipping documents to determine the
effective warranty period. This warranty covers parts and labor (labor at factory
only), and shipping cost for replacement parts.
Place the unit face down on a work surface.
Separate the legs of the "no-skid" foot cover strips and place over
the exposed bottom edge of each end cap. FIG. 1
Place the unit upright, with the exposed element facing up and
plug the unit into a grounded outlet. Turn the unit on and allow it to
come up to the operating temperature (approx. 10-12 minutes).
FIG. 1
Replacement Components - Model's: 03-160, 13-160, 23-160
COMPONENT MODEL PART NUMBER COMPONENT MODEL PART NUMBER
1212-03
301-2251
03-160
13-160
23-160
Universal
1212-23
Replacement Element
101-1803
1212-13
6' Cord & Plug
Toggle Switch
Indicator Lamp
101-2202
Replacement Element
Replacement Element
115V 18GA/3 wire
Universal
Universal
Set-up
Maintenance
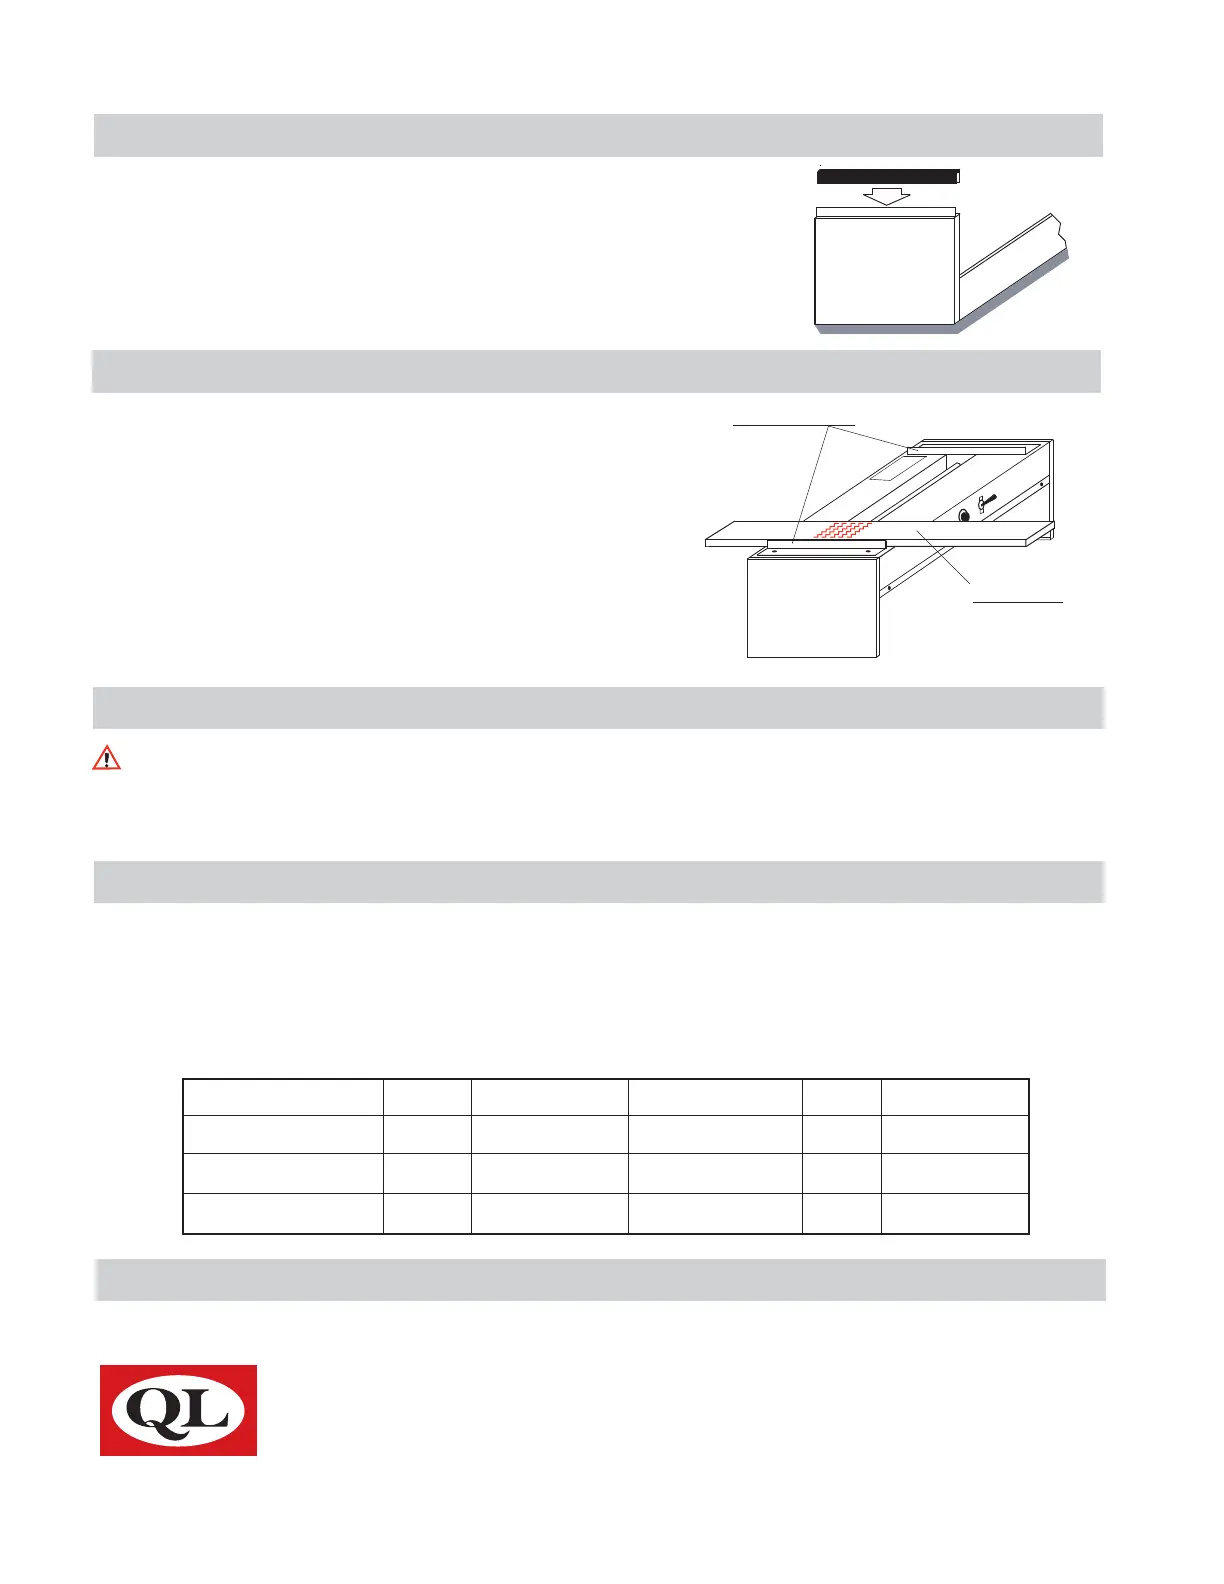
Place the plastic workpiece to be formed on the work
surface with the area to be formed over the element. Turn
the piece over at regular intervals. This will ensure that the
plastic is heated evenly throughout its thickness and that it
is not overheated, causing the plastic to bubble or even
scorch. Product guiderails are provided on each side of the
unit to help keep part perpendicular to heating element for
accurate heat-through. Various types of plastics, as well as
thicknesses, will require different heat-through times before
it can be formed. Trial and error testing of scrap pieces will
ensure the best possible results for the actual parts.
General Operation
CAUTION
WORK SURFACE MAY BE HOT
Product Guides
Work Piece
FIG. 2
 Loading...