1277-021
15L WET DRY VACUUM
ATTENTION Read the entire important safety information section at the beginning
of this manual.
1. Pull lid latches in an outward motion, remove power head and some accessories
that may have been shipped in the tank.
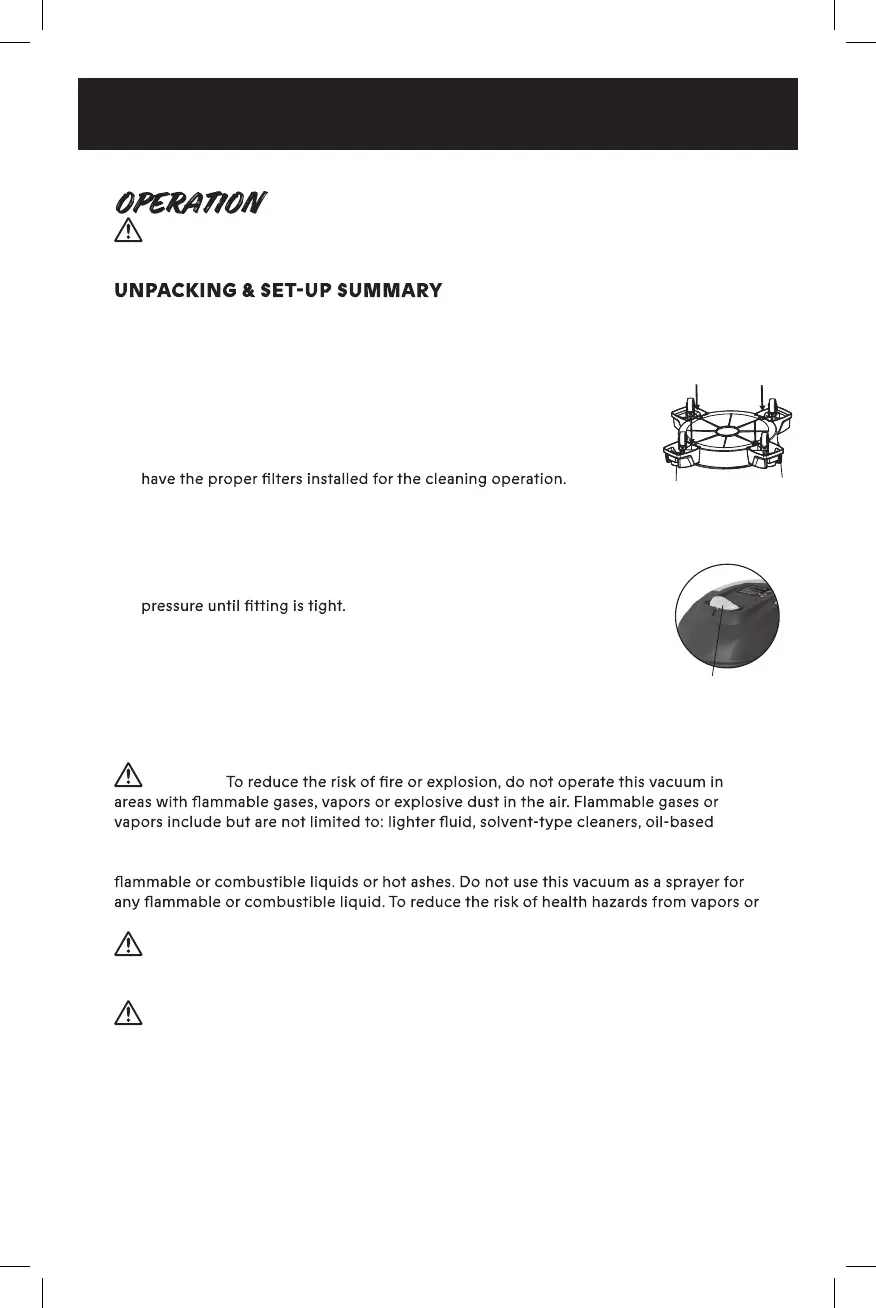
2. Attach casters following the instructions below:
a. Invert dust tank and align casters as shown in diagram
to the right, then secure casters with provided screws.
b. Return dust tank assembly upright.
3. Before replacing power head, refer to this manual to ensure you
4. Replace power head, and apply pressure with thumb to each latch
until it snaps tightly in place. Make sure all lid latches are clamped securely.
5. Insert the hose end into inlet of tank.
6. Attach the extension wands to the end of the hose. Apply slight
7. Attach one of the cleaning accessories (depending on
the cleaning requirements) on the extension wands.
Twist slightly to tighten the connection.
8. Plug the cord into the wall outlet. The cleaner is ready for use.
9. Turn the unit "ON" by pushing the switch from position "O" to position "I". The
"O" is the "OFF" position and the "I" is the "ON" position.
WARNING
paints, gasoline, alcohol or aerosol sprays. Explosive dusts include but are not limited to:
coal, magnesium, aluminum, and grain or gun powder. Do not vacuum explosive dust,
dusts, do not vacuum toxic materials.
WARNING The operation of any utility vacuum can result in foreign objects being
blown into the eyes, which can result in severe eye damage. Always wear safety eyewear
complying with ANSI Z87.1 (or in Canada, CSA Z94.3) before starting operation.
CAUTION To reduce risk of hearing damage, wear ear protectors when using the
vacuum for extended hours or when using it in a noisy area.
8
PUSH DOWN
O = OFF I = ON
 Loading...