3
4a. Diaphragm filter clogged. Use manual, external bleed
to flush valve. If this does not improve operation, re-
move top of valve (6 screws). Remove diaphragm and
inspect filter for debris. (Check 4b at the same time.)
Clean diaphragm filter and reassemble valve.
4b. Diaphragm/valve seat fouled or damaged. Remove di-
aphragm and inspect diaphragm and valve seat for
damage or debris. Clean or replace diaphragm and re-
assemble valve.
B. Valve Won't Turn On Manually
1. Flow control turned off. Check by turning black knob
counterclockwise until encountering resistance. Do not
force beyond point of resistance. Turn knob back clock-
wise, approximately one half turn.
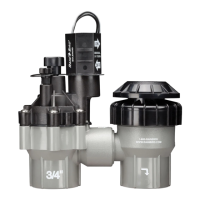
REPAIR KITS
Two types of repair kits are available (Diagram 3)
For technical assistance call us at 1-800-RAIN-BIRD.
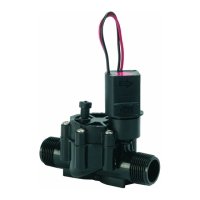
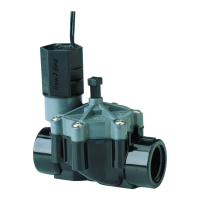
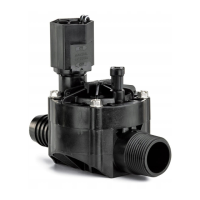
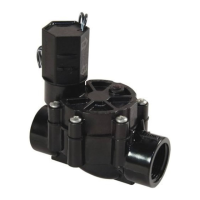
1. SRK-ASV Solenoid Replacement Kit. The SRK-ASV
will replace a defective solenoid on models DAS-
075/ASVF and DAS-100/ASVF.
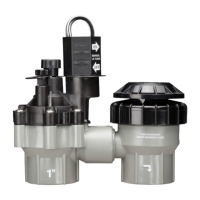
2. DRK-ASV Diaphragm Replacement Kit. The DRK-
ASV will replace a defective diaphragm on models
DAS-075/ASVF and DAS-1 00/ASVF.
2. Water supply off at meter or system control shut-off.
(Check this first by manually bleeding the valve with
either bleed screw or by turning solenoid counterclock-
wise).
3. Blocked ports. If valve will turn on with manual, exter-
nal bleed screw but NOT by turning the solenoid for in-
ternal bleed, remove the solenoid (rod check solenoid
cavity for debris. Visually check small square hole at
edge of cavity and carefully run a straightened wire
through the center round hole to clear tube of possible
debris. Take care not to scratch sides of center port
tube as any change in size can affect valve operation.
C. Valves Won't Turn on Electronically (with con-
troller)
4. Faulty solenoid. Turn off water supply. Switch solenoid
with one from a nearby operational valve. If original
valve works with second solenoid, replace original
solenoid. (Install water-tight wire connections on all
valves at this time to avoid future solenoid shorts and/
or failures.)
5. Controller not supplying power to valve/valves. Check
fuse. If blown, replace fuse with same size. (Do not
change sizes. A different size fuse will damage con-
troller during operation and will void the warranty.) If
fuse is OK, either use a volt/ohm meter to check con-
troller output (24 VAC) at each terminal screw (station/
valve connection) OR disconnect an operating solenoid
from a valve and take it to the controller. Attach one
wire to the "C" terminal (common/ground) and attach
the other wire to the station which is not working. Acti-
vate the controller in manual start. The solenoid should
click (pull the plunger up into the solenoid tube) and it
may hum. (Continued on next page)
1. Controller settings incorrect. Check programming, start
times, run times and day schedules.
2. If none of the valves are working, check the common
(ground) wire for a tight connection or damage. If only
one or part of the valves do not work, check wiring for
damage (staples, nails, cracks) between controller and
valve location.
3. Check all of reasons in Section B.
TROUBLESHOOTING GUIDE
A. Water Won't Shut Off (seeping or full flow)
1. Incorrect controller setting (check length of run time)
2. Loose solenoid (should be tight)
3. Loose bleed screw - check and tighten (finger tight
only)
#3
Solenoid
Replacement Kit
SRK-ASV
Diaphragm
Replacement
Kit
DRK-ASV
Part # 170277
 Loading...