In This Chapter
Overview .................................................................................................. 12
Default Login Information ........................................................................ 12
Getting Started ........................................................................................ 13
Overview
This section provides a brief overview of the installation process. Each
step is further detailed in the remaining sections of this chapter.
To install and configure the LX:
Step 1: Configure the KVM Target Servers (on page 13)
Step 2: Configure Network Firewall Settings (on page 26)
Step 3: Connect the Equipment (on page 27)
Step 4: Configure the LX (on page 29)
Step 5: Launch the LX Remote Console (on page 34)
Step 6: Configure the Keyboard Language (Optional) (on page
35)
Step 7: Configure Tiering (Optional) (on page 36)
Also included in this section is the default login information you will need.
Specifically, the default IP address, user name and password. See
Default Login Information (on page 12).
Default Login Information
The default user name is admin. This user has
administrative privileges.
The default password is raritan.
Passwords are case sensitive and must be entered in the
exact case combination in which they were created. For
example, the default password raritan must be entered
entirely in lowercase letters.
The first time you start the LX, you are required to
change the default password.
The LX ships with the default IP address of
192.168.0.192.
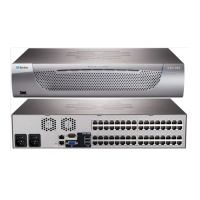
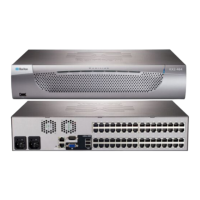
Installation and Configuration

 Loading...