9
MAX
®
S-Series LED Installation & Operation Manual’s
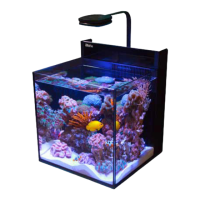
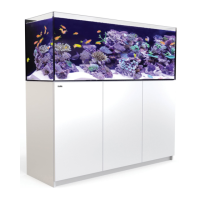
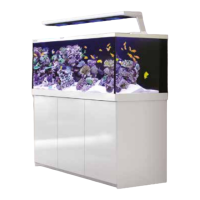
Sump, pumps and piping
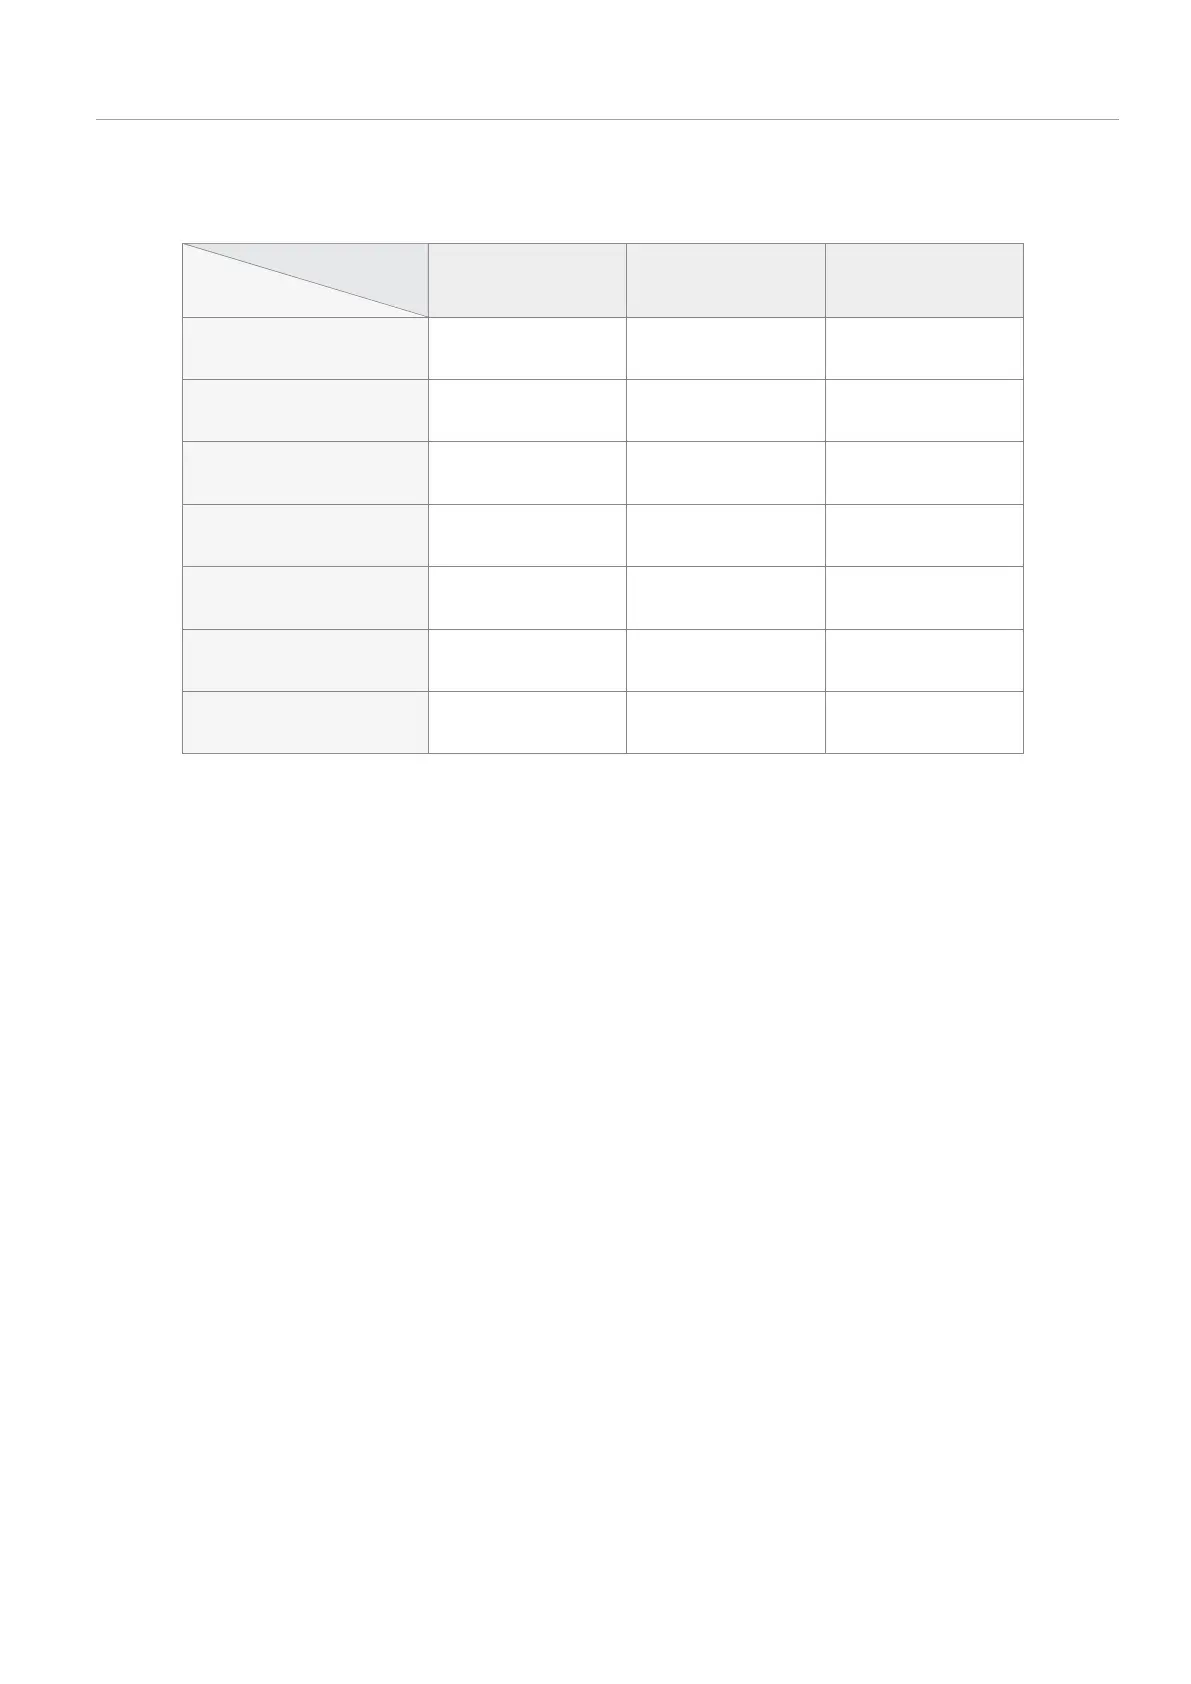
Feature
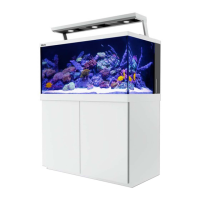
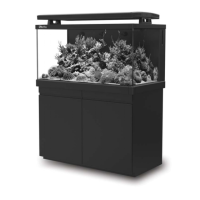
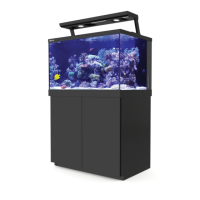
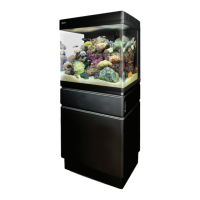
S-400 S-500 S-650
Number of circulation pumps 2 3 4
Main Pump L/Hr (gph) 7000(1800) 7000(1800) 7000(1800)
Main pump feeds Chiller Yes Yes No
Protein Skimmer RSK-600 RSK-600 RSK-900
Chiller return pipe provided No Yes Yes
Plugged outlet for additional
reactor
No Yes Yes
Space in sump for additional
reactor
No Yes Yes
Top up water reservoir outlet connector – Remove the outlet connector by rotating it anti-clockwise. Pass
the grey tube through the cut-out in the aquarium base and attach it to the hose-barb of the outlet. Before
returning the outlet to the reservoir, ensure that the O-ring is in place. Rotate the outlet connector clockwise
firmly to ensure a good seal.
Top up water in-line flow valve and float valve - During installation set the flow valve in the fully closed
position and the float valve to give the lowest water level in the pump chamber.
Piping - Ensure that the O-rings are in place before connecting the universal connectors for the piping.
During installation it is recommended to set the sump piping valves in the closed position. They should only
be opened after the downstream equipment such the skimmer or chiller has been installed.
Main Pump – install the 32mm (1½”) elbow on the inlet of the pump so that water intake is from the
bottom of the sump. Pass the power cable through the cut out at the top rear left corner of the sump
compartment.
Skimmer – Full installation and operation instructions for the protein skimmer are provided in a dedicated
instruction manual. Pass the power cable through the cut out at the top rear left corner of the sump
compartment.
Carbon - Wash the carbon filter material under running water several times to remove residual dust. It is
recommended to soak it in water for 24-72 hr. before usage otherwise during the first 3 days after set-up
the carbon may float and release micro air bubbles from inside its pores.
Model
 Loading...