• In WAN
Add New Device
Device SettingsMenu
Access the Live View
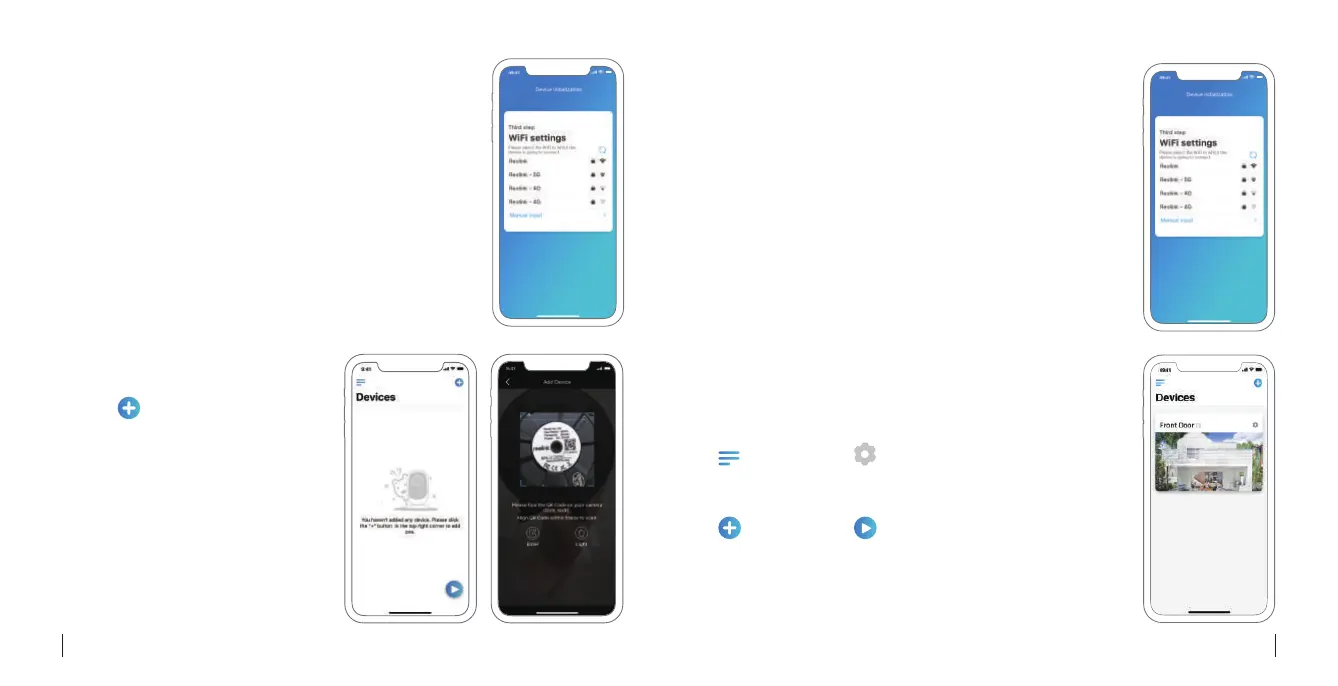
4. “Select the Wi-Fi network you want to join in, enter
the password of the Wi-Fi network”, and click “Sure”
to save configurations.
5. Initialization finished and go to the Device Settings
to proceed more configuration.
6. Remove the Ethernet cable and you can access the
camera via the wireless connection.
5. “Select the Wi-Fi network you want to join in, enter the
password of the Wi-Fi network”, and click “Sure” to save
configurations.
6. Initialization finished and please go to the Device
settings to proceed more configuration.
7. Remove the Ethernet cable and you can access the
camera via the wireless connection.
1. Click “ ” button on the right top of
the app to add new device.
2. Scan the QR code on the camera or
manually Enter the UID Numbers (right
below the QR code) the camera will
start initialization.
3. Create a login password and Name
your camera.
Note: You can enable the DST as per
your requirement.
Reolink App Interface
Introduction
6English
5 English
 Loading...