English 8
“
c
lic
k
”
“
c
lic
k
”
4
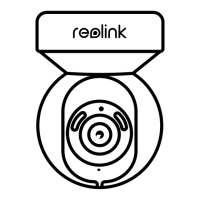
Drill holes in accordance with the mounting
template and screw the security mount to
the wall.
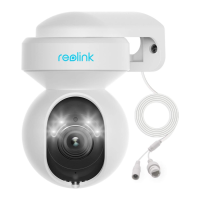
Choose a proper direction of the camera
and then align the bracket to the security
mount and lock the camera in place by
turning anti-clockwise.
You haven't added any device. Please click
the"+"button in the top right corner to add
NOTE: Use the drywall anchors included in the package if needed.
3

 Loading...