• Failure to keep internal battery charged will lead to permanent battery damage.
• Connecting a discharged battery to charged system could cause overheating or explosion.
WARNING – Risk of Battery Explosion, Fire or Failure
3
Before using your portable power pack, you should fully charge it. Note:
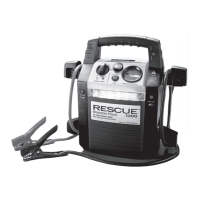
The Rescue 2000 will recharge only when the voltage selector is in the 12V
position. The full charge indicator light will come on when the unit has been
charged. Recharge every 30 days or anytime the internal battery voltage falls
below 11.5V. Fluctuations in temperature can accelerate battery discharge.
Check your unit often.
Using your Rescue 2000/Rescue 2600
• Model 2000: Select either 12V or 24V position on the switch on the back
of the unit.
• Connect the red (positive +) clamp to the positive terminal or post on the
discharged battery.
• Connect the black (negative -) clamp to a ground away from the battery,
such as an alternator bracket.
• Verify the green Smart Polarity light is on.
• Start the engine.
• Disconnect the clamps, first negative and then positive.
To jump start a vehicle or machine:
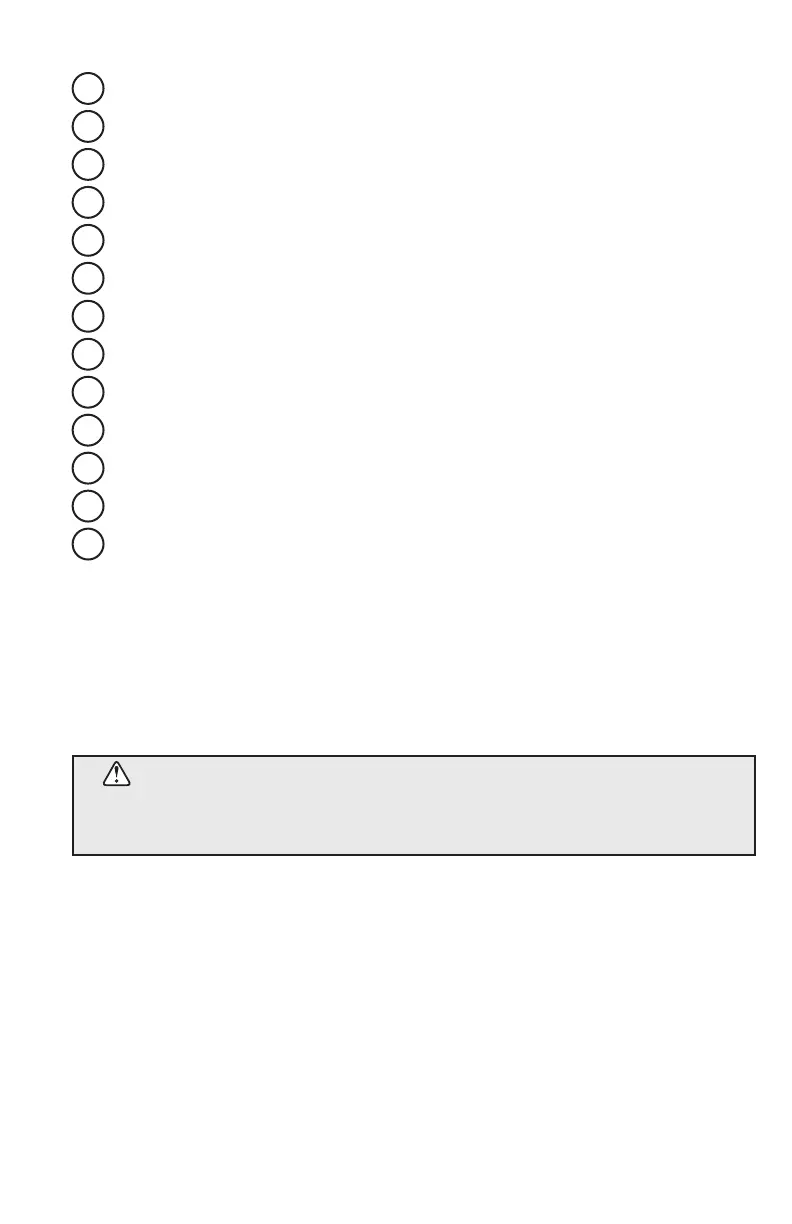
3 Reverse connection (polarity) warning LED light
4 Voltage warning LED light
5 Full charge light
6 Worklight safety switch (3 position: ON, flashing, OFF)
7 Smart polarity active LED light
8 Charging light
9 12 volt or 24 volt LED indicator lights (2000 Model only)
10 12 Volt DC power outlet
11 Battery status meter, digital read-out
12 Battery level test button
13 Rear view of 12/24 unit (Model 2000 only 12/24 switch)
14 120 volt AC charging port (back of unit)
15 AC cord



 To Next Page