2 3
Rescue
®
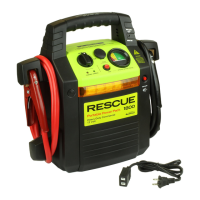
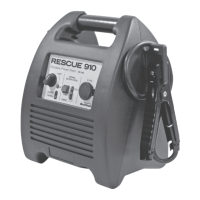
Portable Power Packs are capable of delivering signicant current
to start cars, light trucks, ATV’s, boats, lawn and garden equipment and other
12V equipment. A battery gauge is provided to indicate reserve power level
and show when the unit is being charged and fully charged. All of these units
feature a 12V cigarette-style power outlet can be used to power accessories
or charge electronics like cell phones and MP3 players and a work/alert light
that can be set to continuous on, or ashing mode. All models also feature an
audible polarity alarm and light that will activate if the unit is connected incor-
rectly. Models 950, 1060, 3000 and 3050 are equipped with switched LED
clamp lights. Models 950 and 1060 are equipped with an air compressor, and
model 1060 features a power inverter to supply 120V AC power as well as a
USB power connection. All units feature a built-in battery charger.
1. Failure to follow these instructions may result in personal injury, destruction of the power
pack, or damage to your vehicle.
2. Read owner’s manual before use.
3. Wear safety goggles whenever working around vehicle batteries.
4. Wear gloves and protective clothing.
WARNING – Risk of Explosion or Fire
• Failure to keep internal battery charged will lead to permanent battery damage.
• Connecting a discharged battery to charged system could cause overheating or explosion.
WARNING – Risk of Battery Explosion, Fire or Failure
Before using your portable power pack, you should fully charge it. The fully charged
indicator light will come on when the unit has been charged. Recharge every 30 days or
when the gauge indicates less than full charge. Fluctuations in temperature can acceler-
ate battery discharge. Check your unit often.
Using your Rescue
®
Power Pack to Jump
Start Vehicles or Equipment
• Make sure the power switch is OFF.
• Connect the red (positive +) clamp to the positive terminal or post on the
discharged battery.
• Connect the black (negative –) clamp to a ground away from the battery,
such as an alternator bracket.
• Turn the power switch ON.
• Start the engine.
• Turn the power switch OFF.
• Disconnect the clamps, rst negative and then positive.
To jump start a vehicle or machine:
RUBBER CAP REMOVED
FOR CLARITY
110 VOLT CORD
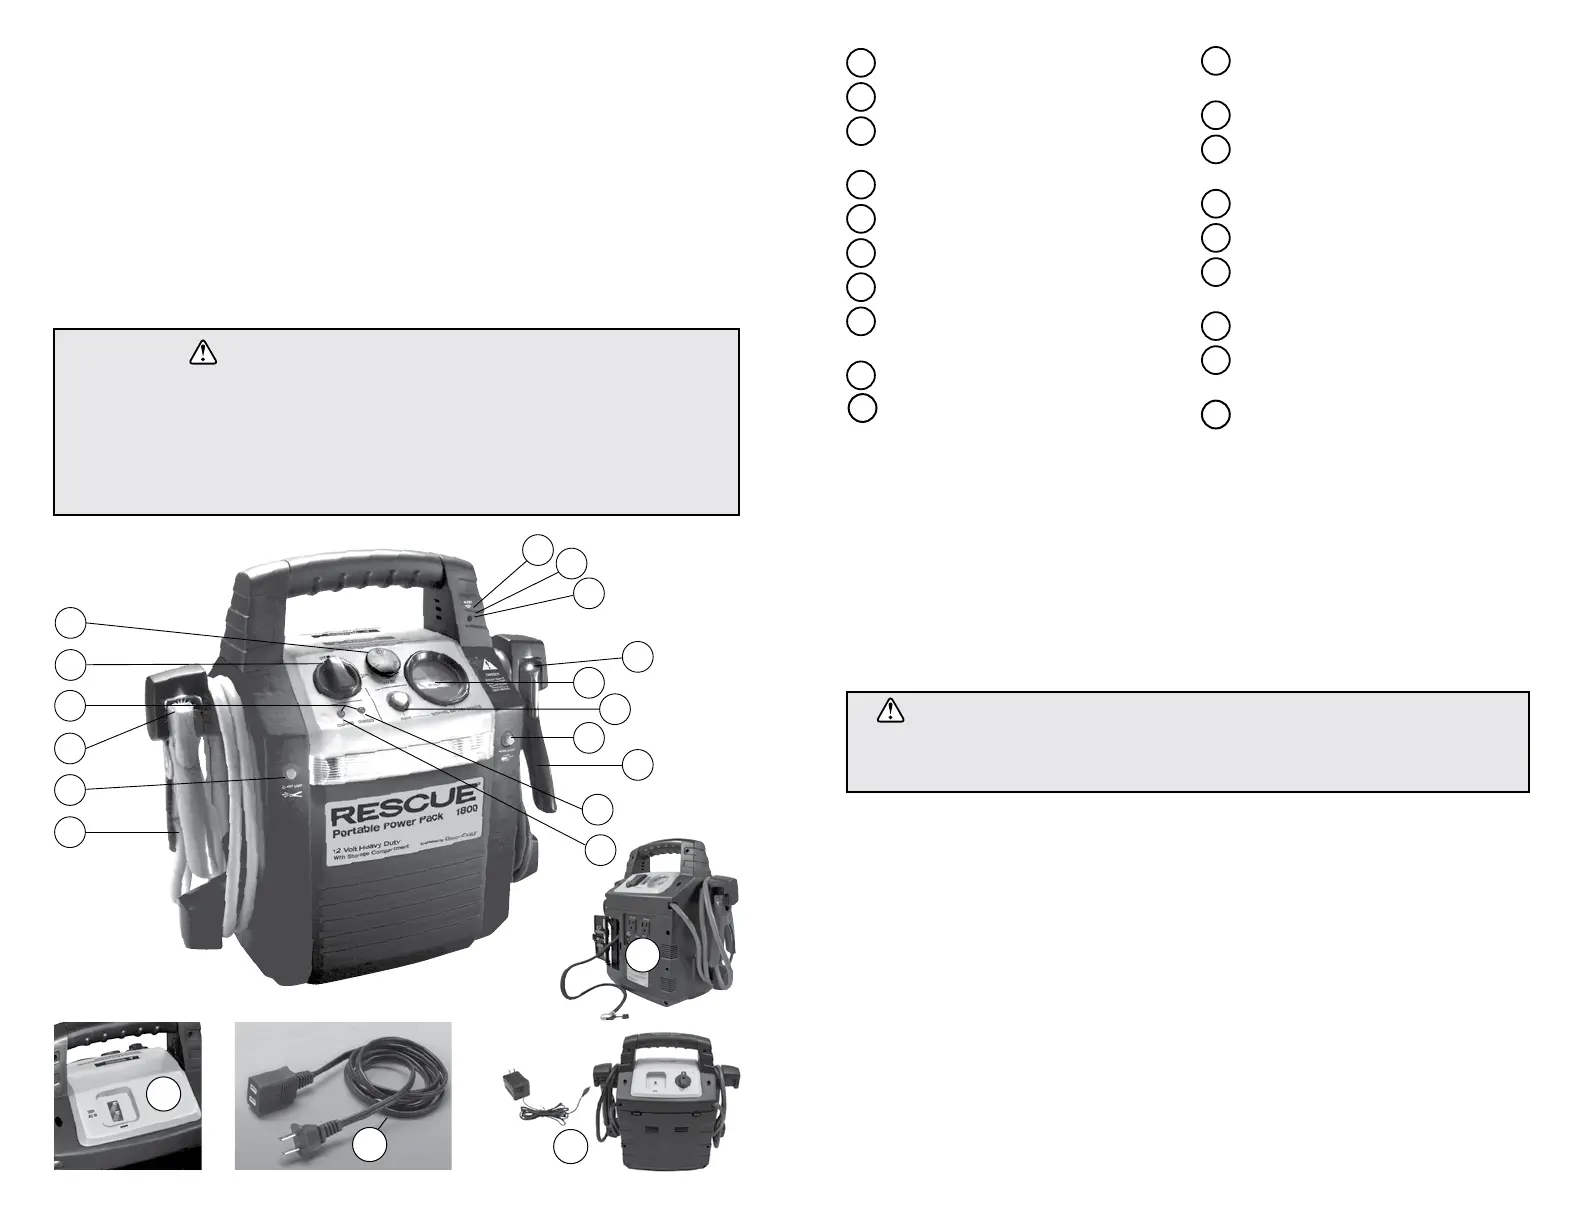
Components
12
18
19
11
16
2
10
17
8
15
14
6
13
7
9
4
5
16
3
1
11 120 Volt AC Charging Port
(back of unit all except 3050)
12 AC Cord (all except 3050)
13 Worklight Safety Switch (3 Position:
ON, Flashing, OFF)
14 Battery Status Meter
15 Audible Signal and Light
16 Clamp Lights (Models 950, 1060
3050 and 3000)
17 On Status Light (Steady Green)
18 950 has a compressor, 1060 has
a compressor and inverter
19 3050 has an external charger
1 Positive (+) Jumper Cable
2 Negative (
_
) Jumper Cable
3 Clamp Lights ON/OFF Switch
(Models 950, 1060 and 3000)
4 Power ON/OFF Switch
5 Charge Status Indicator Lights
6 Battery Level Test Button
7 Full Charge Light
8 Reverse Connection Warning
LED Light (Flashing Red)
9 Charging Light
10 12 Volt DC Power Outlet



 To Next Page
 Loading...