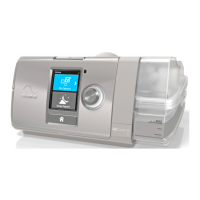
Read your entire AirCurve™ 10 User Guide before use.
Setup
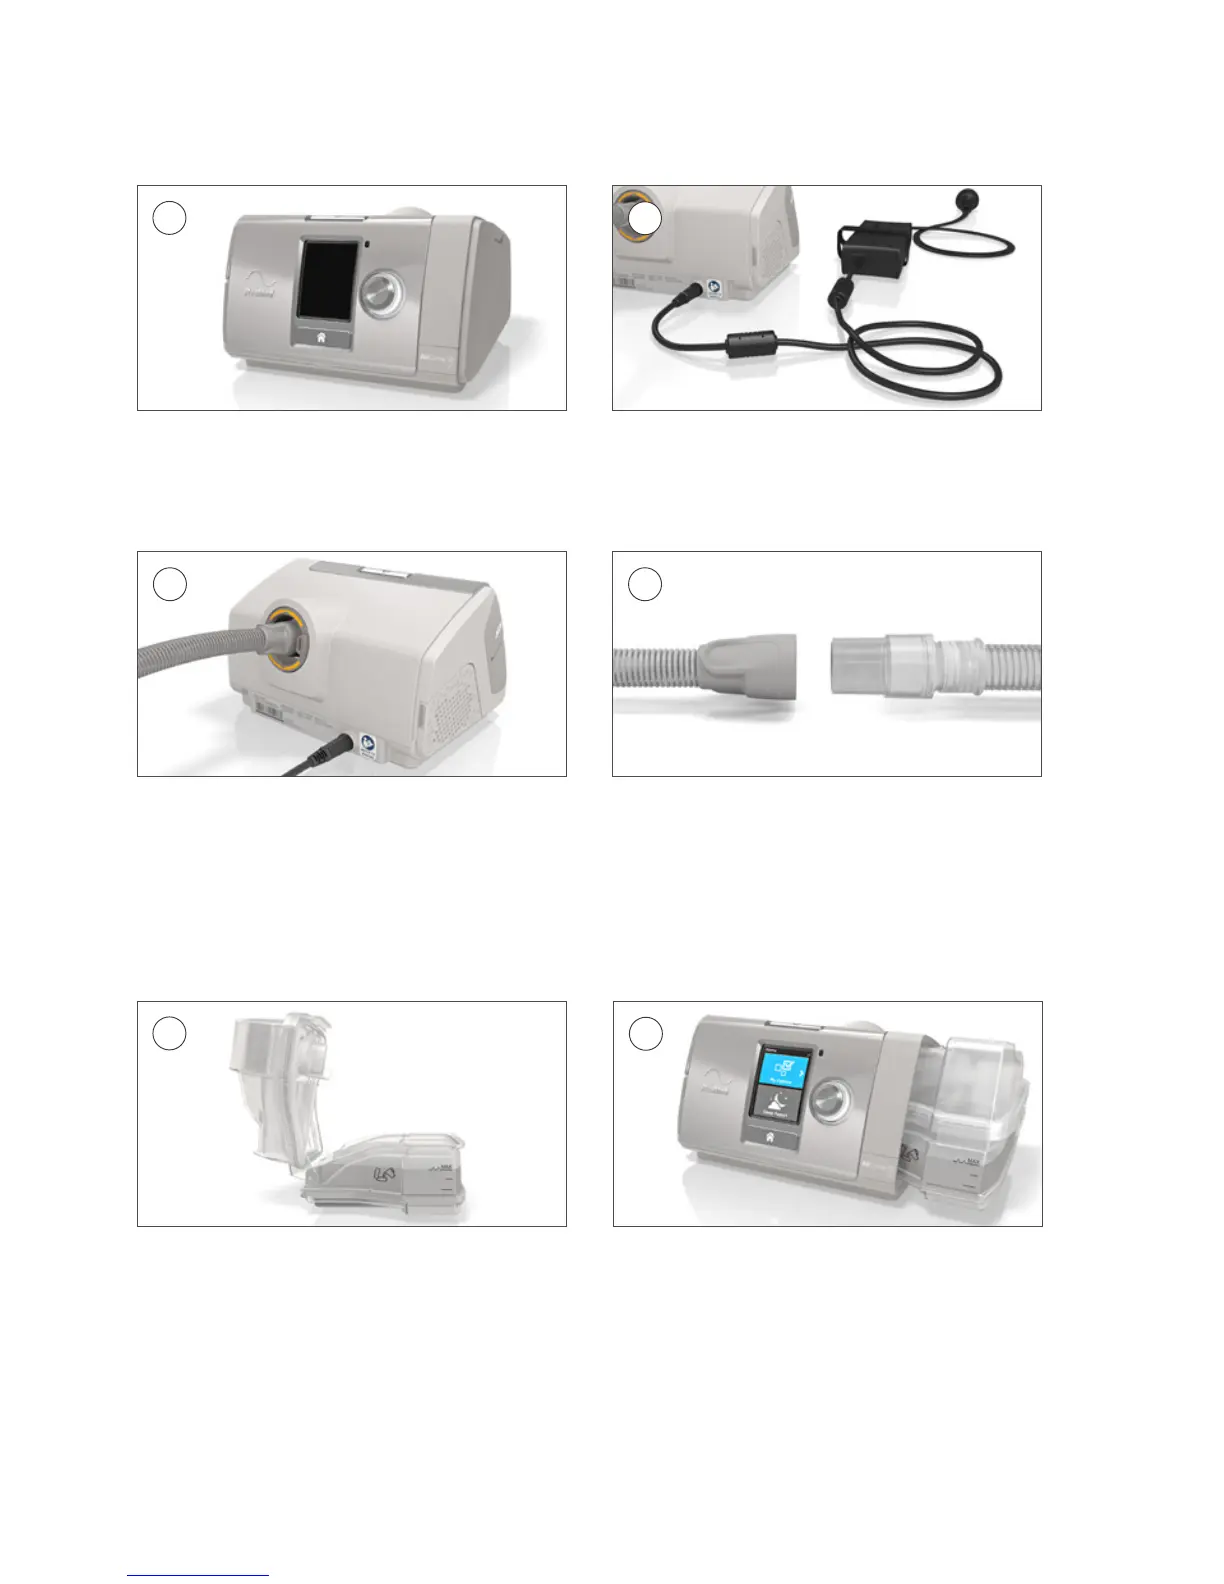
1
2
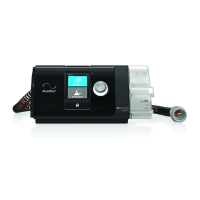
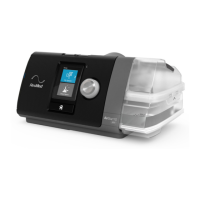
Place the device on a stable level surface. Plug the power connector into the rear of
the device. Connect one end of the power
cord into the power supply unit and the
other end into the power outlet.
3 4
Connect the air tubing firmly to the air outlet
located on the rear of the device.
Connect the free end of the air tubing firmly
onto the assembled mask. Press Start/Stop
to begin therapy.
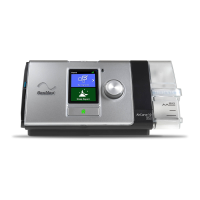
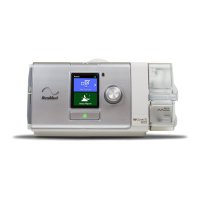
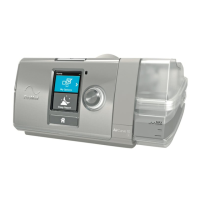
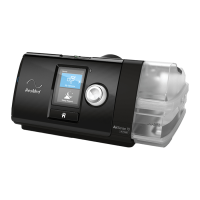
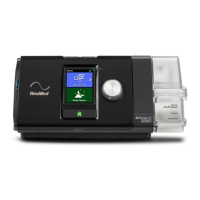
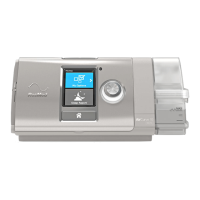
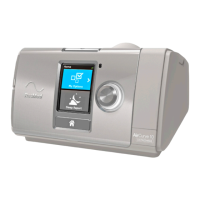
AirCurve 10 with HumidAir
If you have an AirCurve 10 device with HumidAir™, fill the humidifier as follows:
1
2
Open the humidifier and fill with water up to
the maximum water level mark.
Close the humidifier and insert it into the
side of the device.
Heated humidification offers relief from dryness and congestion and is designed to make therapy
more comfortable. If you do not have an AirCurve 10 device with HumidAir, consider purchasing
HumidAir and ClimateLineAir™ heated air tubing.
 Loading...