Connecting to Power
IMPORTANT: Conrm compatibility of χeMini power inputs
and outputs with external device(s) before making any
external connection(s) (see specications).
To connect the χeMini to a power source:
Place it in direct sunlight.
Plug it into an AC outlet.
Connect the USB power input
to an external power source
such as a computer or car
charger (see specications)
with a USB cable (not
included).
Or, any combination of the above!
Special Note: if you connect the χeMini to a car charger that
is not iPod/iPhone compatible, the CHARGE/SYNC output on
the χeMini will not be iPod/iPhone compatible. We recom-
mend Revolve’s χePico charger to maximize compatibility.
How To Use the χeMini
The χeMini has been designed to help simplify your life. The
χeMini will charge any small electronic device that accepts 5V
DC (USB standard), two at a time! You no longer need to carry
multiple power supplies for your devices. Plus, the χeMini has
a built in battery back-up to provide power to compatible
devices on the go.
IMPORTANT: The χeMini is designed to work exclusively with
a Revolve’s χeBattery, included this package. The use of any
other battery will void the limited warranty.
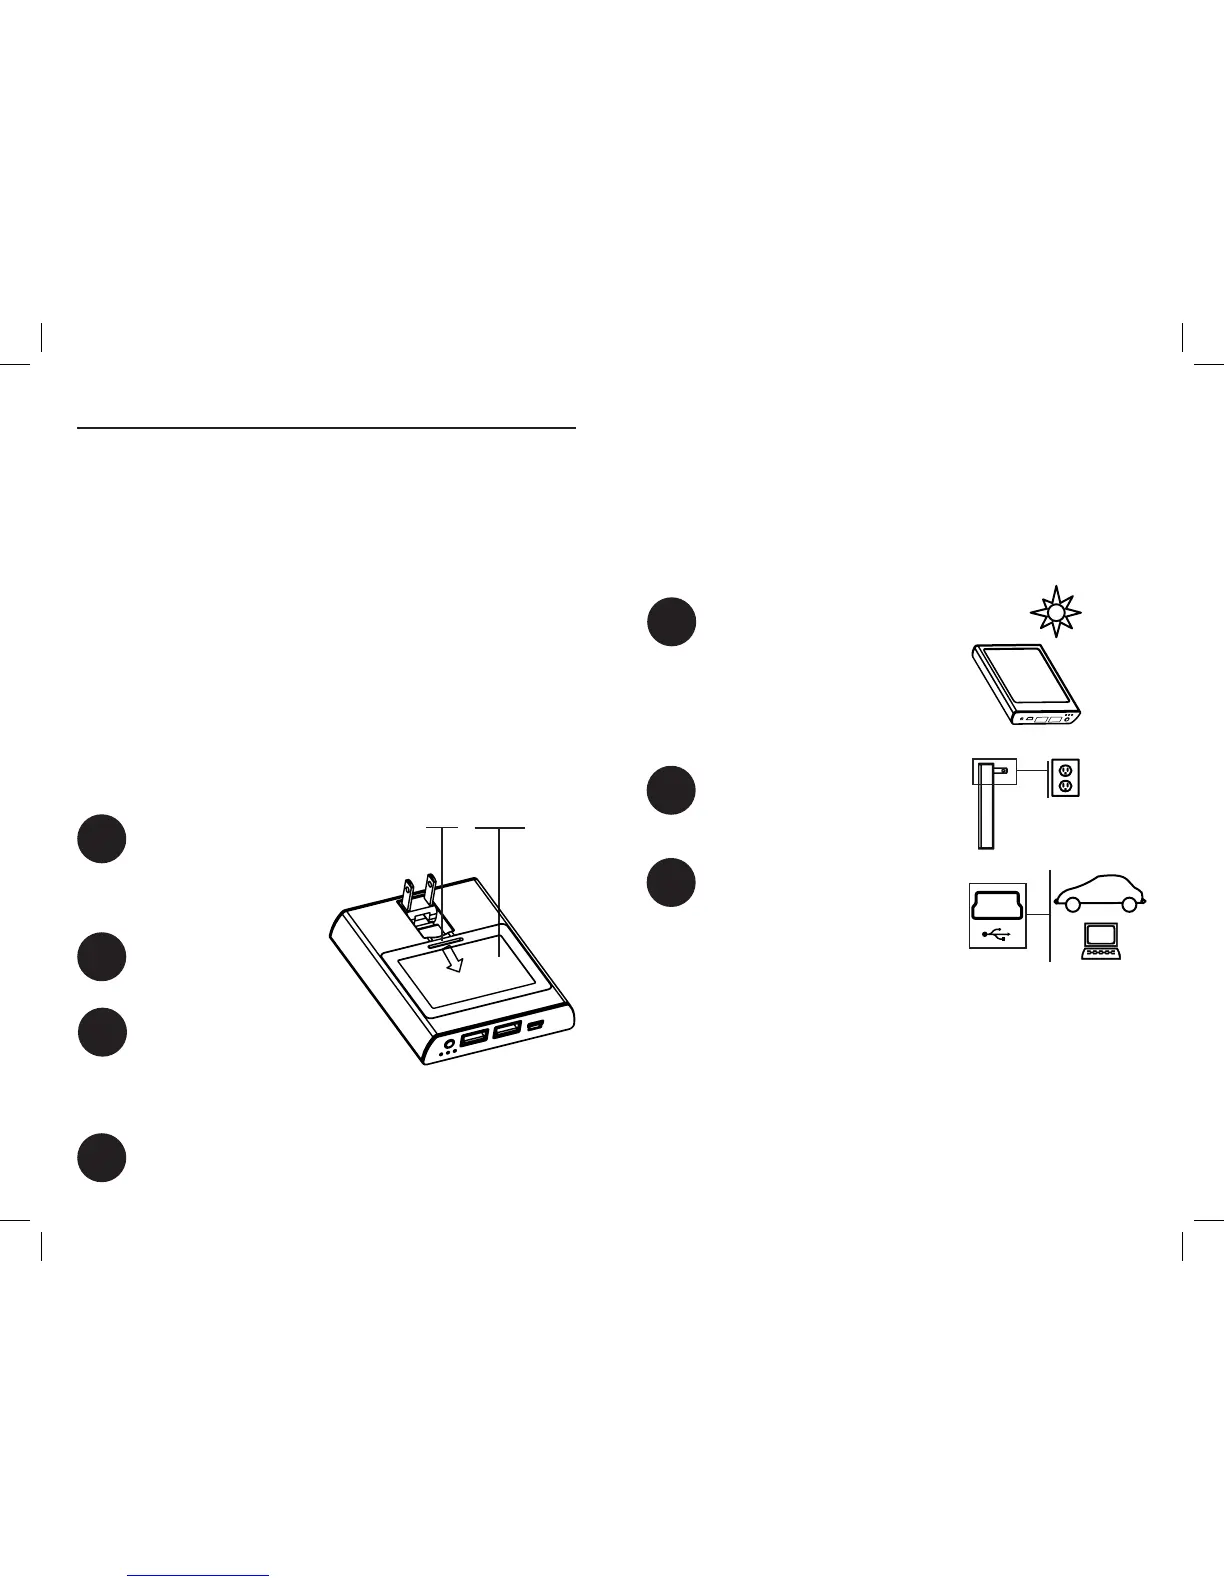
Installing The Battery
The χeBattery must be installed in the χeMini before using. To
install battery:
Remove cover by using
nger to gently press tab
on cover away from the
edge and lift.
Remove χeBattery from
protective plastic wrap.
Align contacts on the
χeBattery and χeMini.
Insert the battery’s
contact end in rst and
press battery into place.
Replace battery cover.
Note: The green light will
illuminate in charge status display
when the χeMini is charging via
Light Assisted Power™
A
B
C
1
3
Cover
Tab
4
2
C