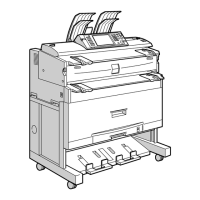
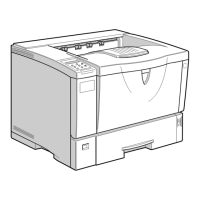
Preparing for Printing
29
Auto Run may not work with certain operating system settings. If this hap-
pens, launch “Setup.exe” on the CD-ROM root directory.
C Select an interface language, and then click [OK].
The default interface language is English.
❒ The printer driver with the selected language will be installed. The English
printer driver is installed when the following language is selected: Cestina,
Magyar, Polski, Portugues, Suomi.
D Click [PostScript 3 Printer Driver].
Add Printer Wizard starts.
E Click [Next >].
F Click [Local printer], and then click [Next >].
G Click [Add Port...].
H Click [SmartDeviceMonitor], and then click [Next >].
I Click [IPP].
J In the [Printer URL] box, enter “http://(printer's address)/printer” as the
printer's address.
If the server authentification is issued, to enable SSL (a protocol for encrypted
communication), enter “https://(printer's address)/printer” (Internet Explorer
5.01, or a higher version must be installed).
(example IP address: 192.168.15.16)
http://192.168.15.16/printer
https://192.168.15.16/printer
You can enter “http://(printer's address)/ipp” as the printer's address.
K Enter a name for identifying the printer in [IPP Port Name]. Use a name dif-
ferent from the name of any existing port.
If a name is not specified here, the address entered in the [Printer URL] box
becomes the IPP port name.
L Click [Detailed Settings] to configure proxy server, the IPP user name and
other settings. Specify the necessary settings, and then click [OK].
For information about the settings, see SmartDeviceMonitor for Client Help.
M Click [OK].
N Check that the name of the printer whose driver you want to install is se-
lected, and then click [Next >].
 Loading...