188
Changing Camera Settings
5
You can shoot still images with the time or date stamped onto the
picture.
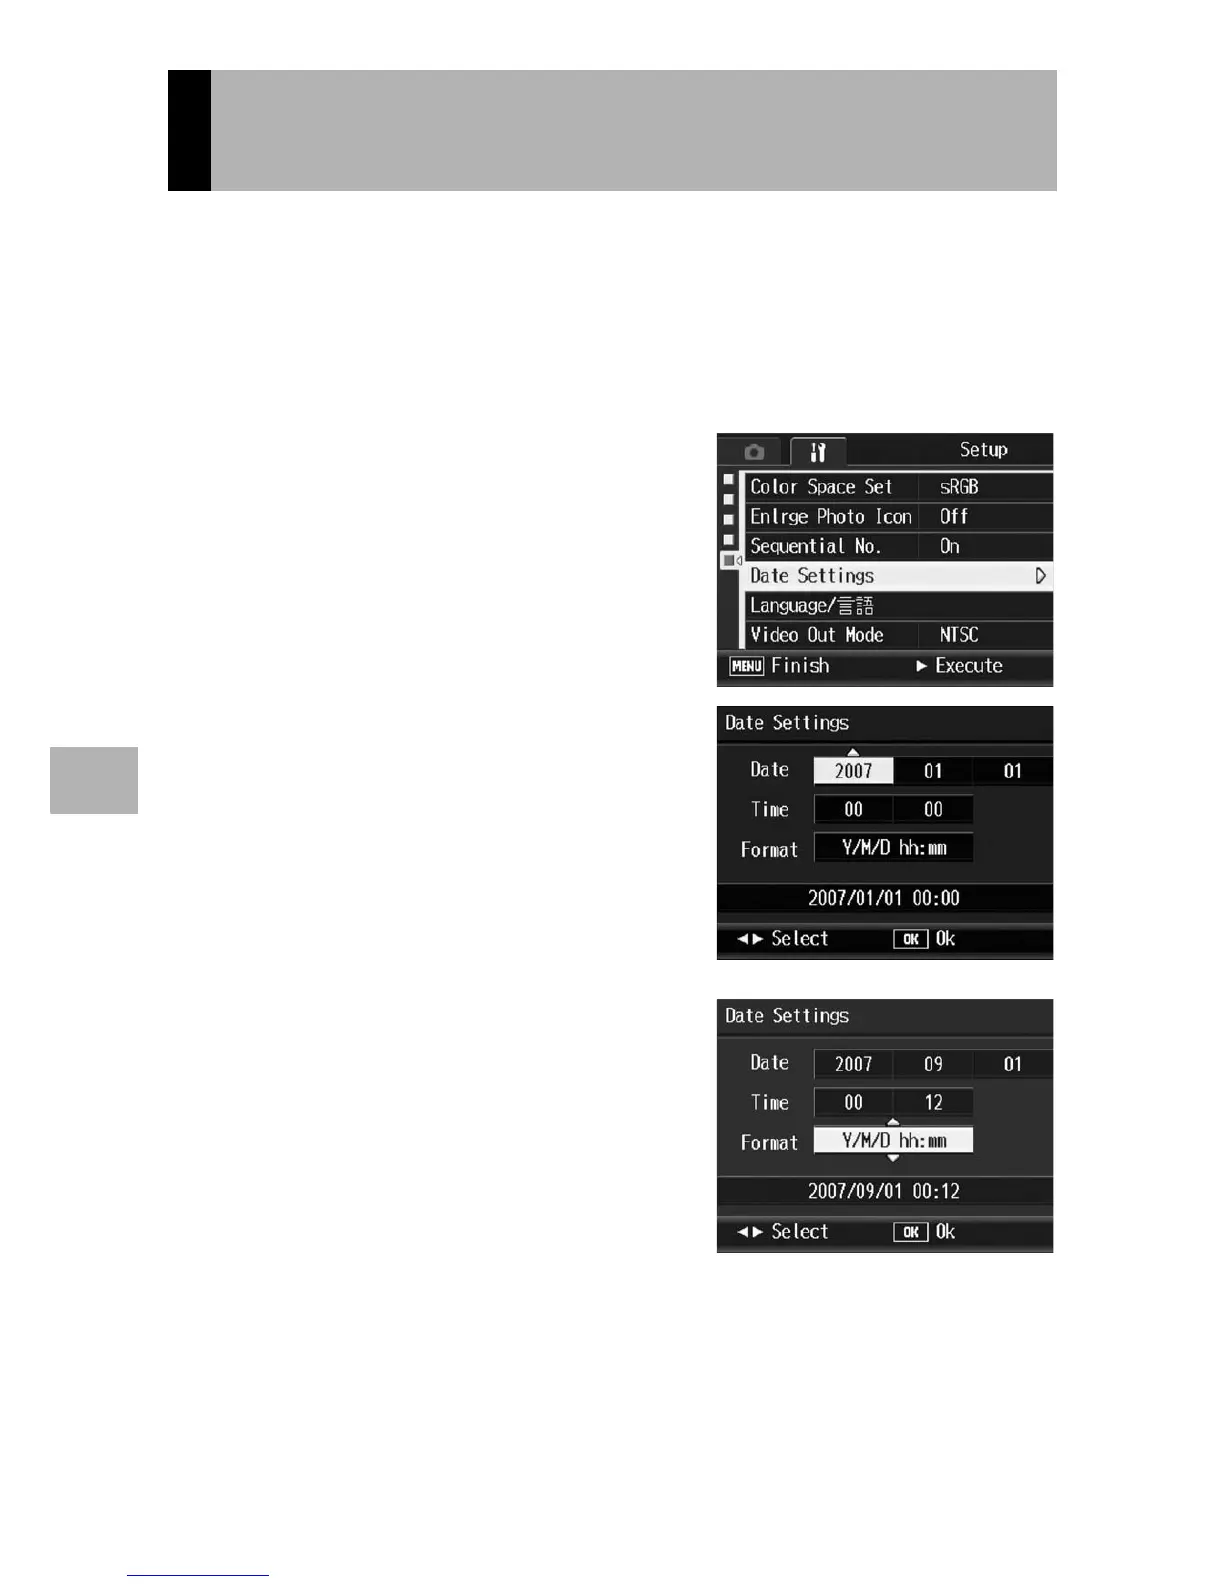
The date/time setting on the setup menu is explained here.
1
Display the setup menu.
• For the operating procedure, see P.156.
2
Press the " button to select
[Date Settings] and press the
$ button.
3
Press the !"#$ buttons to
set the year, month, date and
time.
• You can press and hold down the !"
buttons to quickly raise or lower the
setting.
• Press the #$ buttons to move to the
next item.
4
In [Format], choose the date
and time format.
5
Check the information on the
screen and then press the
MENU/OK button.
• Once you have set the date and time,
the display returns to the setup menu.
6
Press the MENU/OK button.
Setting the Date and Time
(Date Settings)
 Loading...