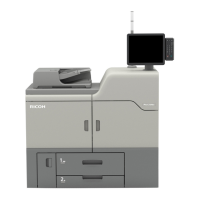
Registering a new custom paper with the Media Identification Unit
1. Press [Tray Paper Settings] in the upper left corner of the screen.
2. Press [Paper Tray] tab.
3. Press [CustomPaper Management].
4. Press [Add New].
5. Press [Scan the Value].
6. Insert paper into the Media Identification Unit, and then remove it.
Hold the edges of the paper with both hands when inserting the paper.
Keep the paper flat as you pull it out.
7. Change the settings for custom paper (such as paper's name, size, and type), as
necessary.
8. Press [Save Paper].
If you change the [Paper Weight], [Paper Type], [Coated Paper Type], [Paper Color],
[Prepunched], or [Textured] and press [Save Paper], a message appears to notify you that the
[Advanced Settings] will be initialized. To apply the changes for those settings, select
[Change]. To cancel the changes, select [Do not Change].
9. Press [Add New].
Registering Custom Paper
53

 Loading...