8
B. Saw-blade with pins
B-1 Saw blade removal
• Extract the saw-blade by rst unscrewing the tight-
ening screw (2).
• Remove the saw-blade from the upper and lower
support by
slightly pressing the saw’s upper arm down (5).
B-2 Inserting the saw-blade
• Lead one end of the saw-blade through the perfora-
tion
in the table and insert the saw-blade pins into the
notch.
Repeat this procedure at the upper blade support.
• Before hooking it in, slightly press the saw’s upper
arm down (5)
• Check the position of the blade pins at the supports
(6).
• Tighten the blade by means of the tightening screw
(2).
Check the blade’s tightness.
Keep on rotating clockwise in order to tighten the
blade even more.
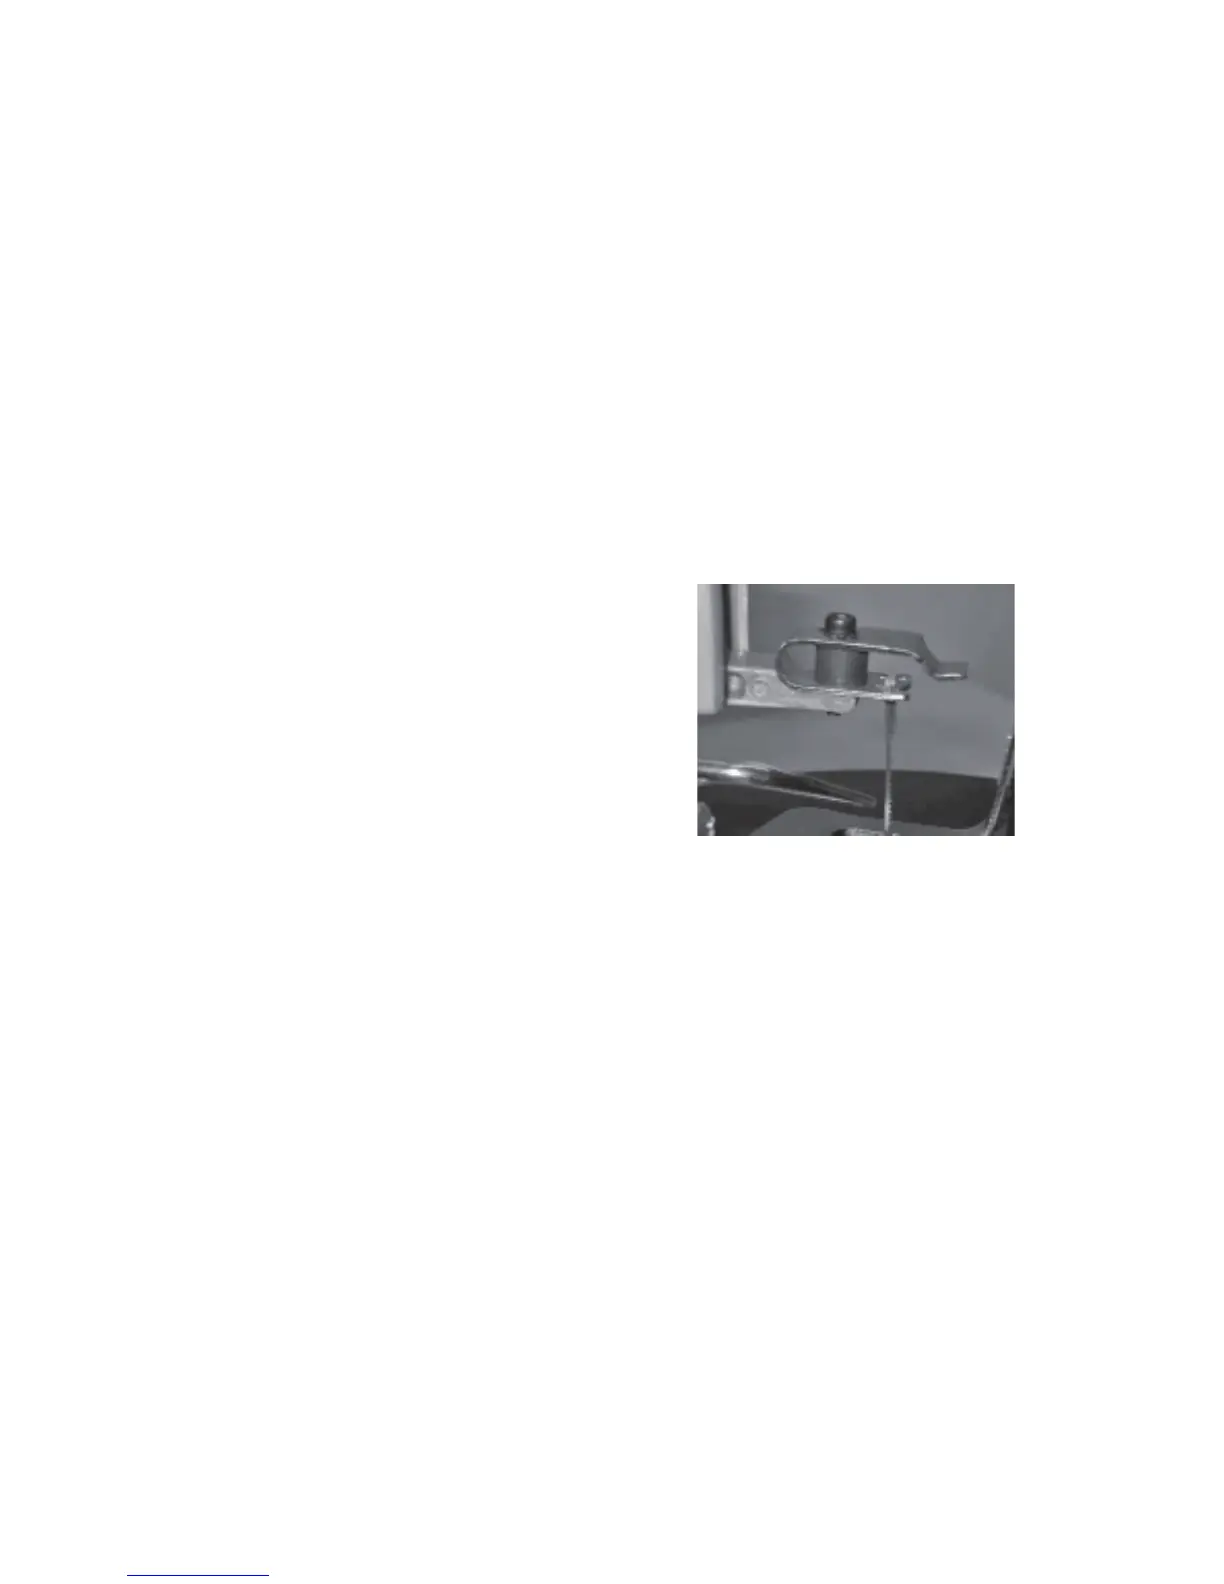
Fig. 08


 To Next Page