MC-601 Installation and Operation Instructions 2
Mounting The Controller
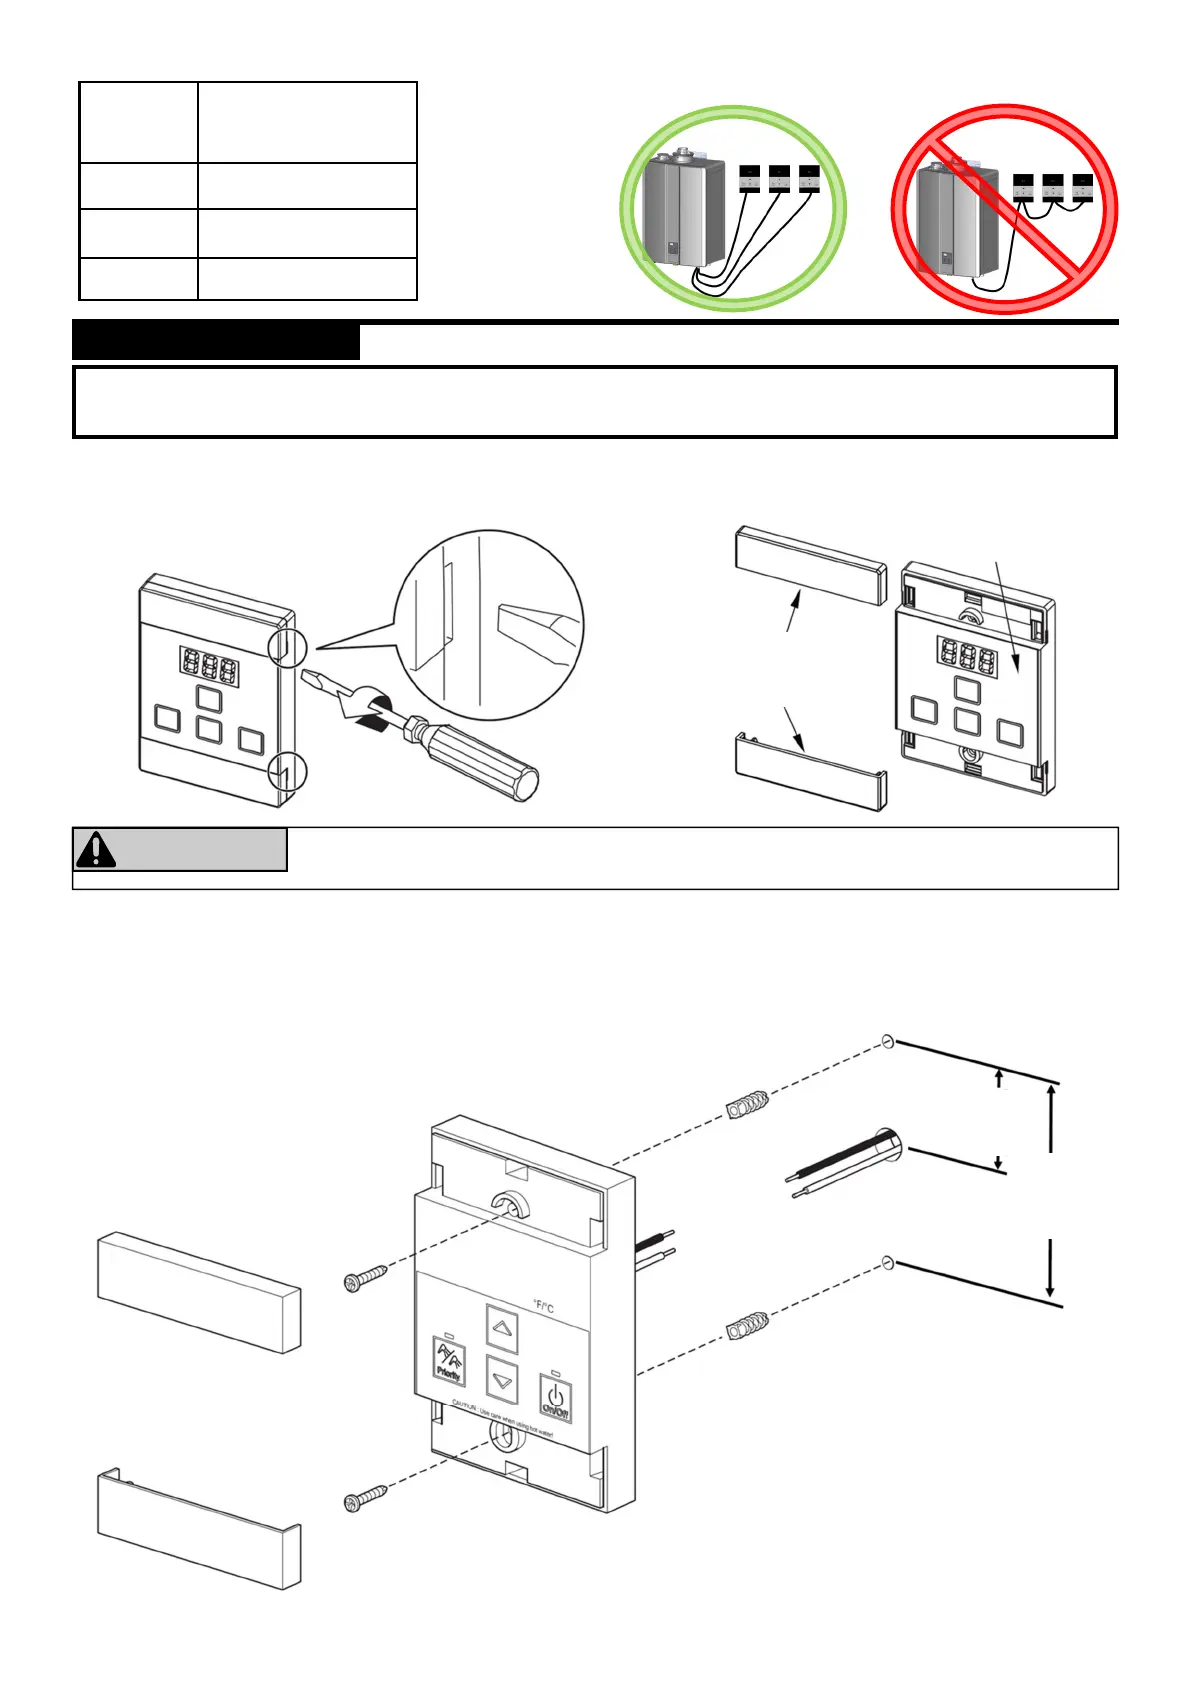
1. Make 3 holes in the wall as shown below. (Reference template on last page.)
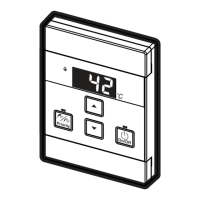
2. Remove the face plate from the temperature controller using a screwdriver.
IMPORTANT: When performing the steps in this section, you must follow the wiring guidelines established by the National
Electrical Code (NEC).
Disconnect power to the water heater. Do not attempt to connect the temperature controller(s)
with the power on.
WARNING
3. After disconnecting power to the water heater, connect the field-supplied wire to the stripped wire ends of the con-
troller . Follow the wiring guidelines established by the National Electrical Code (NEC).
4. Using the provided screws and wall anchors, mount the controller to the wall.
5. Remove the protective film from the controller.
Number of
Controllers
Maximum Cable Length
for Each Controller to
Water Heater
1 328 ft. (100 m)
2 164 ft. (50 m)
3 or 4 65 ft. (20 m)
Controllers wired in series Controllers wired in parallel
Controllers can
only be wired in
parallel; they
cannot be wired in
series.
Film
Cover
Plates
3.31 in.
(84mm)
1.65 in.
(42mm)
 Loading...