Infinity REU-VR3237WG /HD250e REU-VRM3237WC - 31 - Issue 1 - 19/05/09 ©Rinnai
20. Dismantling for Service
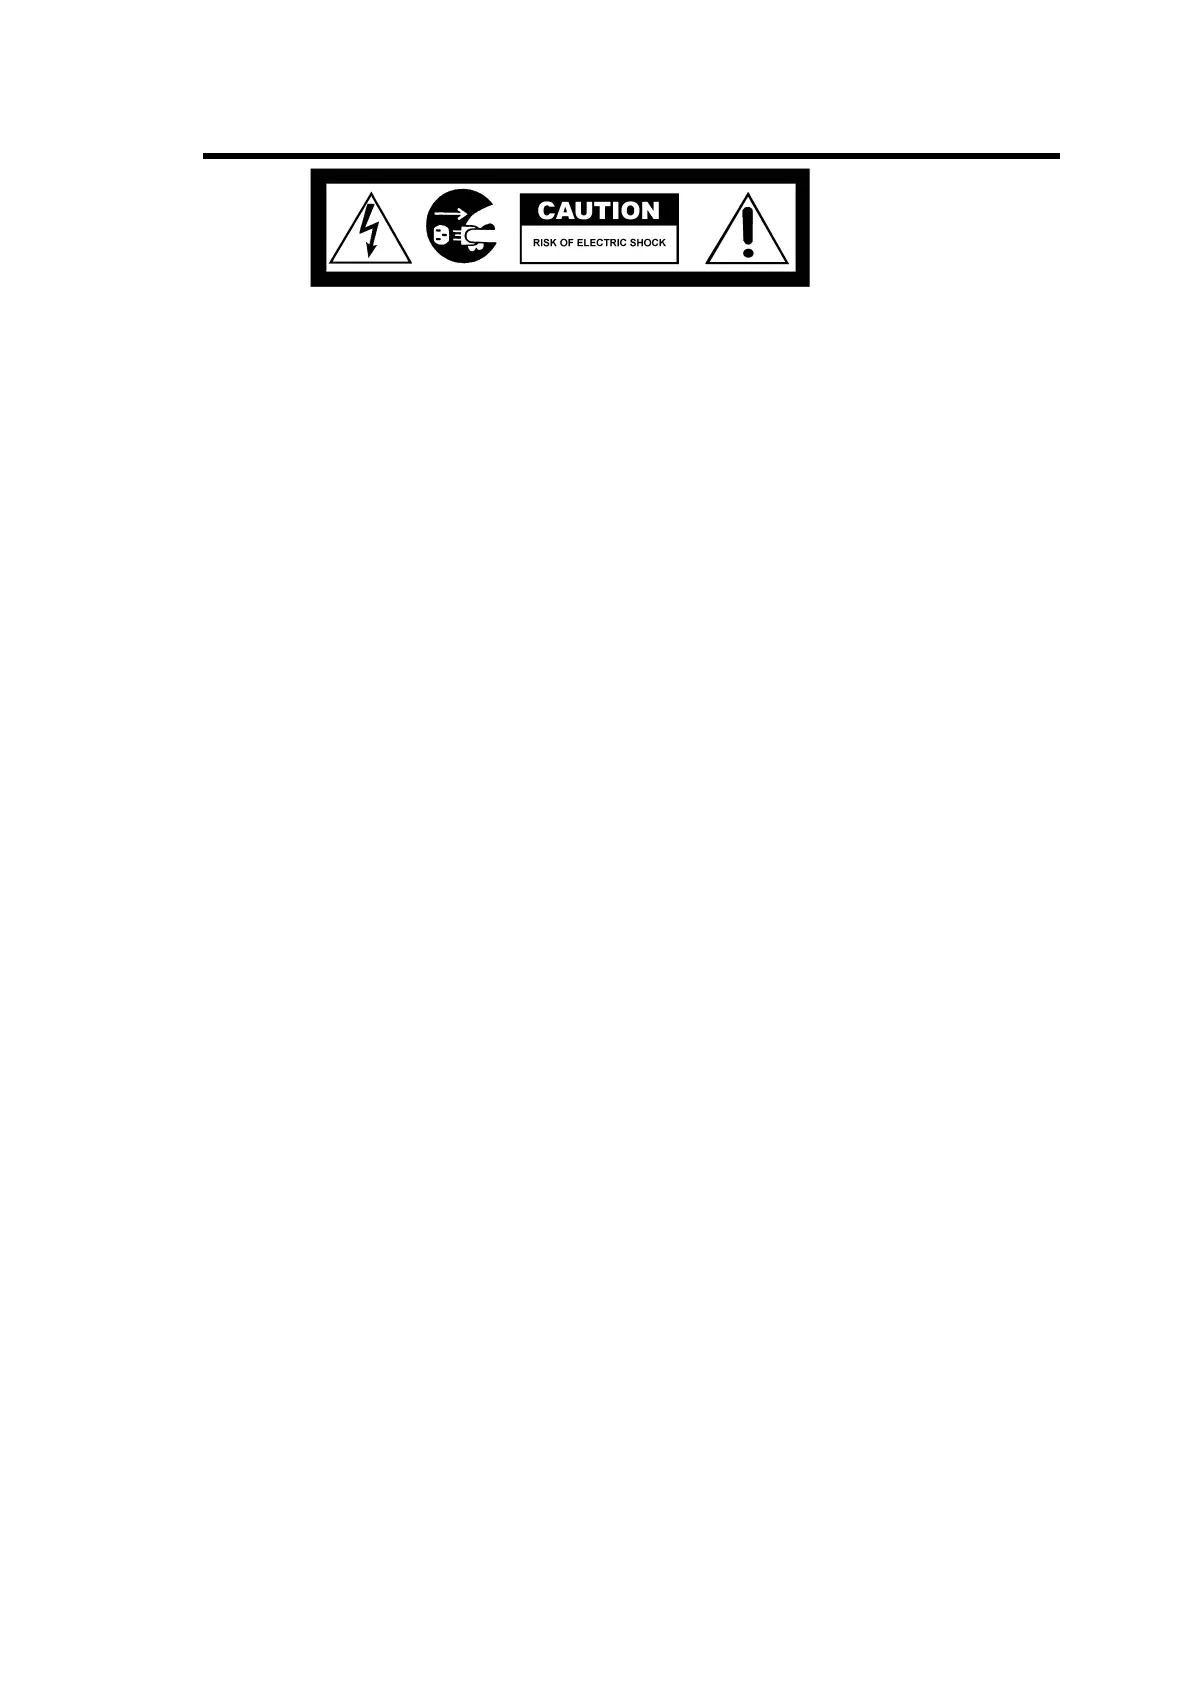
240 volt potential exposure. Isolate the appliance and reconfirm with a neon screwdriver or multimeter.
NOTE: As this manual covers a wide range of models, some details of the dismantling
procedure may be slightly different to those depicted in this manual.
Item Page
1. Removal of the Front Panel . . . . . . . . . . . . . . . . . . . . . . . . . . . . . . . . . . . . . . . . . . . . . 24
2. Removal of the PCB Unit. . . . . . . . . . . . . . . . . . . . . . . . . . . . . . . . . . . . . . . . . . . . . . . 24
3. Removal of the Water Flow Sensor, Servo and Bypass Servo . . . . . . . . . . . . . . . . . 24
4. Removal of the Sparkers . . . . . . . . . . . . . . . . . . . . . . . . . . . . . . . . . . . . . . . . . . . . . . . 25
5. Removal of the Combustion Fan . . . . . . . . . . . . . . . . . . . . . . . . . . . . . . . . . . . . . . . . . 25
6. Removal of the Hot Water Outlet & Heat Exchanger Outlet Thermistors. . . . . . . 25
7. Removal of the Gas Inlet, Solenoids and Flame Rod . . . . . . . . . . . . . . . . . . . . . . . . 26
8. Removal of the Gas Control. . . . . . . . . . . . . . . . . . . . . . . . . . . . . . . . . . . . . . . . . . . . . 26
9. Removal of the Heat Exchanger . . . . . . . . . . . . . . . . . . . . . . . . . . . . . . . . . . . . . . . . . 27
10. Removal of the Thermal Fuse and OHS. . . . . . . . . . . . . . . . . . . . . . . . . . . . . . . . . . . 27
Unless otherwise stated, re-assembly is the reverse of dismantling.
 Loading...