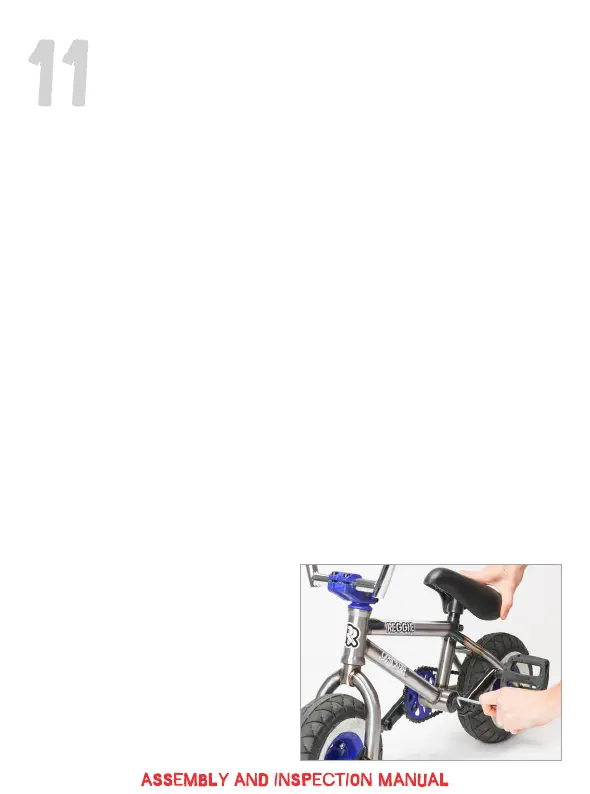
Now check your bottom bracket/
crank assembly. If you have an
Irok+ model turn the cranks & look
at the locking nut and cone to make
sure they are not cross threaded.
If you find that they are please use
suitable tools to loosen, re-align
and then pre-load your crank
bearings. (This is very rare - please
call us if you require professional
assistance in such a case).
RKR 3+ models use a 3 piece crank
system with a sealed mid bottom
bracket (BB). Check the crank arm
pinch bolts on either side are tight.
Along with the crank axle bolts and
sprocket bolt on the reverse of the
right hand crank arm. If your cranks
become lose you can tighten them
by loosening the pinch bolts on the
crank arms and tightening the axle
bolts. (The pinch bolts on the crank
arm MUST be loosened before
tightening the axle bolts, otherwise
you will strip the thread from your
bolt and possibly the axle).
Irok+ models use a USA BB as
standard, we manufacture after
market 3 piece cranks and
conversion BB’s with fully sealed
cartridge bearings (USA to 19mm).
Please see our website for details
www.rockerbmx.com should you
wish to upgrade your cranks.
Whilst turning your cranks make
sure that the sprocket has been
installed correctly and runs straight
and true. Tight spots in your chain
will indicate incorrect centering of
your drive sprocket.
 Loading...