84 Rockwell Automation Publication 2094-UM001D-EN-P - May 2010
Chapter 5 Connecting the Kinetix 6000 Drive System
To remove the IAM module from the power rail, refer to Remove Kinetix 6000
Drive Modules on page 174
.
When using ungrounded input power in common-bus configurations, use this
table to determine where to set the ground jumper.
Table 47 - Ground Jumper to Set
Set the Ground Jumper
Follow these steps to set the ground jumper for ungrounded power.
1. Remove the top and bottom front-panel screws.
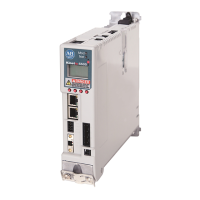
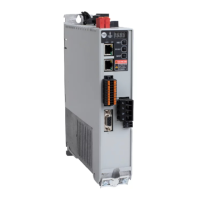
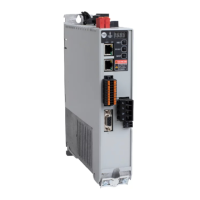
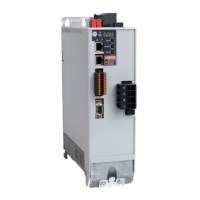
Refer to the figures beginning on page 86
(230V IAM module) or page 87
(460V IAM module) for an illustration of your actual hardware.
2. Swing the front panel open to the right, as shown, and locate the ground
jumper.
ATTENTION: This drive contains electrostatic discharge (ESD) sensitive
parts and assemblies. You are required to follow static-control
precautions when you install, test, service, or repair this assembly. If you
do not follow ESD control procedures, components can be damaged. If
you are not familiar with static control procedures, refer to Guarding
Against Electrostatic Damage, publication 8000-4.5.2
, or any other
applicable ESD awareness handbook.
Leader Drive Follower Drive
Set the Jumper in This
Drive
Kinetix 6000 IAM module Kinetix 6000 IAM module Leader drive
Kinetix 6000 IAM module Non-Kinetix 6000 drive Leader drive
Non-Kinetix 6000 drive Kinetix 6000 IAM module
Follower drive (if no setting
exists in the leader drive)
Do not attempt to remove the front panel from the IAM module.
The front panel status indicators and switches are also connected
to the IAM module with a ribbon cable. The ribbon cable will act
like a hinge and let you swing the front panel open and access the
ground jumper.

 Loading...
