13
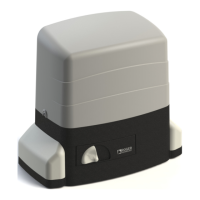
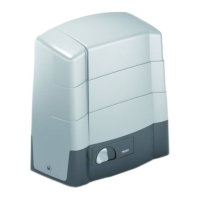
9. COLLEGAMENTI ELETTRICI ELEKTRISCHE ANSCHLÜSSE
XIONS ÉLECTRIQUES CONEXIONES ELÉCTRICAS LIGAÇÕES ELÉCTRICAS
IT
I collegamen elerici e il collaudo dei motoriduori SMARTY sono illustra
in gura e nel manuale di installazione della centrale di comando .
EN
The electrical connecons and test procedure for SMARTY gear motors are illustrated
in the gure and in the installaon manual of the control unit.
DE
Die elektrischen Anschlüsse und die Abnahme der Antriebe SMARTY sind in
der Abbildung und im Installaonshandbuch des Steuergeräts dargestellt.
FR
Les raccordements électriques et le contrôle des motoréducteurs SMARTY
sont illustrés dans la gure et dans le manuel d’installaon de la centrale de
commande.
ES
Las conexiones eléctricas y el ensayo de los motorreductores SMARTY se han
ilustrado en la gura y en el manual de instalación de la central de mando.
PT
As ligações elétricas e o ensaio dos moto redutores SMARTY são ilustrados
na gura e no manual de instalação da unidade de controlo.
Y
X
3 x 2.5 mm²
Z
Y
X
INSTALLATION DE ACTIONNEUR
INSTALACIÓN DEL ACTUADOR INSTALAÇÃO ACCIONADOR
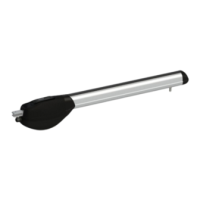
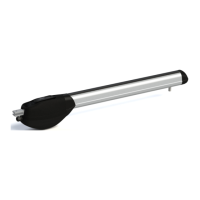
IT
INSTALLAZIONE
• Il pistone SMARTY può essere installato indierentemente a destra o a sinistra.
• Fissare il pistone alla staa posteriore e a quella anteriore lubricando i pun
di rotazione.
• Muovendo manualmente il cancello vericare che tua la corsa sia regolare e
senza ari.
EN
INSTALLATION
• The SMARTY piston may be installed on the right or le hand side.
• Fasten the piston to the rear bracket and to the front bracket, lubricang the
pivot points.
• Move the gate manually and check that it moves smoothly throughout its en-
re travel without impediment or fricon.
DE
INSTALLATION
• Der Kolben SMARTY kann unterschiedslos rechts oder links installiert werden.
• Den Kolben am hinteren Bügel und am vorderen Bügel befesgen, dabei die
Rotaonspunkte schmieren.
• Das Tor von Hand bewegen und prüfen, dass sein Lauf regelmäßig und reibung-
slos erfolgt.
FR
INSTALLATION
• Le piston SMARTY peut être installé indiéremment à droite ou à gauche.
• Fixer le piston à l’étrier arrière et l’étrier avant en lubriant les points de rota-
on.
• Tout en aconnant manuellement le portail, vérier que toute la course soit
régulière et dépourvue de froements.
ES
INSTALACIÓN
• El pistón SMARTY puede instalarse tanto a la derecha como a la izquierda.
• Fije el pistón al estribo trasero y al delantero lubricando los puntos de rotación.
• Moviendo a mano la cancela, compruebe que toda la carrera sea homogénea
y no presente roces.
PT
INSTALAÇÃO
• O pistão SMARTY pode ser instalado quer no lado direito quer no lado esquer-
do.
• Fixe o pistão ao suporte traseiro e ao dianteiro lubricando as arculações.
• Movendo manualmente o portão verique se todo o curso é regular e sem
atritos.

 Loading...