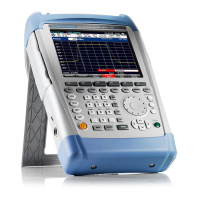
R&S FSH3 Measurements on CW Signals
Power Measurements Using the Power Sensor
For most accurate measurement of power the R&S FSH3 provides the possibility to use the Power
Sensor R&S FSH-Z1 or R&S FSH-Z18. They measure power in the frequency range 10 MHz to 8 GHz
or 10 MHz to 18 GHz, respectively.
The Power Sensor R&S FSH-Z1 or R&S FSH-Z18 is controlled and powered via a special RS-232-C
interface on top of the instrument.
Power Sensor connector
(Device under Test)
Power Sensor
R&S FSH-Z1 or
R&S FSH-Z18
RS-232 interface
for Power Sensor
The continuous power applied to the power sensor’s input must not exceed 400 mW
(26 dBm). Short (
≤
10 µs) power peaks up to 1 W (30 dBm) are however permissible.
Higher input powers may destroy the sensor. An attenuator pad must be used to ensure
that the maximum permissible power for the sensor is never exceeded when
measurements are made on high-power transmitters.
¾ Connect the power sensor cable to the R&S FSH3’s power sensor connector and screw into position.
¾ Press the MEAS key.
¾ Press the MEASURE softkey.
¾ Using the Cursor keys or the Rotary knob, select the POWER SENSOR menu item and confirm your
selection with the ENTER key or the MEASURE softkey.
The R&S FSH3 opens the screen for power measurements. If a power sensor has not been connected,
no measured value is displayed. If a power sensor has been connected, the R&S FSH3 sets up a
connection via the RS232 interface and after a few seconds displays the measured power.
If there are any communication problems with the power sensor, the R&S FSH3 outputs error
messages (Sensor error: Error number) indicating the possible causes (see Main Manual).
To compensate for internal offset of the power meter it needs to be compensated before starting the
measurement.
1145.5973.12 2.5 E-6

 Loading...
