Preparing for Use
R&S
®
RTO
15Getting Started 1316.0833.02 ─ 10
When you power up the instrument, be sure to comply with the warm-up phase speci-
fied in the data sheet before you start measurements.
You can leave on the AC power permanently. Powering off is only required if the instru-
ment must be completely disconnected from all power supplies.
2.3.2 Starting Up and Shutting Down
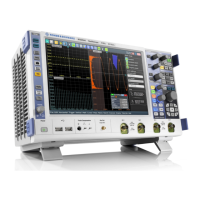
The POWER switch is located in the bottom left corner of the front panel.
To start up the instrument
1. Make sure that the R&S RTO is connected to the AC power supply and the main
power switch on the rear panel is in position I.
2. Press the POWER key on the front panel.
The instrument performs a system check, boots the Windows operating system,
and then starts the R&S RTO firmware.
The illuminated keys on the front panel light up. If the previous session was termi-
nated regularly, the oscilloscope uses the last settings.
To shut down the instrument
► Press the POWER key again.
Alternatively, tap "Exit" on the "File" menu.
All current settings are saved, and the software shuts down. The standby power
only supplies the power switch circuits and the optional oven quartz (OCXO, option
R&S RTO-B4).
Now it is safe to power off the instrument.
2.3.3 Powering Off
Powering off is required only if the instrument must be completely disconnected from
all power supplies.
It also interrupts the power supply of the OCXO (option OCXO Reference Frequency,
R&S RTO-B4).
When you power on the instrument again, be sure to comply with the extended warm-
up phase specified in the data sheet.
1. If the instrument is running, press the POWER key on the front panel to shut down
the instrument.
2. Switch the main power switch at the rear of the instrument to position 0.
3. Disconnect the AC power cable from the AC power supply.
Starting the Instrument
 Loading...

