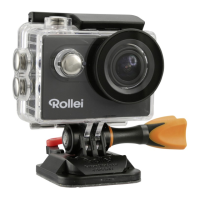
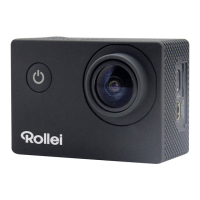
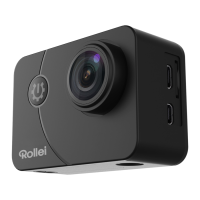
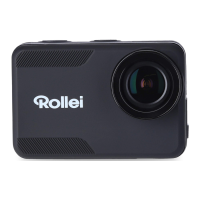
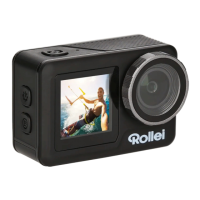
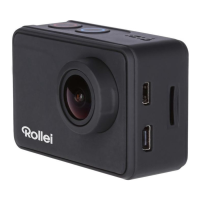
The Rollei Action Camera 410 is a compact action camera designed for capturing high-quality video and still images, particularly in challenging environments, including underwater. It comes with a range of accessories to facilitate various mounting and control options.
Function Description:
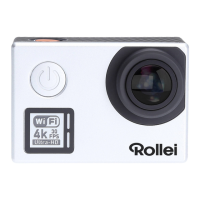
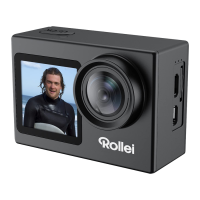
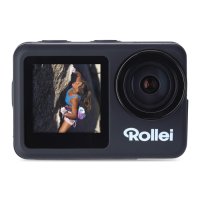
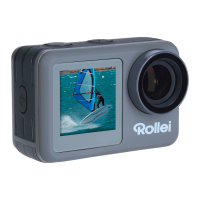
The Rollei Action Camera 410 is primarily used for recording videos and taking photos. It features a 4.0 megapixels CMOS sensor, capable of recording video at resolutions up to 1080p at 60fps, and still photos at 4 megapixels (interpolated to 12 megapixels). The camera has a 150-degree fixed lens with an F/2.8 aperture, allowing for a wide field of view. It includes a 2-inch TFT LCD display for live preview and playback. The camera supports Wi-Fi connectivity, enabling full camera control, live previewing, and playback of media on smartphones and tablets via a dedicated app. A wrist remote controller is also provided for convenient operation, though Wi-Fi and the remote cannot be used simultaneously. The camera is designed to be used with a waterproof case, allowing it to function underwater down to 30 meters.
Important Technical Specifications:
- Sensor: 4.0 megapixels CMOS sensor
- Video Resolution: 1080p@60fps, 1080p@30fps, 720p@120fps, 720p@60fps
- Still Photo Resolution: 4 megapixels (12 megapixels interpolated)
- Lens: 150°-view fixed lens, F/2.8 aperture, 0.5m to infinity focus
- Shutter Speed: 1/30 to 1/2000 sec
- Display: 2" TFT LCD
- Storage: Micro SD card up to 32GB (Class 6 or higher recommended)
- Video Format: MOV H.264
- Still Photo Format: JPEG
- Waterproof Depth: Down to 30m (with waterproof casing)
- Power Supply: 3.7V/1000mAh removable Li-Battery
- Battery Life: Approximately 1.5 hours without Wi-Fi
- Dimensions: 54x37x51mm (camera), 49.5x76x84mm (casing)
- Connectivity: Wi-Fi, Mini HDMI, High speed USB 2.0
- Microphone: Built-in
- Sensitivity: Automatic ISO 100-200
- Operating System Requirements: Windows XP / Vista / 7 / 8 / MAC OS
- App Requirements: Apple iOS & Android
Usage Features:
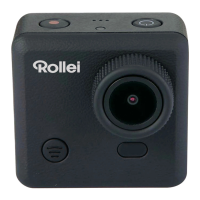
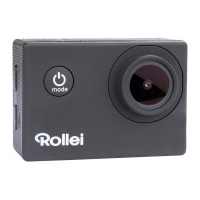
- Power On/Off: Press and hold the POWER button for several seconds to turn the camera on. The Rollei logo appears, and three red LED lights glow, indicating video mode.
- Video Recording: By default, the camera starts in video capture mode. Press the SHOOT button to start recording; red lights will flash. Press SHOOT again to stop.
- Picture Mode: To switch to picture mode, turn the camera on, then press and hold the SHOOT button for 3 seconds. A "P" icon will appear on the top left of the screen. Press SHOOT to take snapshots.
- Settings Menu: Press and release the POWER button (do not hold too long, or it will switch off) to enter the settings menu. Navigation is done using the Wi-Fi button, selection with the SHOOT button, and going back with the POWER button.
- Video Settings: Adjust resolution (1080P 60fps, 1080P 30fps, 720P 120fps, 720P 60fps), video looping (OFF, 1 min, 3 mins, 5 mins), white balance (Auto, Daylight, Cloudy, Tungsten, Fluor), microphone settings (Outdoor, Car, OFF), and date stamp (Off, Date, Date & Time).
- Picture Settings: Adjust resolution (e.g., 8M), quality, metering, white balance, ISO, exposure value, self-timer, and date stamp.
- General Settings: Access settings like Auto LCD Off (1 min, 3 min, 5 min, OFF), Auto Power Off, Date & Time adjustment, Language selection, Light Frequency (to avoid strobing), Screen Rotation, Timelapse intervals, System Info (firmware version, SD card info), Factory Reset, Wi-Fi Password, and Wi-Fi SSID.
- Wi-Fi Connectivity: Activate Wi-Fi by pressing the Wi-Fi button. Download the "Rollei 400/410" app on your smartphone/tablet. Connect to the camera's Wi-Fi network (default SSID: Wi-Fi_CAM_000, default password: 1234567890). The app allows full control, live preview, and media playback.
- Remote Control: The wrist remote controller can shoot photos, record videos, and power off the camera. It needs to be coded with the camera before use by simultaneously pressing "Picture" and "Video" keys on the remote, then turning the camera on. The remote cannot turn the camera on.
- Playback Mode: Enter Picture mode, then press and hold SHOOT for 3 seconds. Navigate to VIDEO, IMAGE, or LOOP to view captured media. Press POWER to delete files. Press and hold SHOOT to exit playback mode.
- Connecting to TV: Use a Mini HDMI to HDMI cable (not included) to connect the camera to a TV. Turn the camera on and select the correct source on the TV.
- File Transfer to PC: Connect the camera to a computer via USB cable. The camera will appear as an external storage device. Alternatively, remove the Micro SD card and use a card reader. Files can be dragged and dropped or copied/pasted.
Maintenance Features:
- Battery Charging: Before first use, fully charge the battery (approximately 5 hours for a flat battery). Connect the camera to a computer or USB power source using the provided USB cable. Three red lights glow when charging (if camera is on), or one red light (if camera is off). Lights turn off when fully charged.
- Micro SD Card: Use a Class 6 (or higher) Micro SD card for smooth video recording. Insert the card in the correct direction; do not force it. Format new cards or cards previously used in other cameras to ensure optimal performance. Formatting will permanently delete all contents.
- Waterproof Case: Ensure the case is dry and clean before inserting the camera. Insert the camera, making sure the lens fits neatly into the cavity, then close the security latch.
- Troubleshooting:
- Flickering Red LEDs: Battery is low, recharge the camera.
- Camera Not Turning On: Battery is flat, recharge it.
- Camera Turns Off Automatically: Battery is low or auto power off function is set.
- Blurred Videos/Pictures: Lens may be dirty, clean it.
- Camera Not Recognized by Computer: Try a different USB cable or USB port.
- Wi-Fi Connection Issues: Battery may be flat, charge it first.