7
11. Final Adjustments:
A. Install and tighten the remaining two anchors as described in
Fig. 4.
B. If any problems are encountered, do not proceed with
subsequent steps. Instead, resolve the problem before
proceeding by referencing the Troubleshooting portion of the
Owner’s Manual section of this manual.
C. Raise the lift empty to the top of its travel and lower it the floor
three (3) times to remove the remaining air from the hydraulic
system and to verify that the power unit won’t stall at relief
pressure.
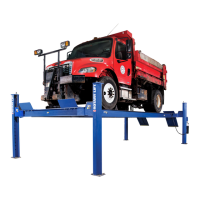
D. Position a vehicle on the lift, raise to full height and lower onto
the safety latches. Lower the vehicle to the floor.
E. After cycling the lift ten times with a vehicle on it, recheck the
tightness of the lift anchors to 90 ft-lbs (122 N-m).
Notes:
 Loading...