10 Commissioning
Installer reference guide
75
RVLQ05+08CAV4 + RHYHBH05AA + RHYHBH/X08AA +
RHYKOMB33AA
ROTEX HPU hybrid
4P355635-1 – 2013.05
10.3 Air purge function
When commissioning and installing the unit, it is very important to
remove all air in the water circuit. When the air purge function is
running, the pump operates without actual operation of the unit and
the removal of air in the water circuit will start.
There are 2 modes for purging air:
▪ Manually: the unit will operate with a fixed pump speed (high or
low), which can be set. The position of the 3-way valve for the
optional domestic hot water tank as well as that of the gas boiler's
bypass valve can also be set. To ensure all air will be removed,
however, it is recommended NOT to adjust their custom position.
▪ Automatic: the pump alternates between high speed, low speed
and standstill position. The position of the 3-way valve
automatically alternates between that for space heating and that
for domestic hot water heating. The gas boiler is continuously
bypassed. To remove air from the gas boiler, perform a manual air
purge on the gas boiler.
Air purge prerequisites
1 Install air purges on each part of the installation where the pipe
work goes down. (For example on a tank with connections on
top.)
2 Fill the circuit to ±2 bar.
3 Purge all radiators and all other air purges installed on the
circuit.
4 Repeat steps 2 and 3 until purging the radiators and the other
points does NOT longer lead to a pressure drop.
5 Make sure the user interface shows the home screens and that
the space heating and domestic hot water demands are turned
off.
When an air bubble blocks the pump and there is no flow, a 7H error
can occur. In this case, stop the air purge function and restart the
operation. This will cause the bubble to leave the pump. Make sure
the pressure in the circuit is ±2 bar and refill if necessary.
To check if the air purge function is finished, monitor the flow rate. If
it stays constant when the pump is running at high or low speed, the
unit is properly purged. To monitor the flow rate, go to [6.1.8].
The air purge function automatically stops after 42 minutes. Repeat
the air purge function if required.
10.3.1 To perform a manual air purge
1 Set the user permission level to Installer. See "To set the user
permission level to Installer" on page 46.
2 Set the air purge mode: go to [A.7.3.1]
> Installer settings >
Commissioning > Air purge > Type.
3 Select Manual and press
.
4 Go to [A.7.3.4]
> Installer settings > Commissioning > Air
purge > Start air purge and press
to start the air purge
function.
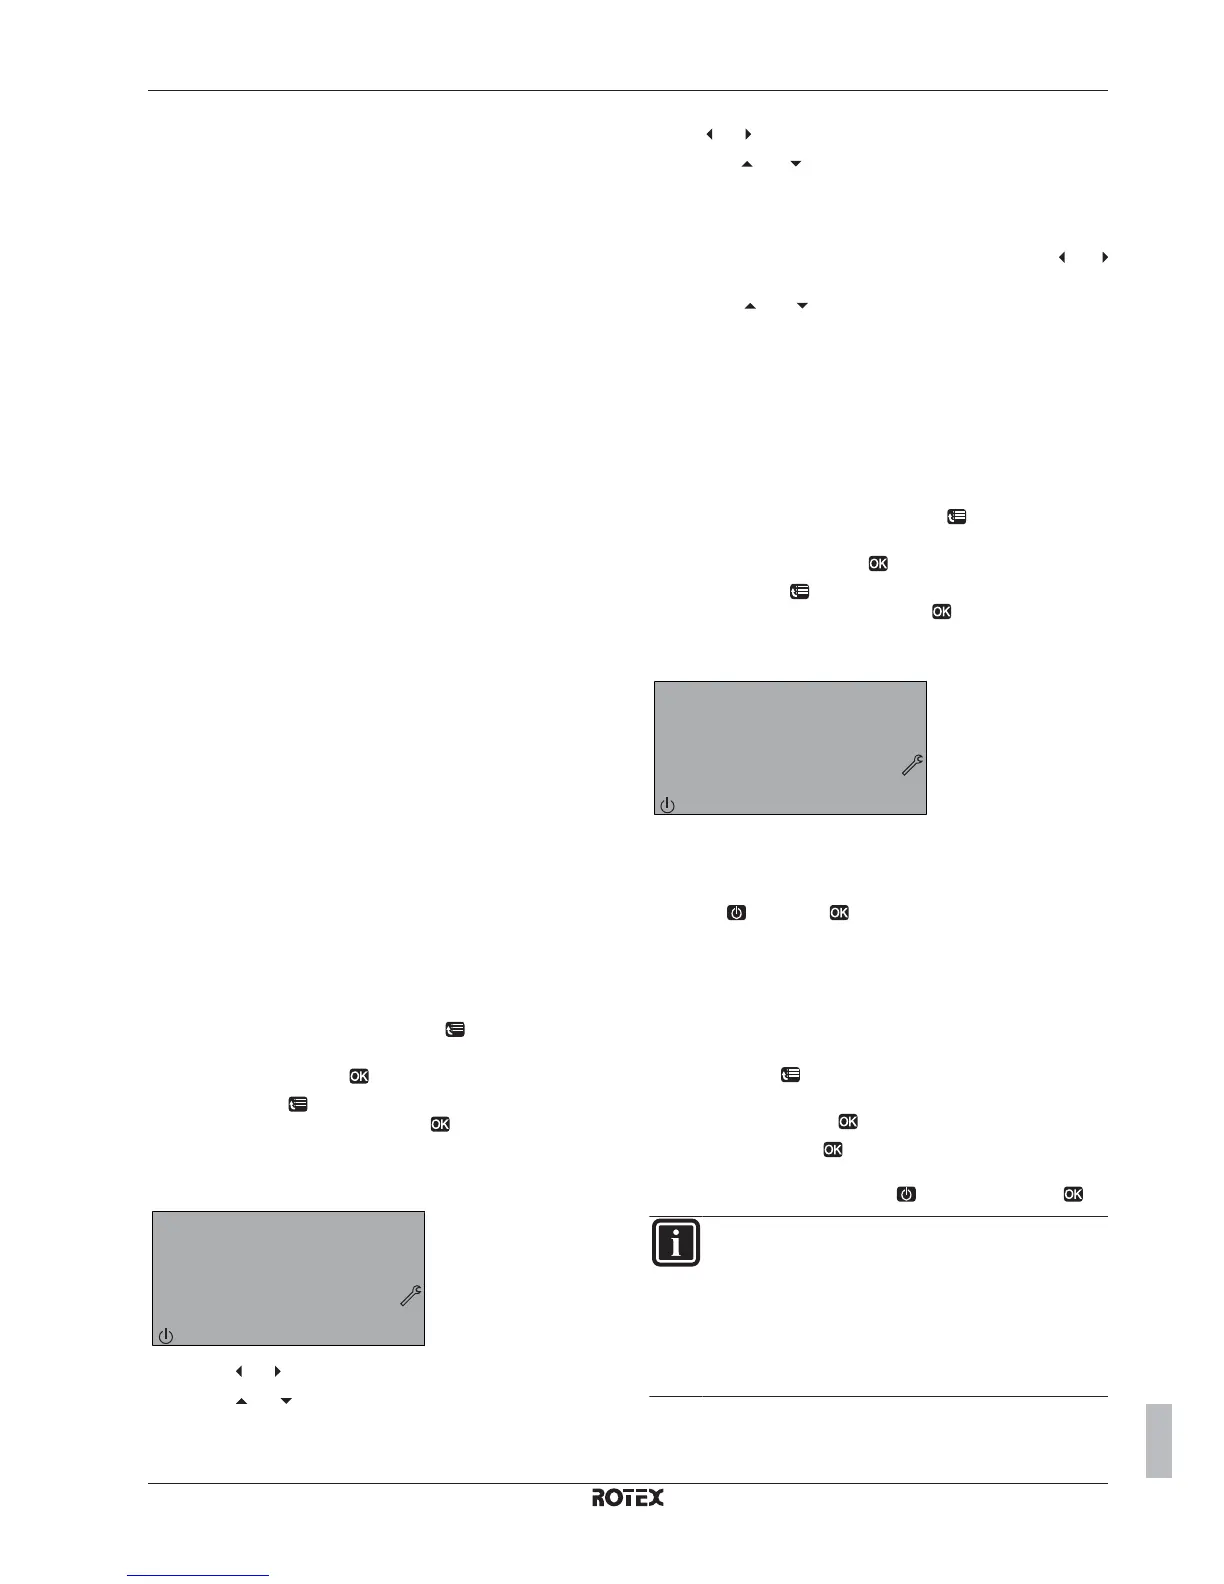
Result: The manual air purge starts and the following screen
appears.
7XH
$LUSXUJH
6SHHG
&LUFXLW
7\SH
%\SDVV
6WRS
0DQXDO
/RZ
6+&
1R
5 Use the and buttons to scroll to Speed.
6 Use the and buttons to set the desired pump speed.
Result: Low
Result: High
7 If applicable, set the desired position of the 3-way valve. Use
the and buttons to scroll to Circuit.
8 Use the and buttons to set the desired position of the 3-
way valve.
Result: SHC
Result: Tank
9 Set the desired position of the bypass valve. Use the and
buttons to scroll to Bypass.
10 Use the and buttons to set the desired position of the
bypass valve.
Result: No (boiler not bypassed)
Result: Yes (boiler bypassed)
Result: The air purge function automatically stops after 42 minutes.
10.3.2 To perform an automatic air purge
1 Set the user permission level to Installer. See "To set the user
permission level to Installer" on page 46.
2 Set the air purge mode: go to [A.7.3.1]
> Installer settings >
Commissioning > Air purge > Type.
3 Select Automatic and press
.
4 Go to [A.7.3.4]
> Installer settings > Commissioning > Air
purge > Start air purge and press
to start the air purge
function.
Result: Air purging will start and the following screen will be shown.
7XH
$LUSXUJH
6SHHG
&LUFXLW
7\SH
%\SDVV
6WRS
$XWRPDWLF
/RZ
6+&
<HV
Result: The air purge function automatically stops after 42 minutes.
10.3.3 To interrupt air purge
1 Press and press to confirm the interruption of the air
purge function.
10.4 To perform a test run
Prerequisite: Make sure the user interface shows the home screens
and that the space heating and domestic hot water demands are
turned off.
1 Go to [A.7.1]:
> Installer settings > Commissioning > Test
run.
2 Select a test and press
. Example: Heating.
3 Select OK and press
.
Result: The test run starts. It stops automatically when done
(±30 min). To stop it manually, press
, select OK and press .
INFORMATION
If 2 user interfaces are present, you can start a test run
from both user interfaces.
▪ The user interface used to start the test run displays a
status screen.
▪ The other user interface displays a "busy" screen. You
cannot stop the test run as long as the "busy" screen is
shown.
 Loading...


