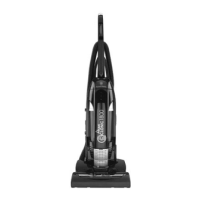
7
using the accessories
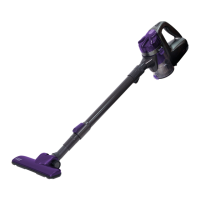
37 Press and release the switch, to switch the motor off.
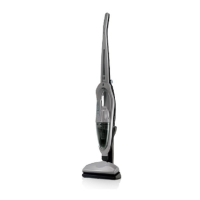
38 Push the handle forward till it’s fully upright, and the pedal clicks into position to
hold it there.
39 Move the brush height control fully over to the long pile 3 setting, to prevent
the brush hitting the surface it’s sitting on.
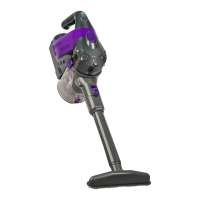
40 When you’ve finished with the crevice tool, extension tube, and small brush,
separate them and mount them on the cleaner.
finished cleaning?
41 Press and release the switch with a toe, to turn the motor off.
42 Push the handle forward, to fix the cleaner in the upright position.
43 Unplug the cleaner (switch the socket off first, if it’s switchable).
44 Turn the upper cable hook to point upwards, and wind the cable round both cable
hooks.
removing the bin
You don’t have to empty the bin after each use, but it’s a very good idea. You shouldn’t
let it get more than about a third full.
Your cleaner will happily work till it’s full to max, but you’ll be wasting energy swirling
yesterday’s dust around. Energy that could be better used sucking up today’s dust.
45 Switch off, unplug, put the cleaner in the upright position, and leave it for five to ten
minutes, to let the dust settle.
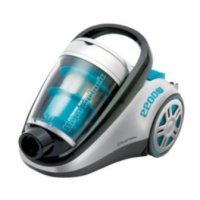
46 Pull the latch, to open the door.
47 Put your fingers under the bin release, raise it slightly, to unlock the bin, then pull it
forward, to lift the bin out of the cleaner.
48 As soon as the bin handle is clear of the cleaner, grip the bin handle, and let go of
the bin release.
49 Carry the bin only by the bin handle. If you don’t, and the lid comes off, you’ll spill
the contents all over your newly cleaner floor – not a good idea!
50 Lower the bottom of the bin into your dustbin, so the dirt can’t blow around.
51 Press the “empty” lever beneath the handle, to release the trap, and dump the dirt
into the dustbin.
52 Tap the bin, to dislodge any dirt from the corners.
53 Push the trap closed, and check that the lock has engaged with the “empty” lever.
 Loading...