7
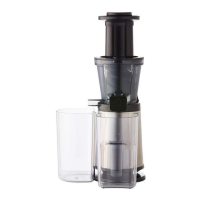
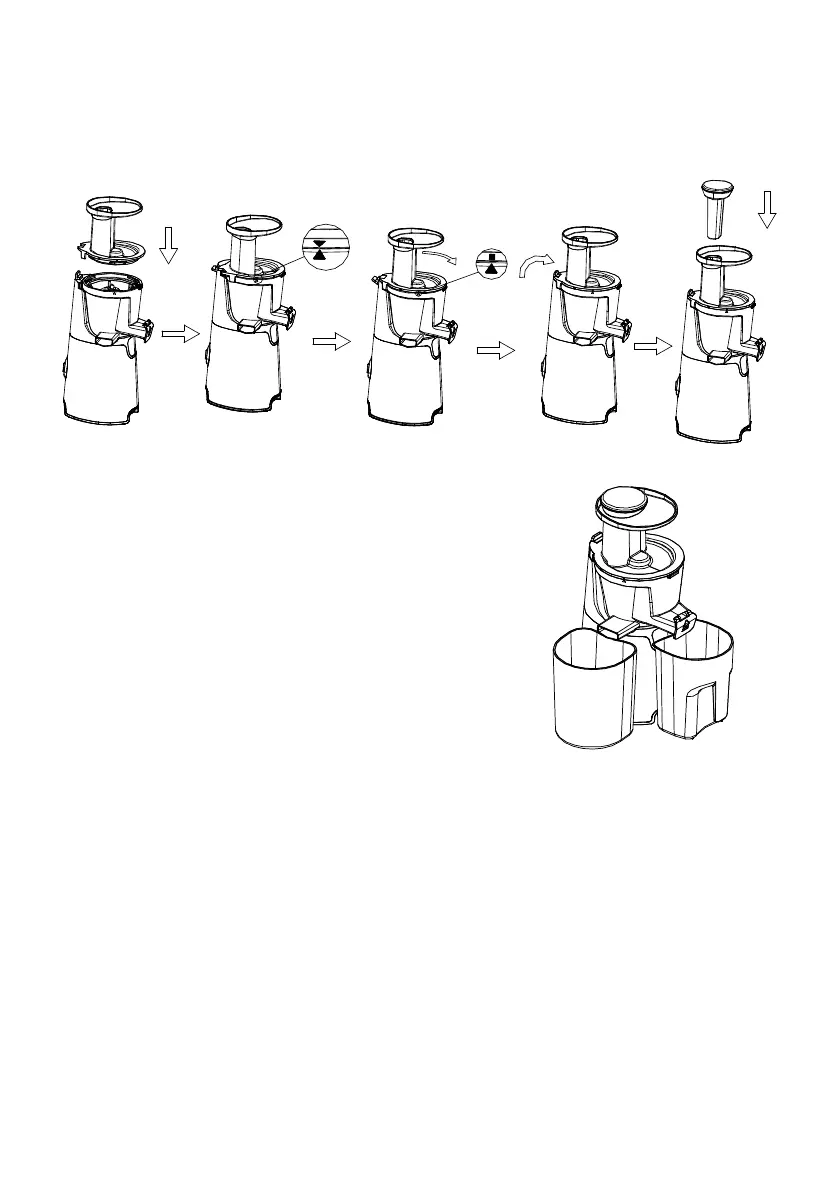
3. Put the jar lid downwards on the jar and then align the symbol “d” on the jar lid with the
symbol “u” on the jar. Then rotate the jar lid clockwise until the symbol “u” on the jar
aligns with the symbol “4” on the jar lid (see Fig.4). Press the locking plate upwards to
lock the jar lid into position. Every part needs to be assembled correctly, otherwise the
appliance will not operate. Place the food pusher into the chute.
4. Place the juice container under the juice outlet and
residue container below the residue outlet (see Fig.5).
The slow juicer is now ready to operate.
Note: The juice outlet has a spout cover. Ensure the
cover is open when operating the juicer.
Note: The slow juicer motor base is heavy. When
moving or carrying the appliance please hold and carry
by the motor unit instead of the jar lid.
OPERATING YOUR JUICER
1. Before attaching the power cord into the power outlet, make sure the unit power switch is
in the “O” position. The switch has three settings:
“I” indicates “ON”: press the power switch to “I” position to start the motor;
“O” indicates “OFF”: press the power switch to “O” position to turn the juicer off;
“R” means reverse rotation: this setting can be used to reverse the grinder rotating and
unclog any food stuck in the jar.
2. Make sure the juice container and the residue container are placed in position.
3. Cut fruits and vegetables into small pieces.
4. Place the prepared fruits or vegetables into the feed chute and gently push the food down
using the food pusher.
5. Connect the appliance to the power outlet, and then press the power switch to the “ON”
position.
Fig. 4
Fig. 5
 Loading...