PG 4
IDAHO FLOOR OPTION
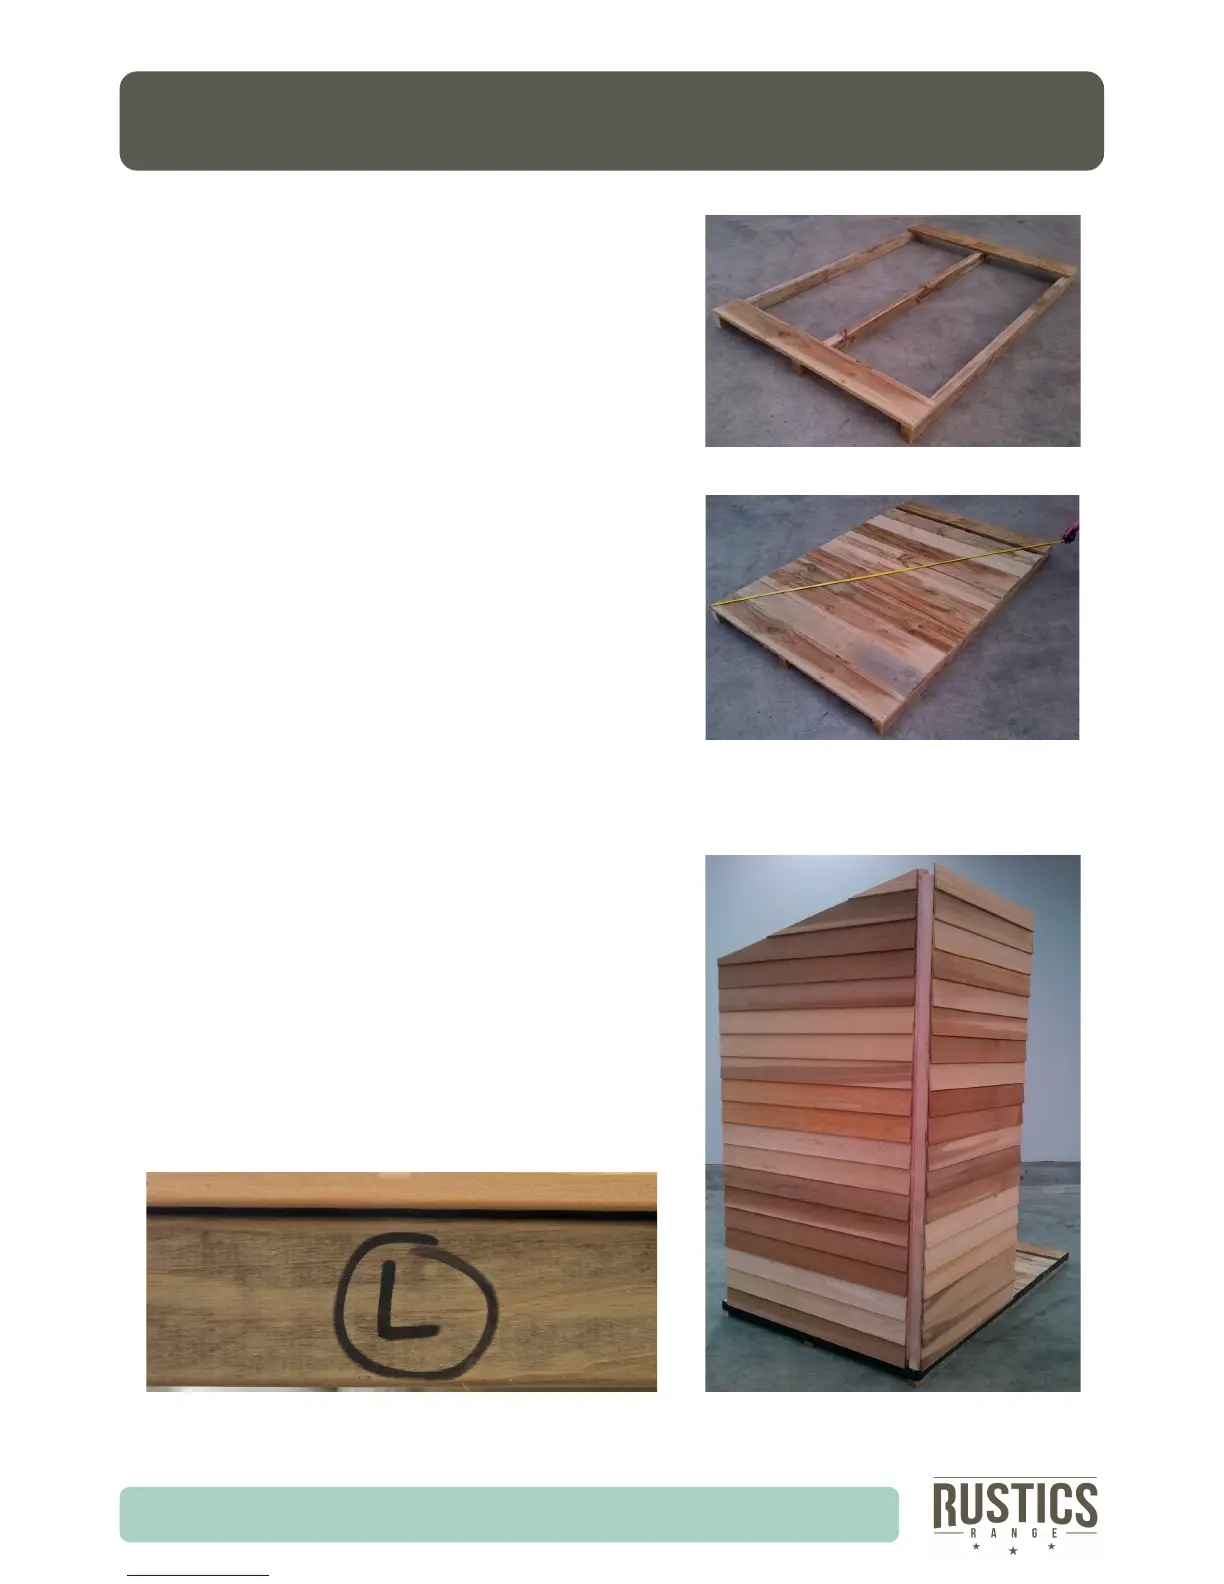
Step 1: Lay out oor joists, spacing them evenly
as shown. Using 50mm ooring nails, nail a oor
board on each end, ensuring ends are ush with
joists. Make sure oor is level and joists are sup-
ported.
Step 2: Lay out remaining oor boards. Measure
diagonals to ensure measurements are equal (i.e.
oor is square). Rip down last oor board to suit
gap, and nail o oor with 50mm ooring nails (6
nails per board).
Step 3: Unpack panels and idenfy wall panels
and door posions as per the wall plan located
on page 5.
Select two panels that go either side of a corner
(gable and standard panel) and stand together.
Example: L (Standard) and RE (End)
Located on the boom plate of each wall.
 Loading...